
Build a Garden Pizza Oven for £Zero and No Pence (ish)
Cob, is a traditional building method that uses clay, subsoil, and straw. It’s nearly free as you either dig the materials out of the ground or cheapy buy it from your local quarry :)
We already had Building with Cob: A Step-by-step Guide the book but one thing is clear that when mixing these together you need to have literally a “feel” for when it is ready to use.
This was our chance to get our hands dirty, a day course “Learn To Build an Earthen Pizza Oven” run by Kate & Charlotte of “[Edwards Eco Building](http://www.edwardscobbuilding.com/index.php?p=COB-COURSES).
The day started with a chat, some theory and a quick rundown of why people had come on the course, reasons ranged from “It’s something interesting to do” through to “When renovating out house we discovered that it was made of cob” via the rather more prosaic “I really fancied having a pizza oven in the back garden”
Then we got cracking
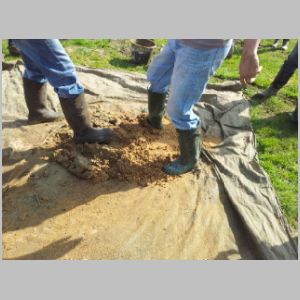
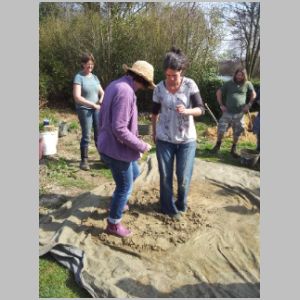
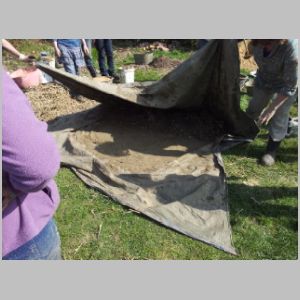
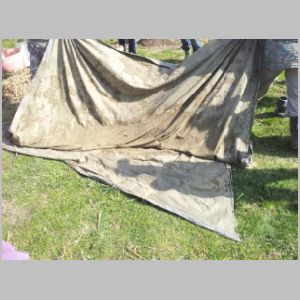
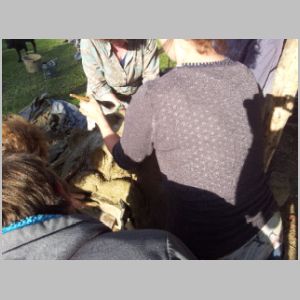
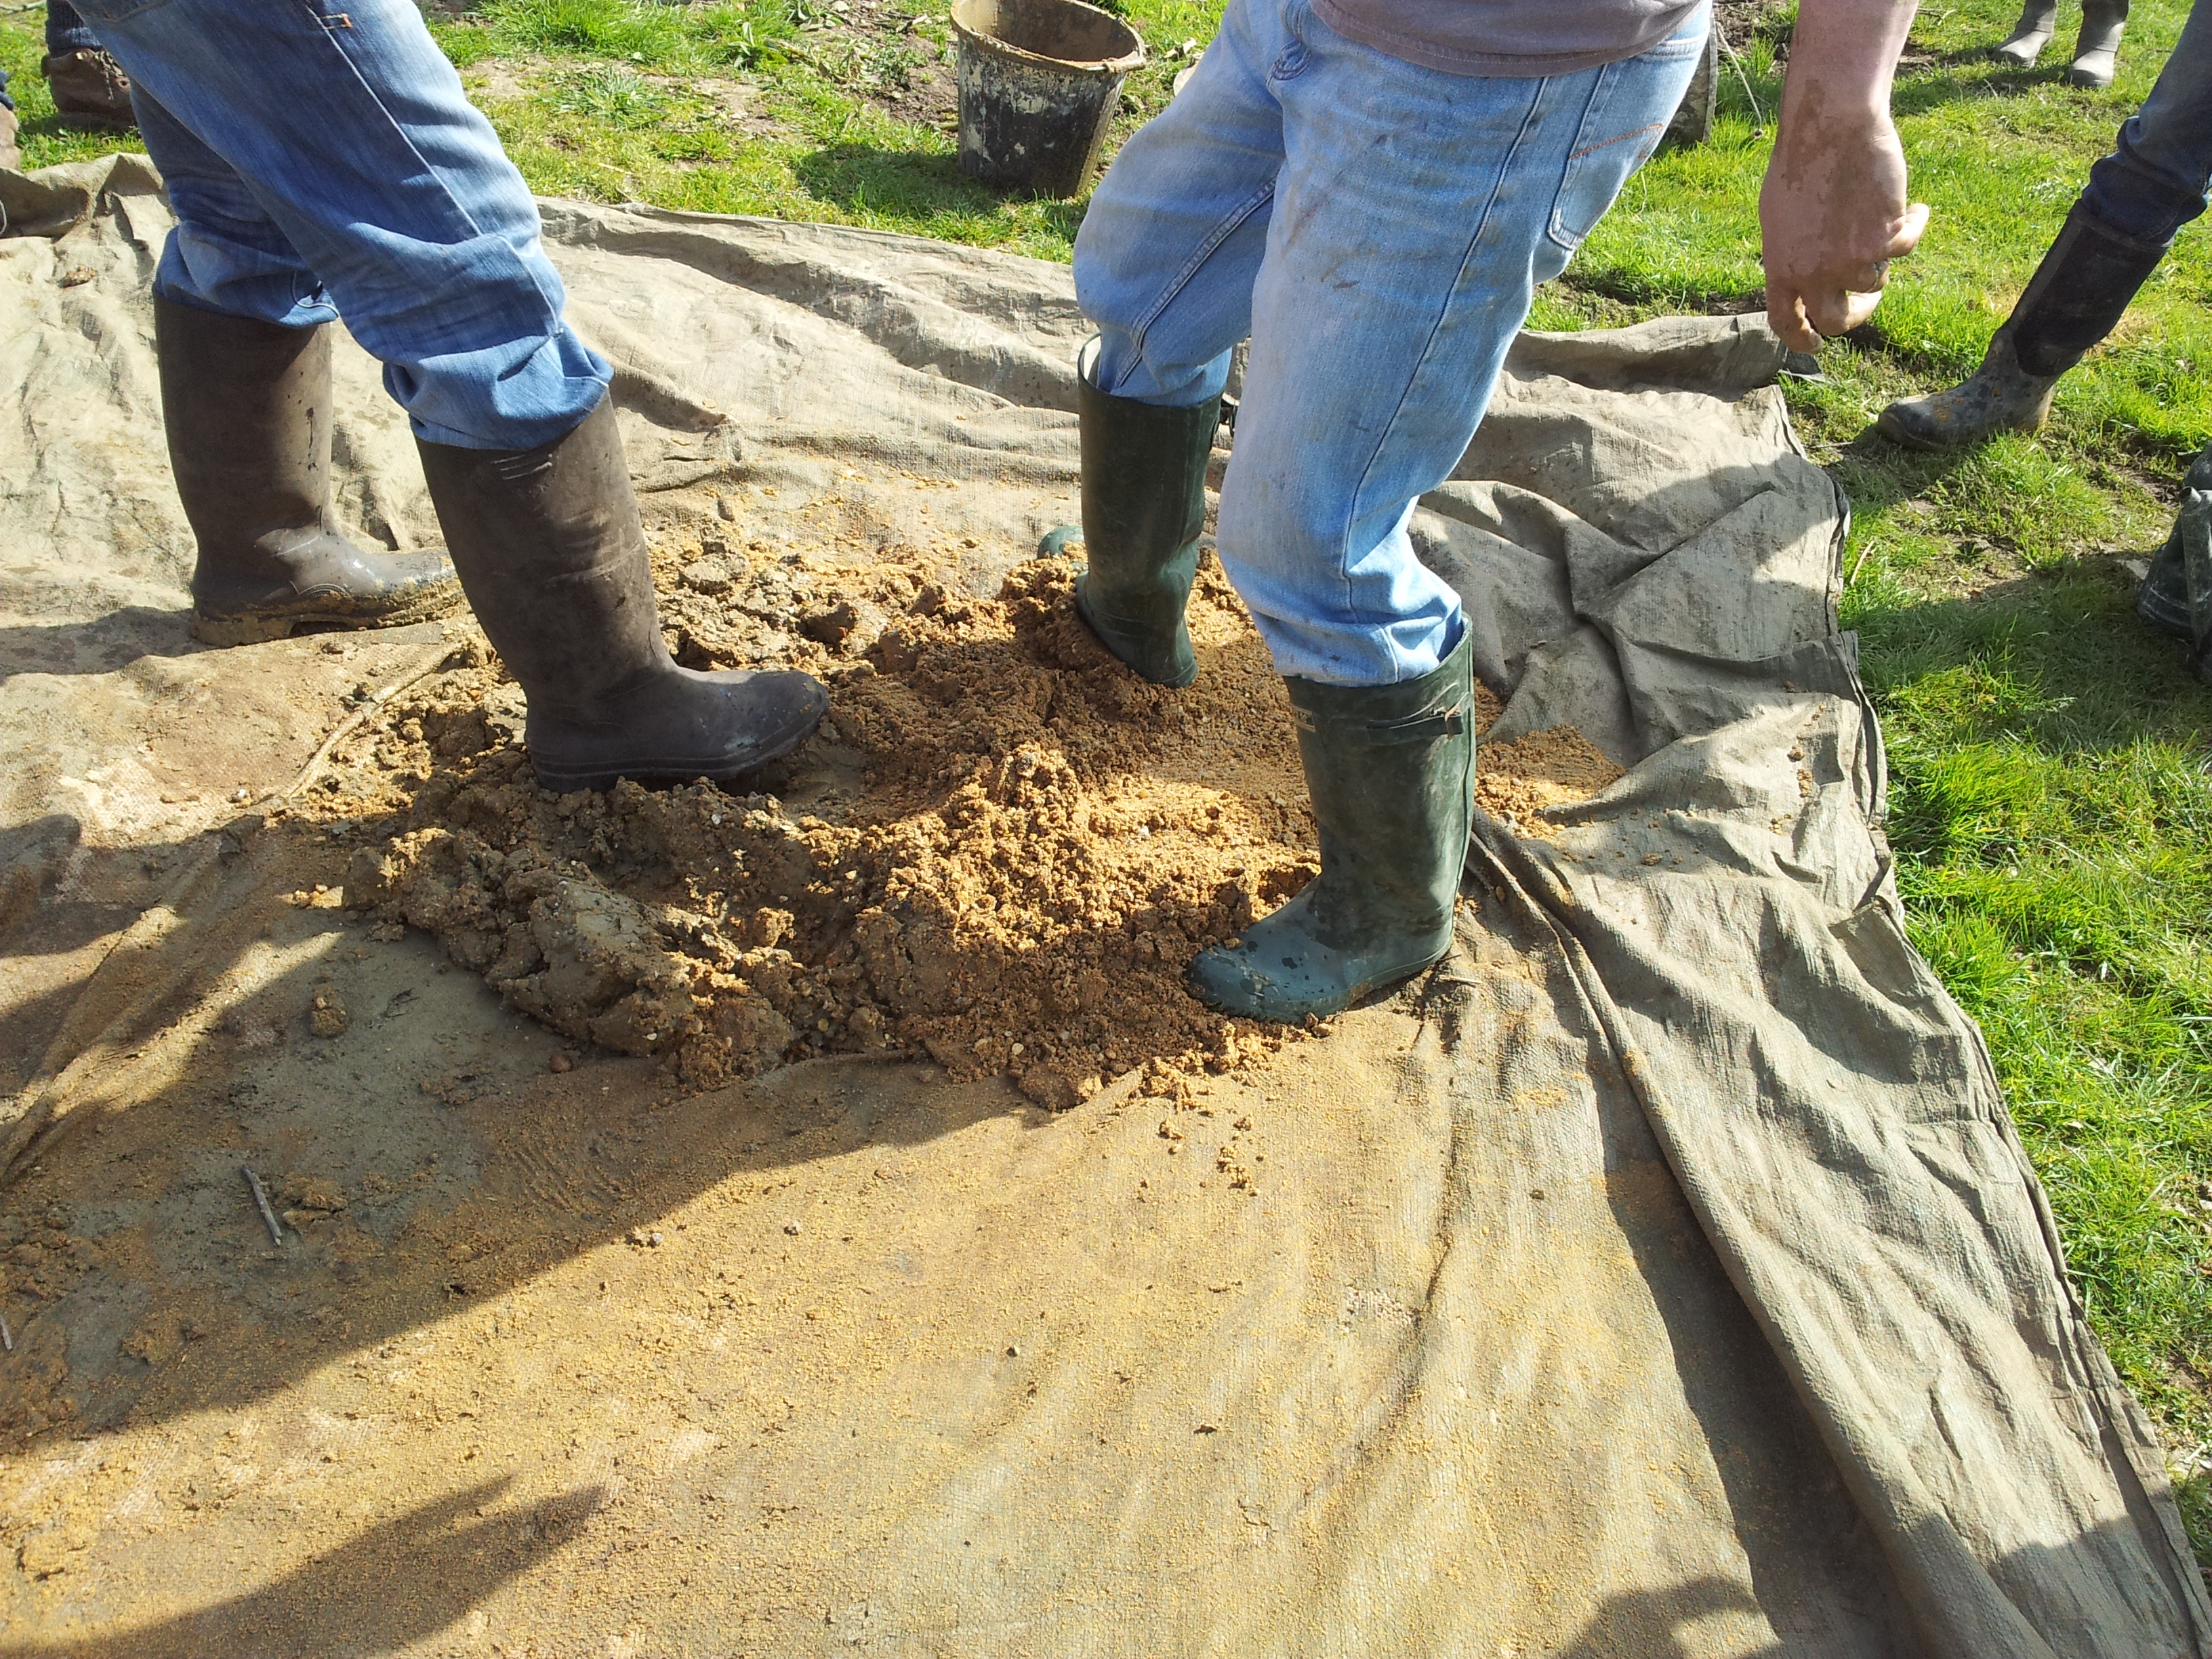
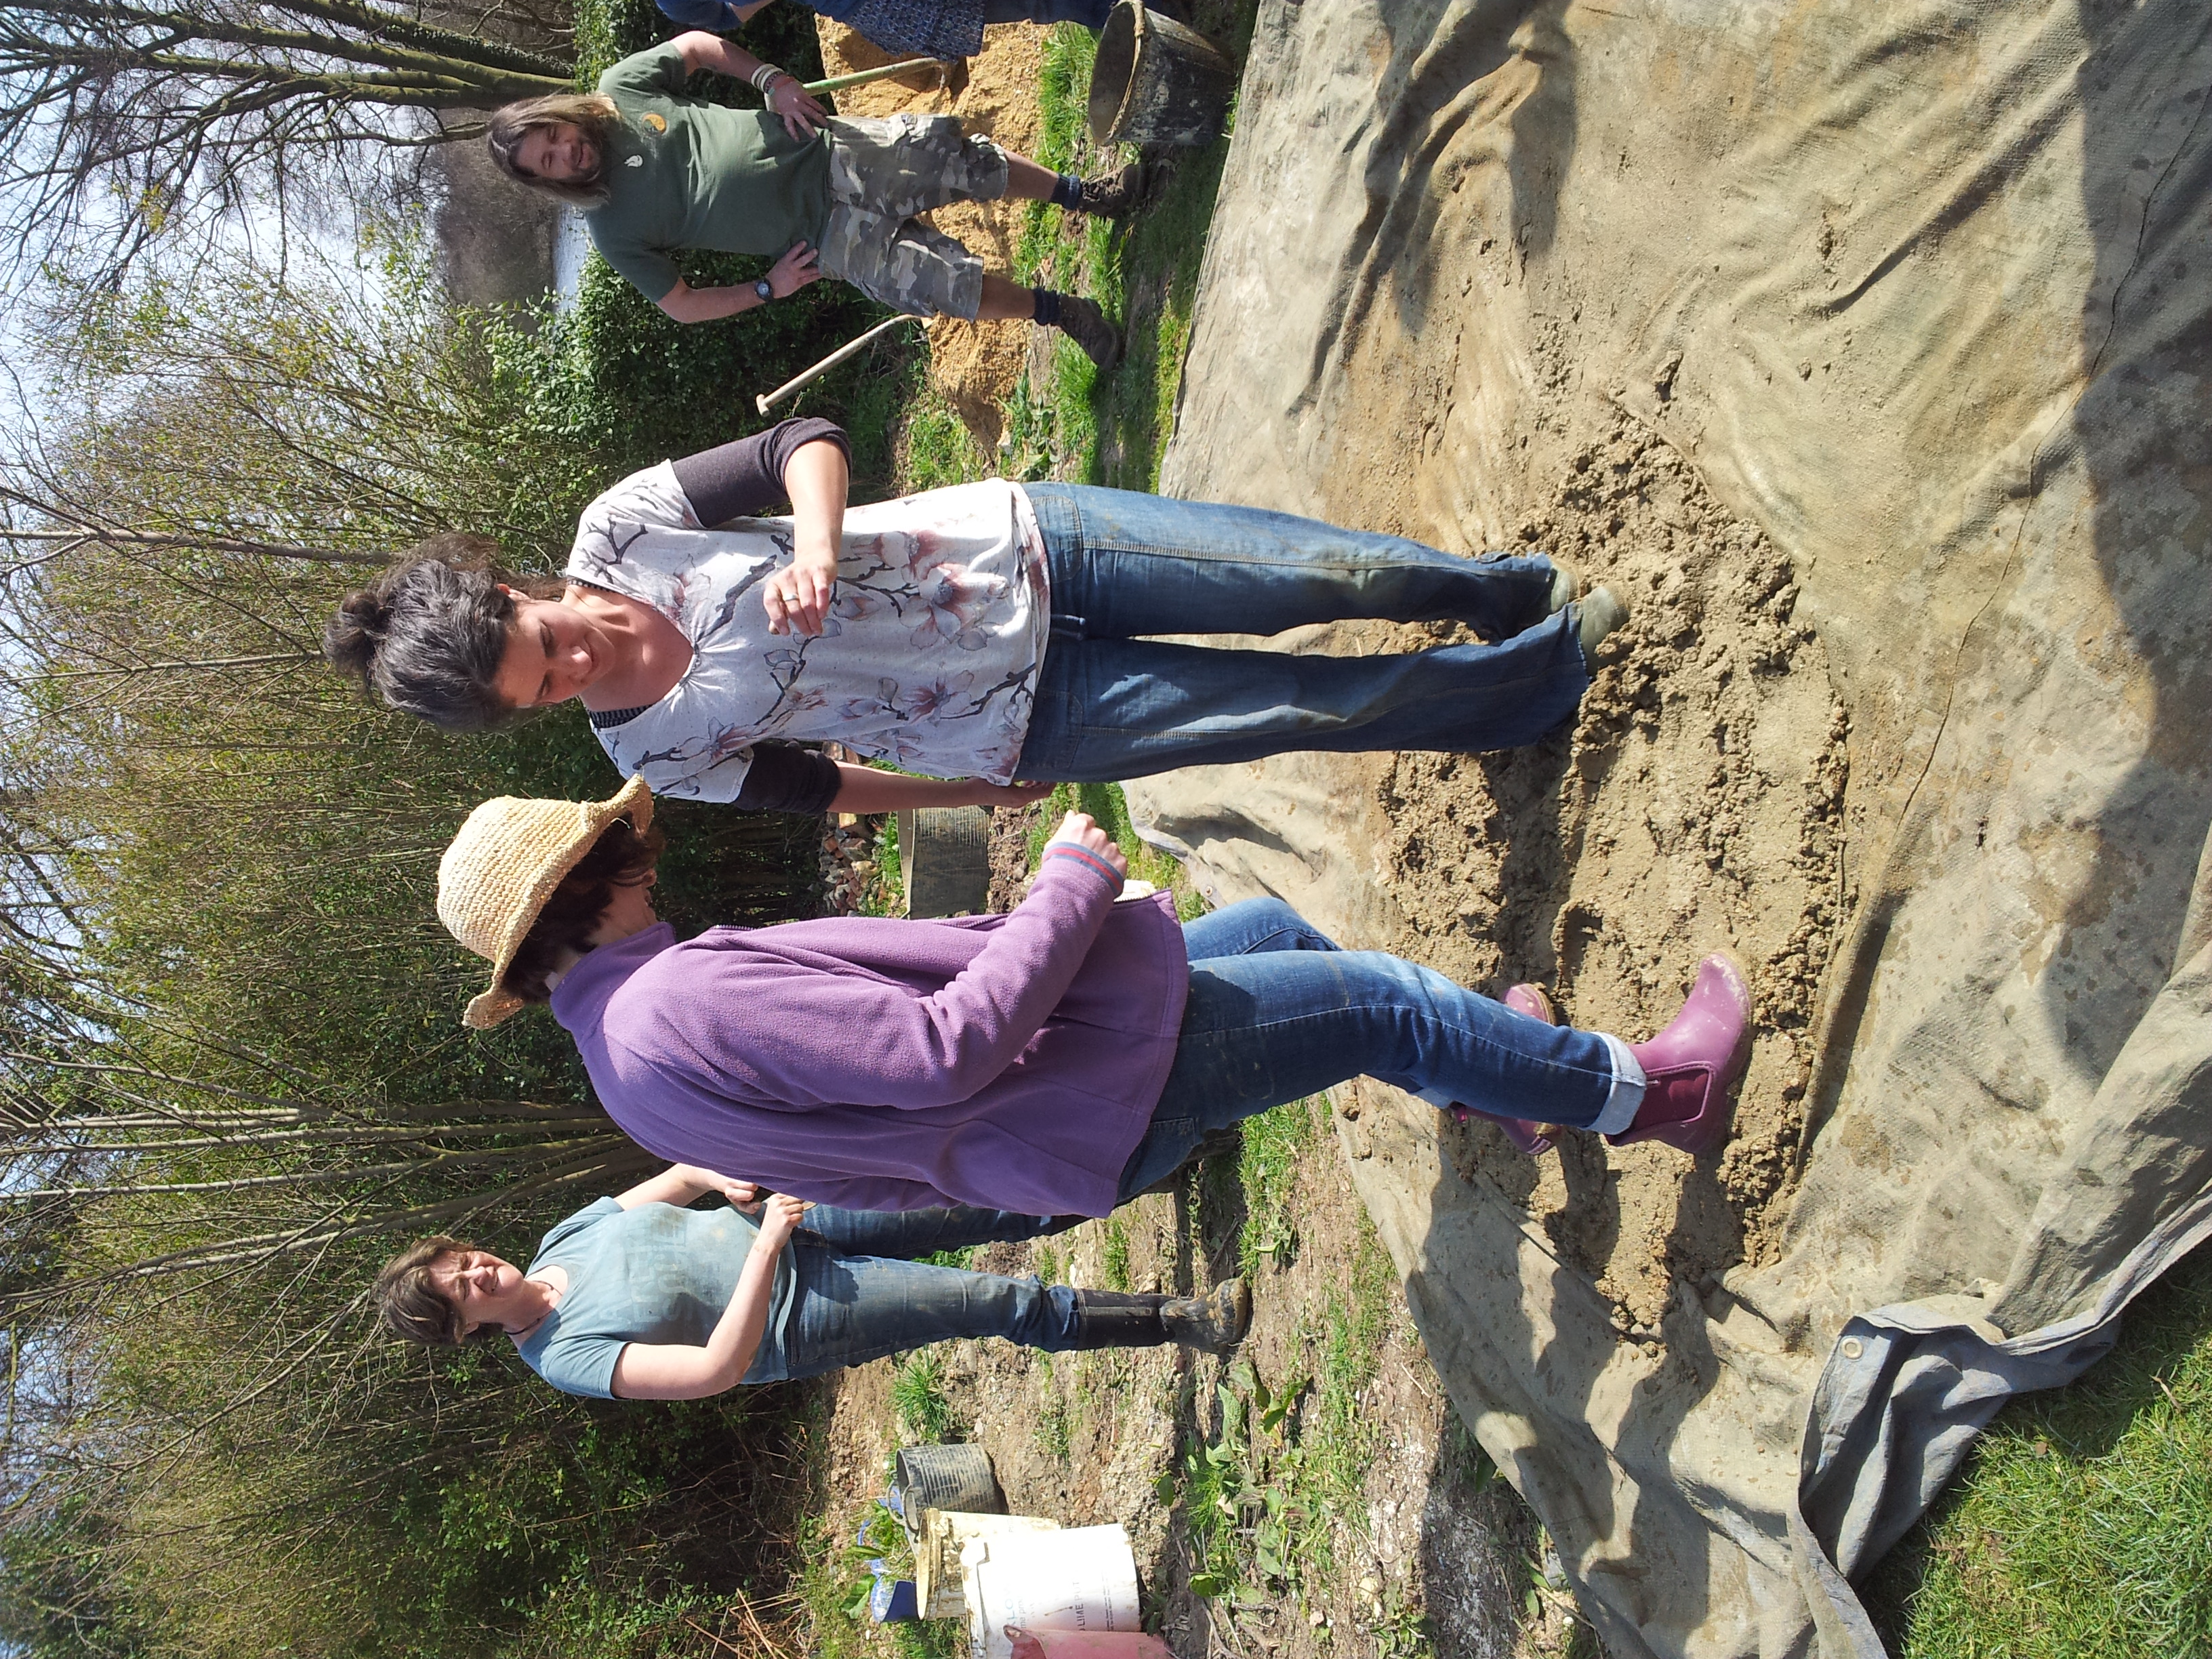
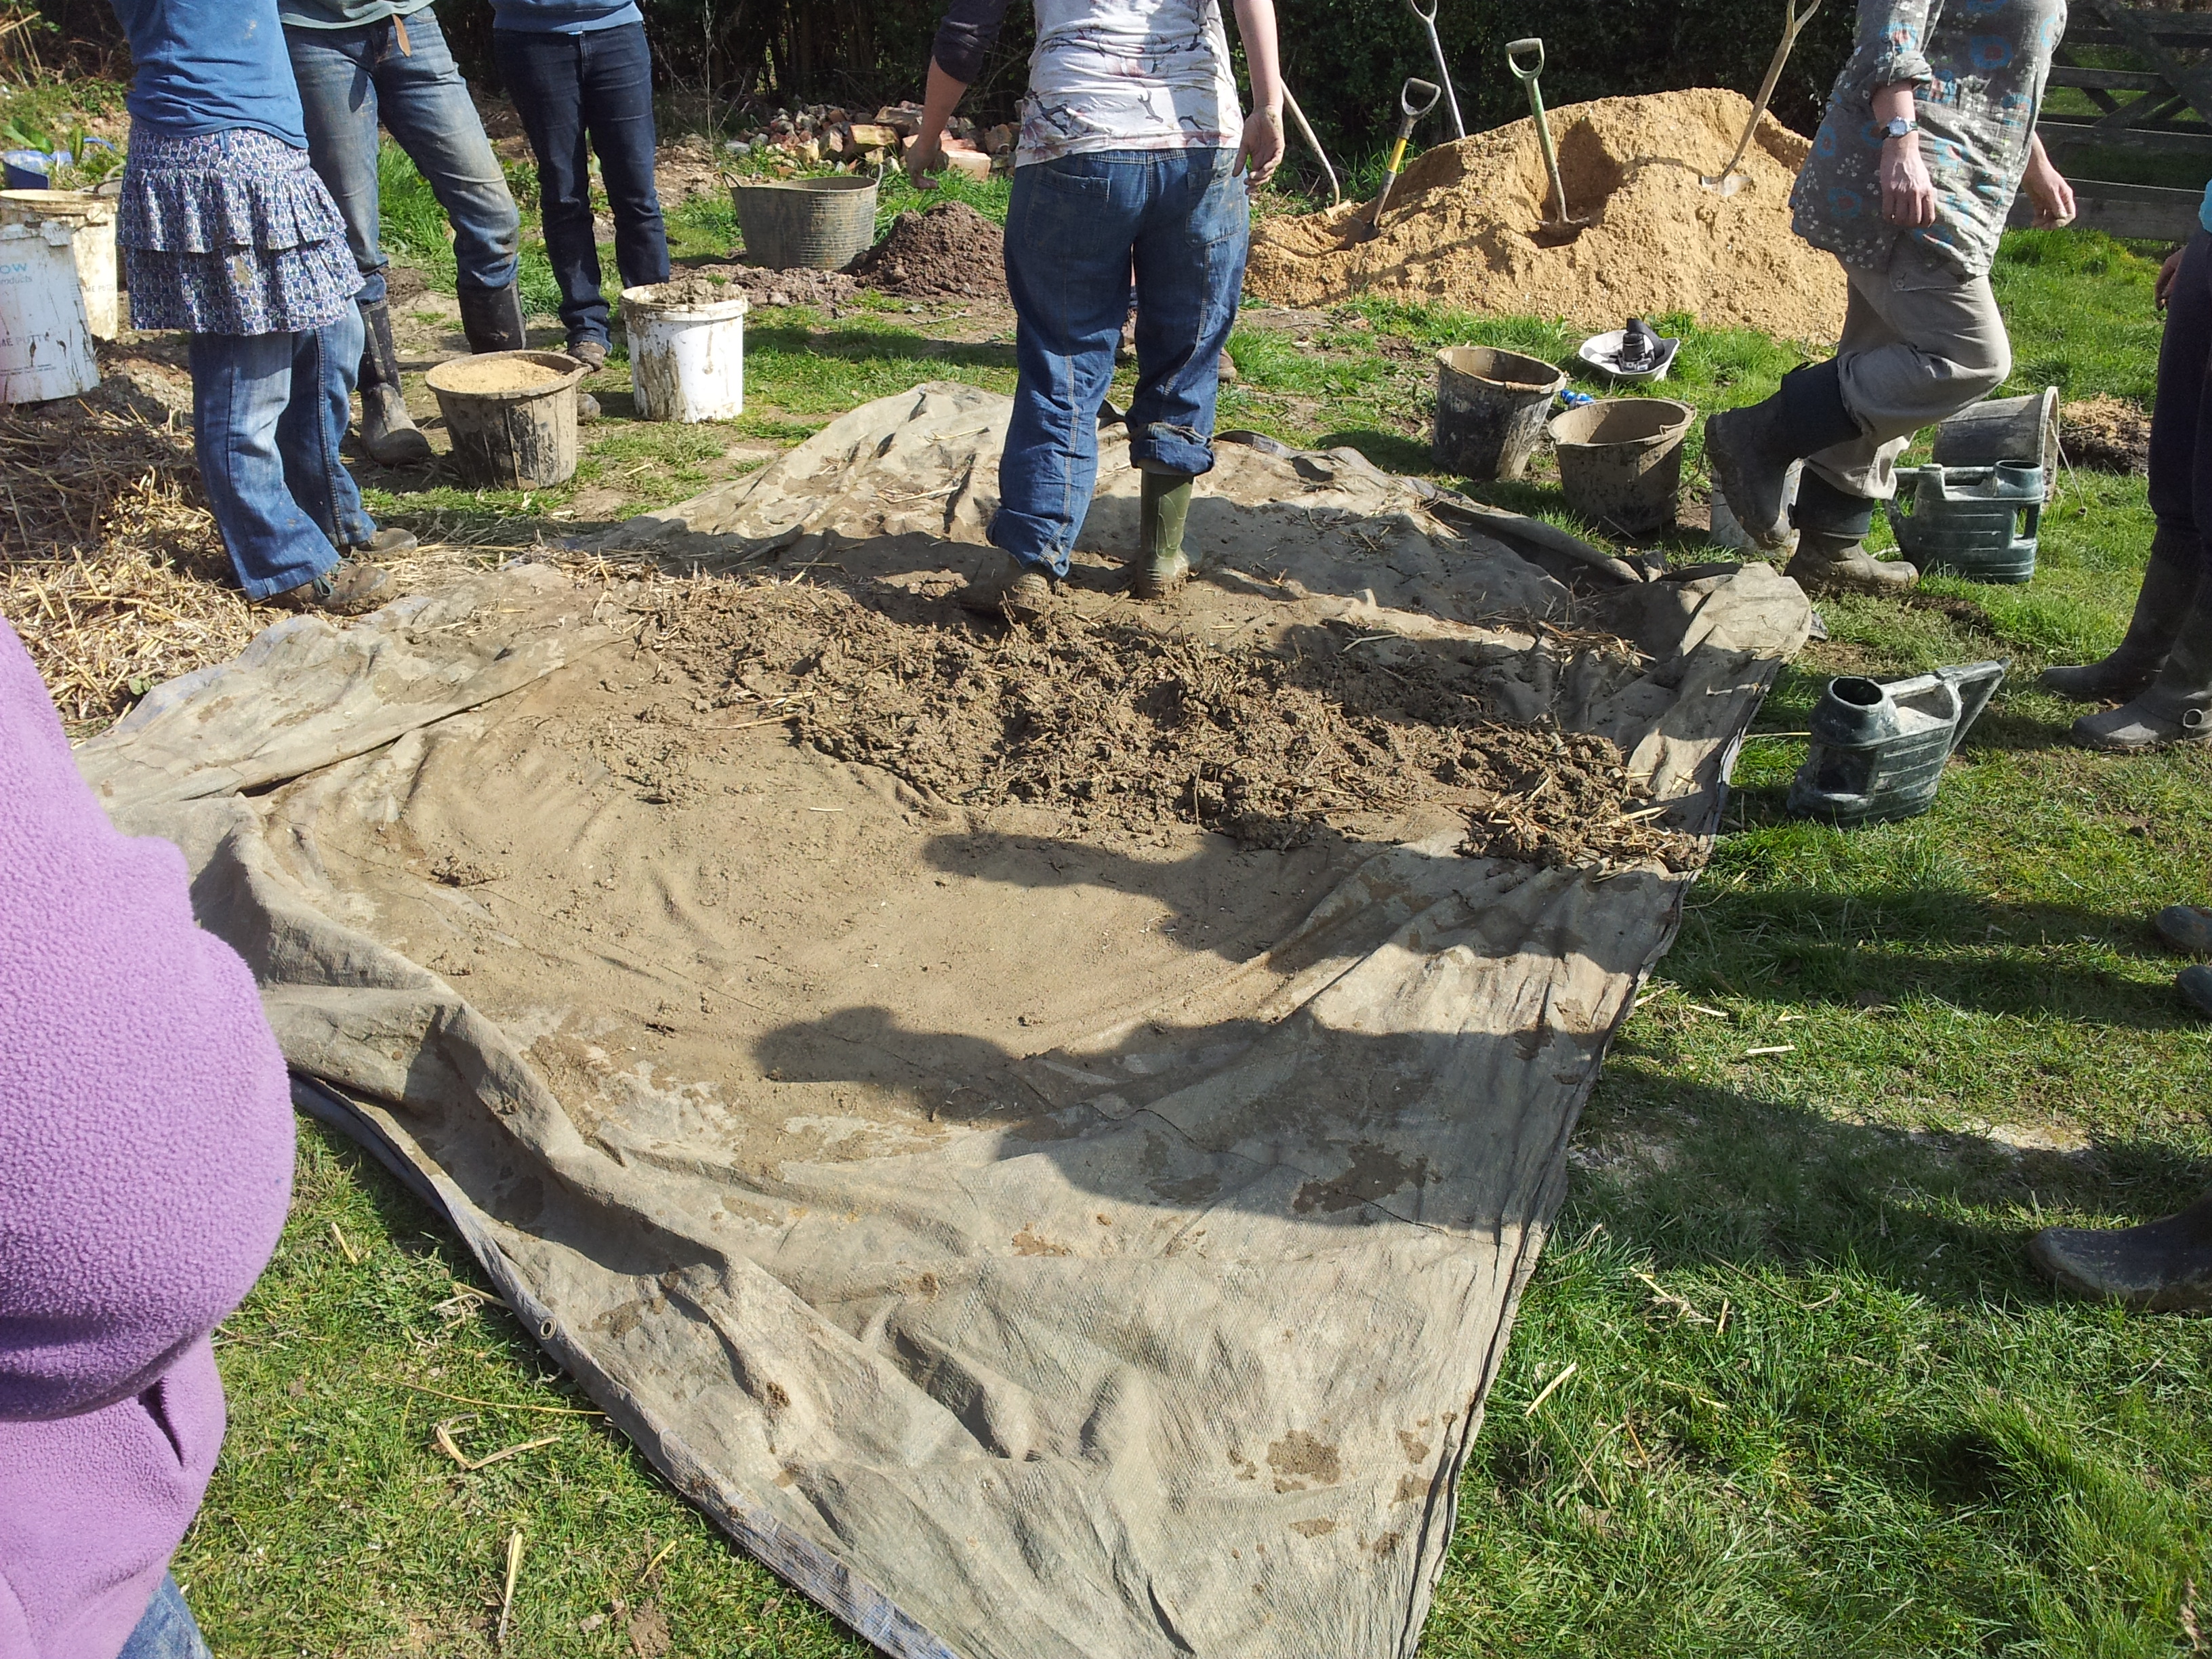
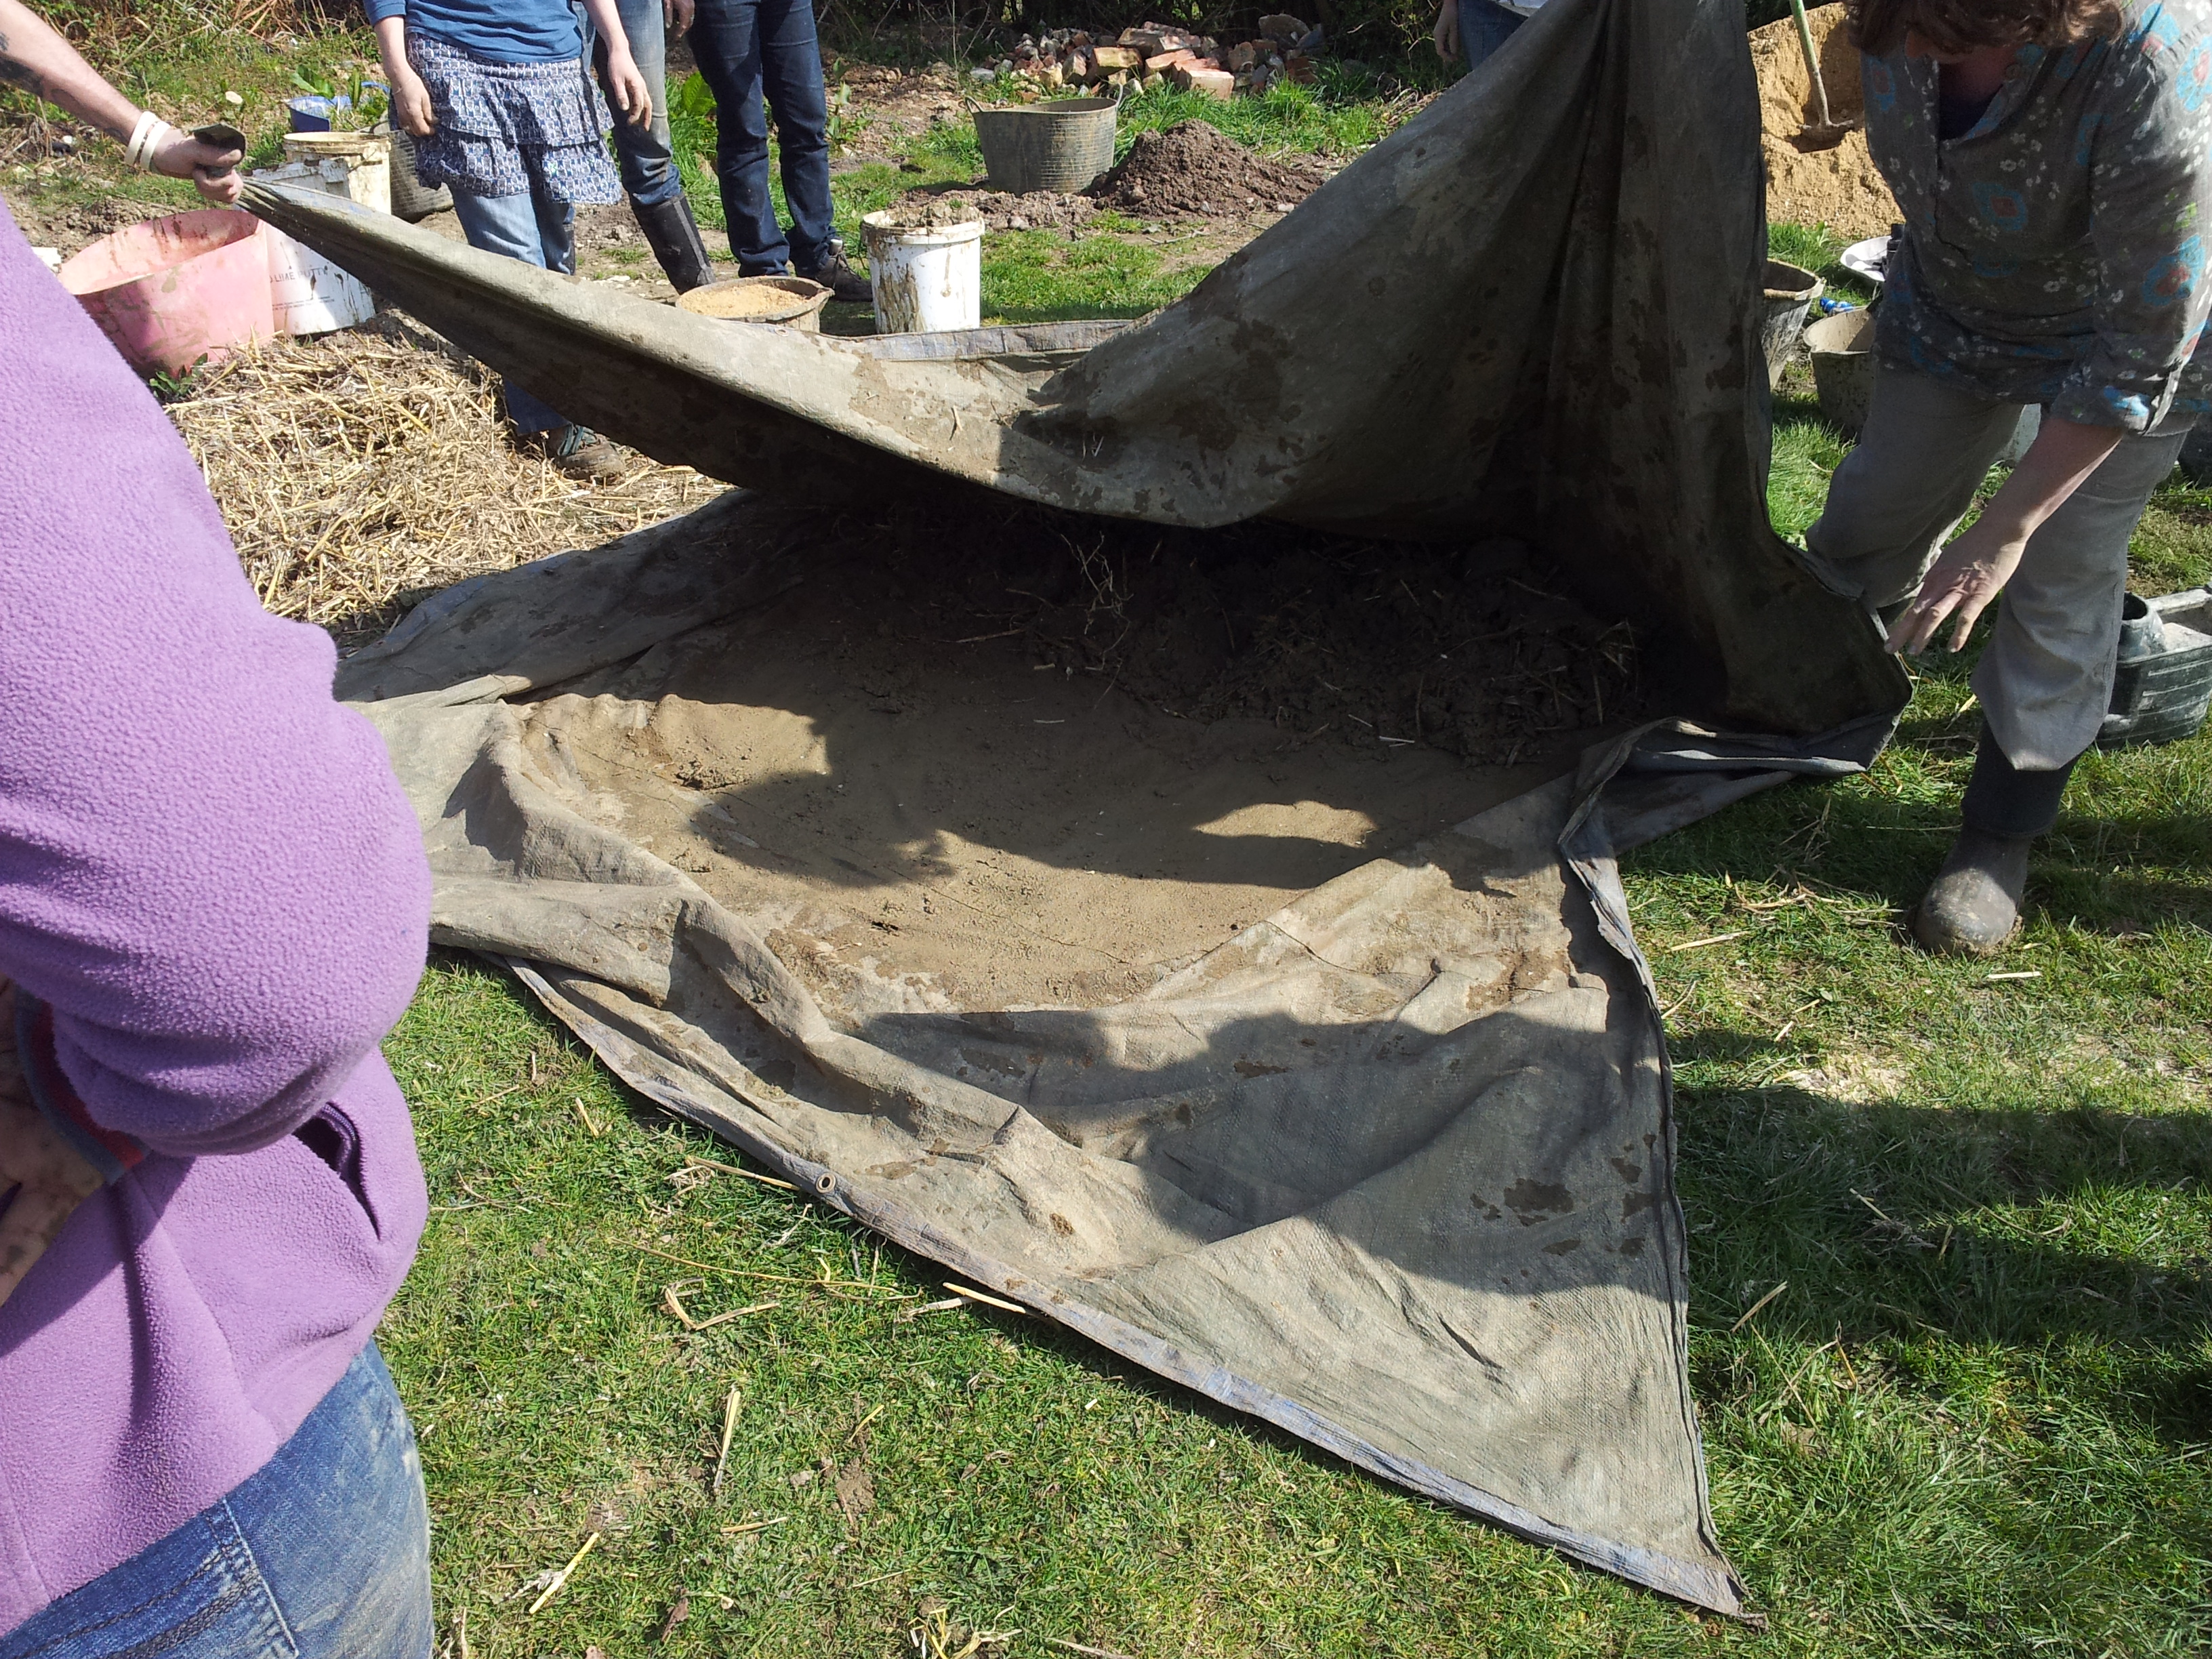
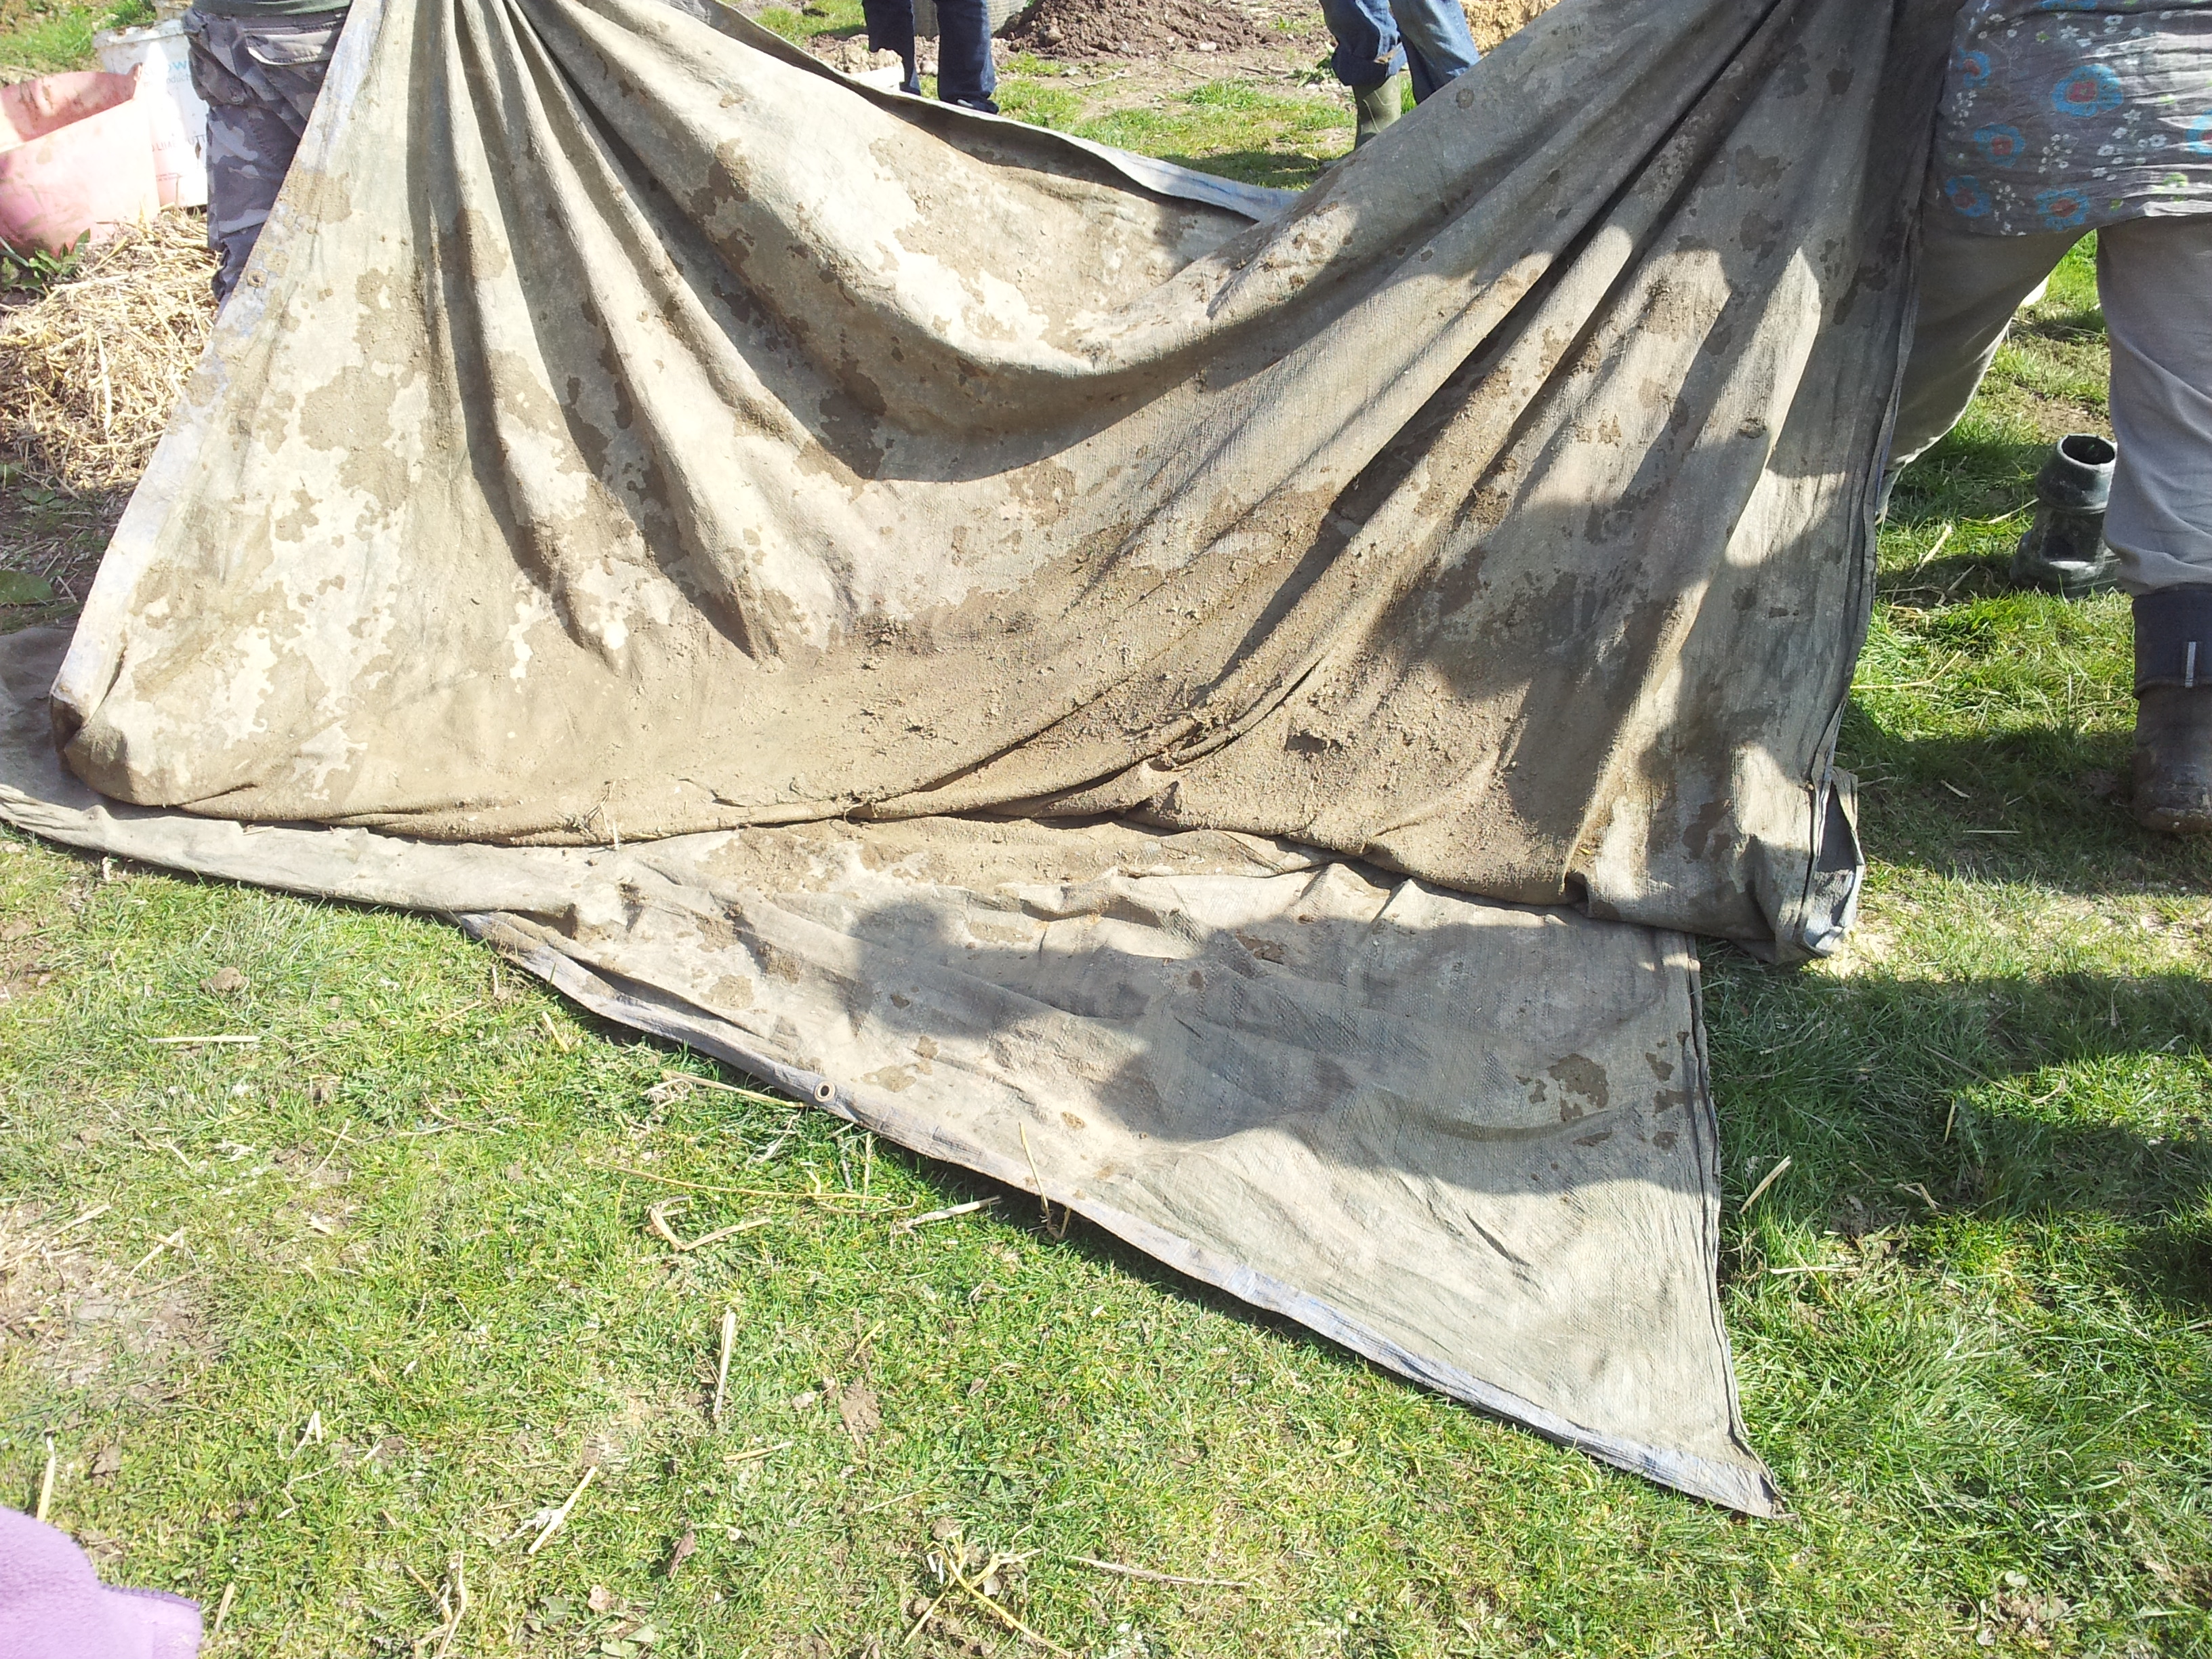
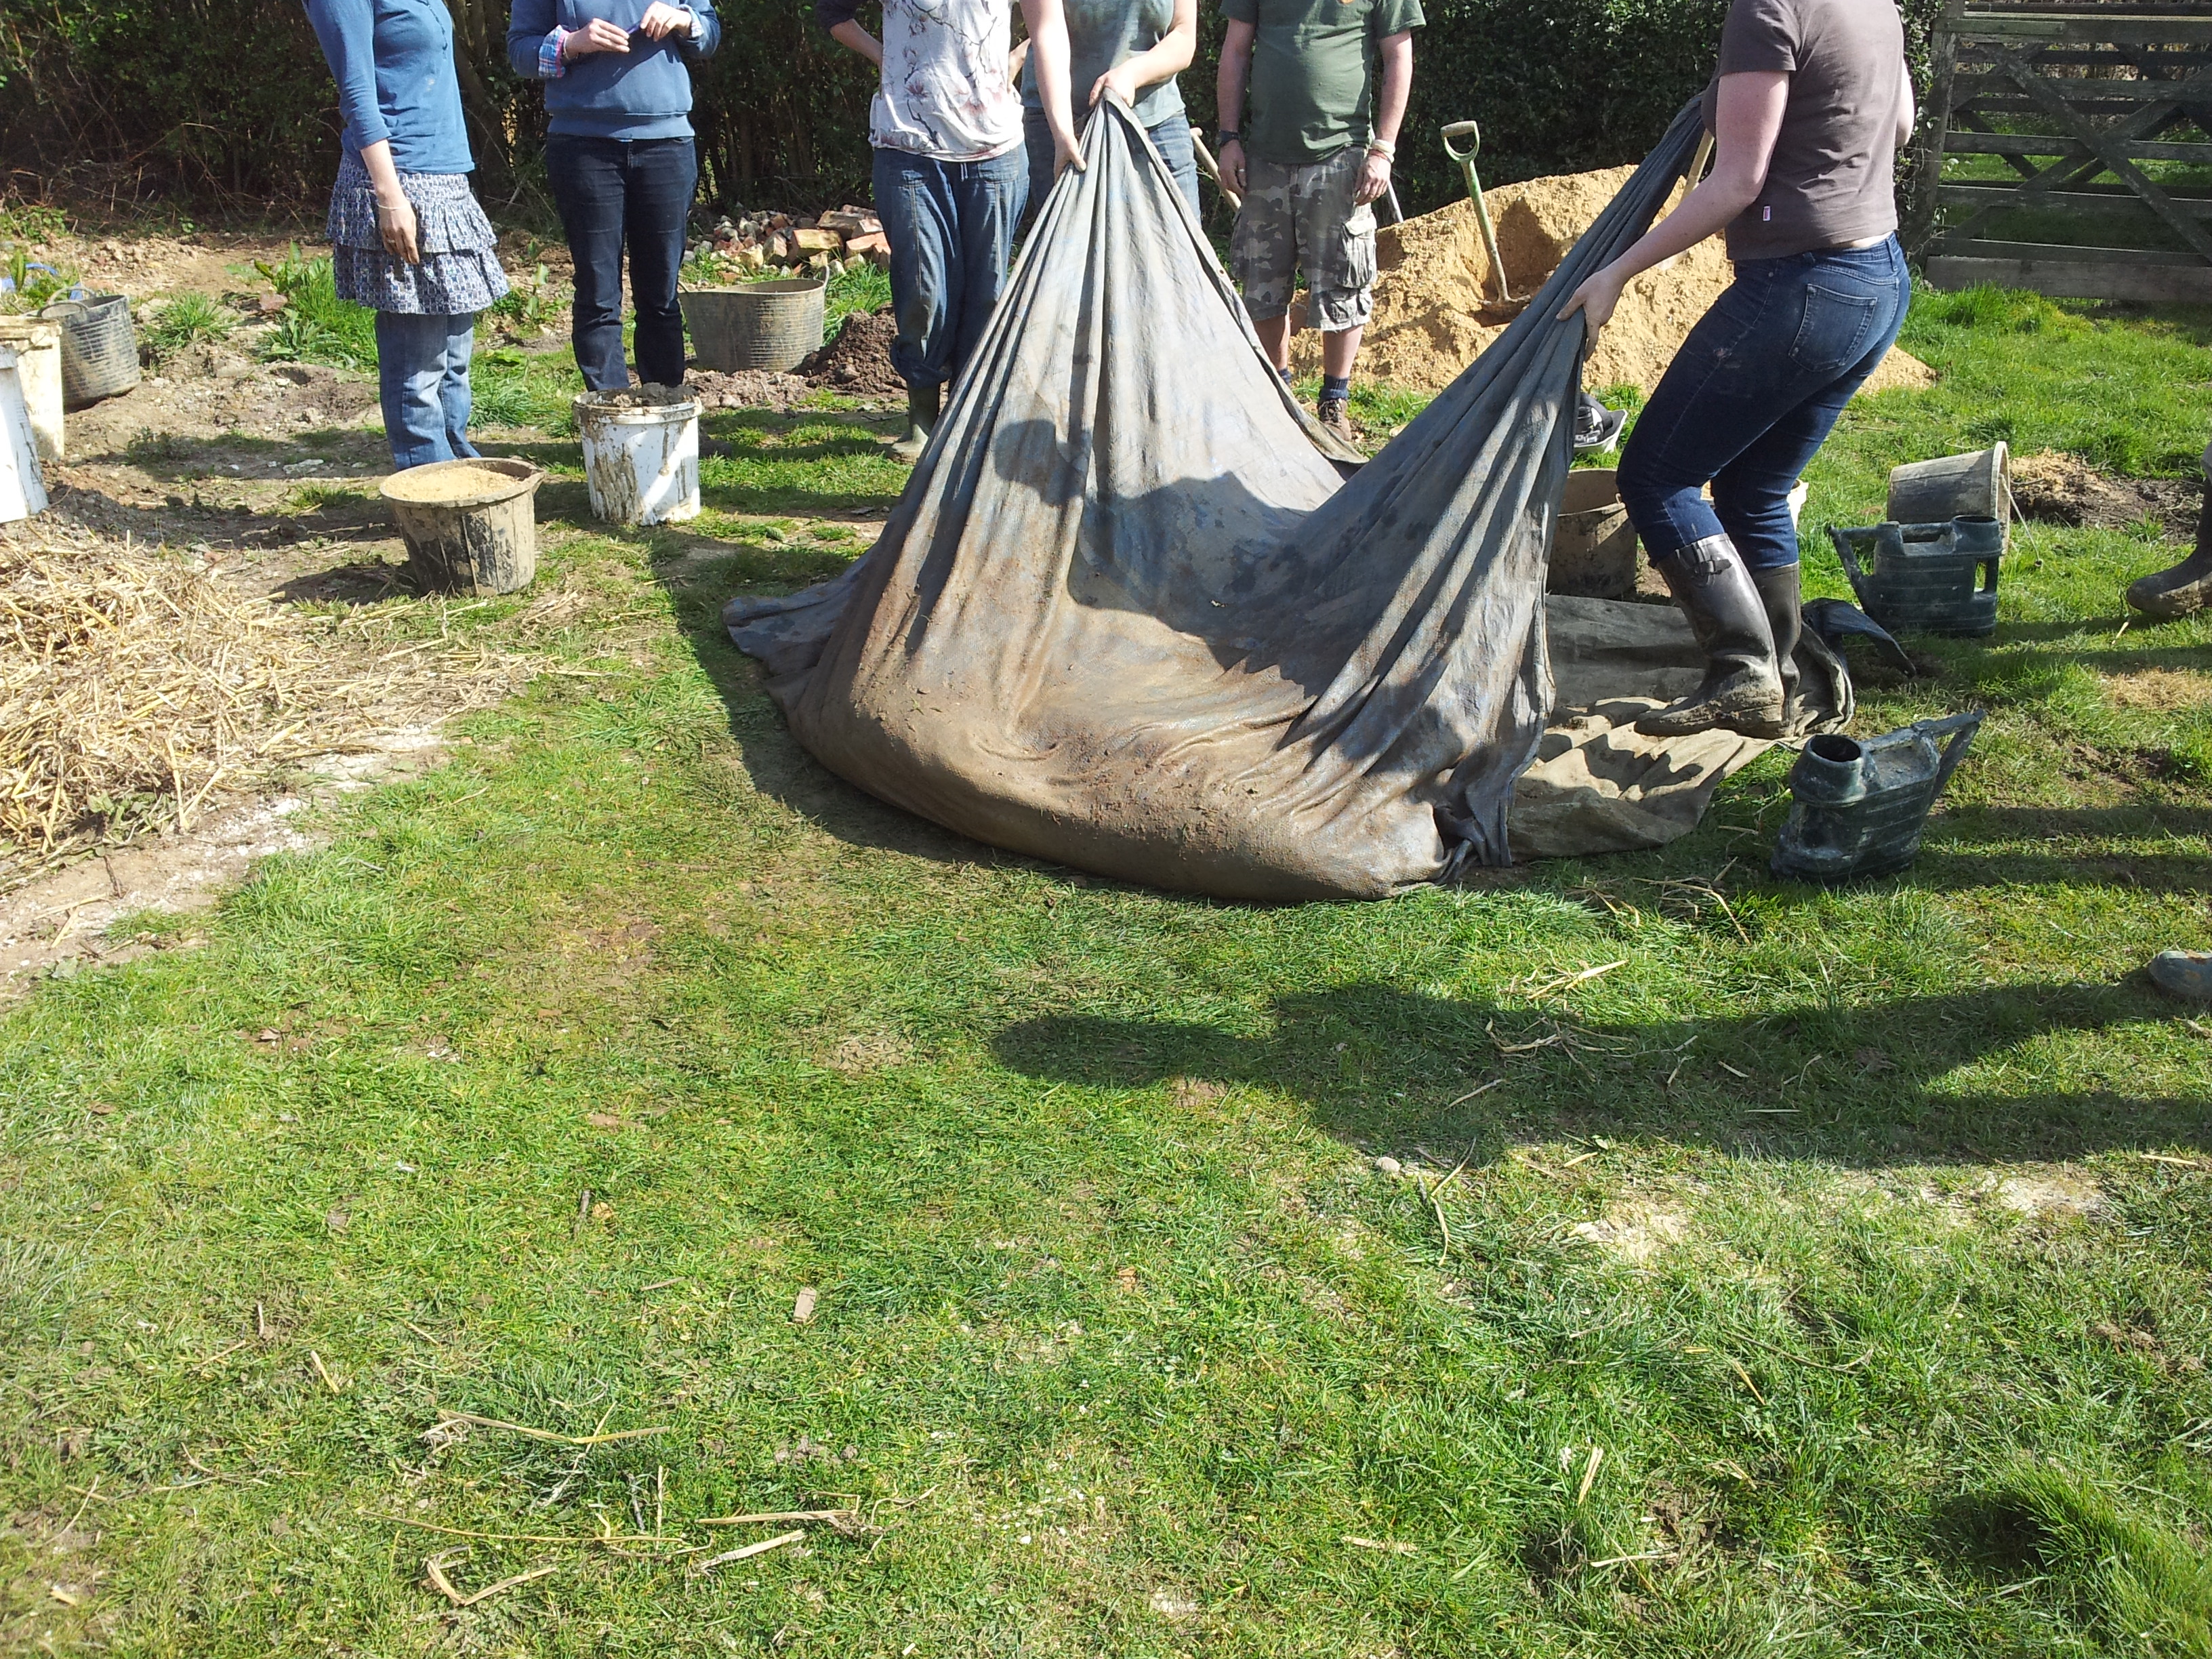
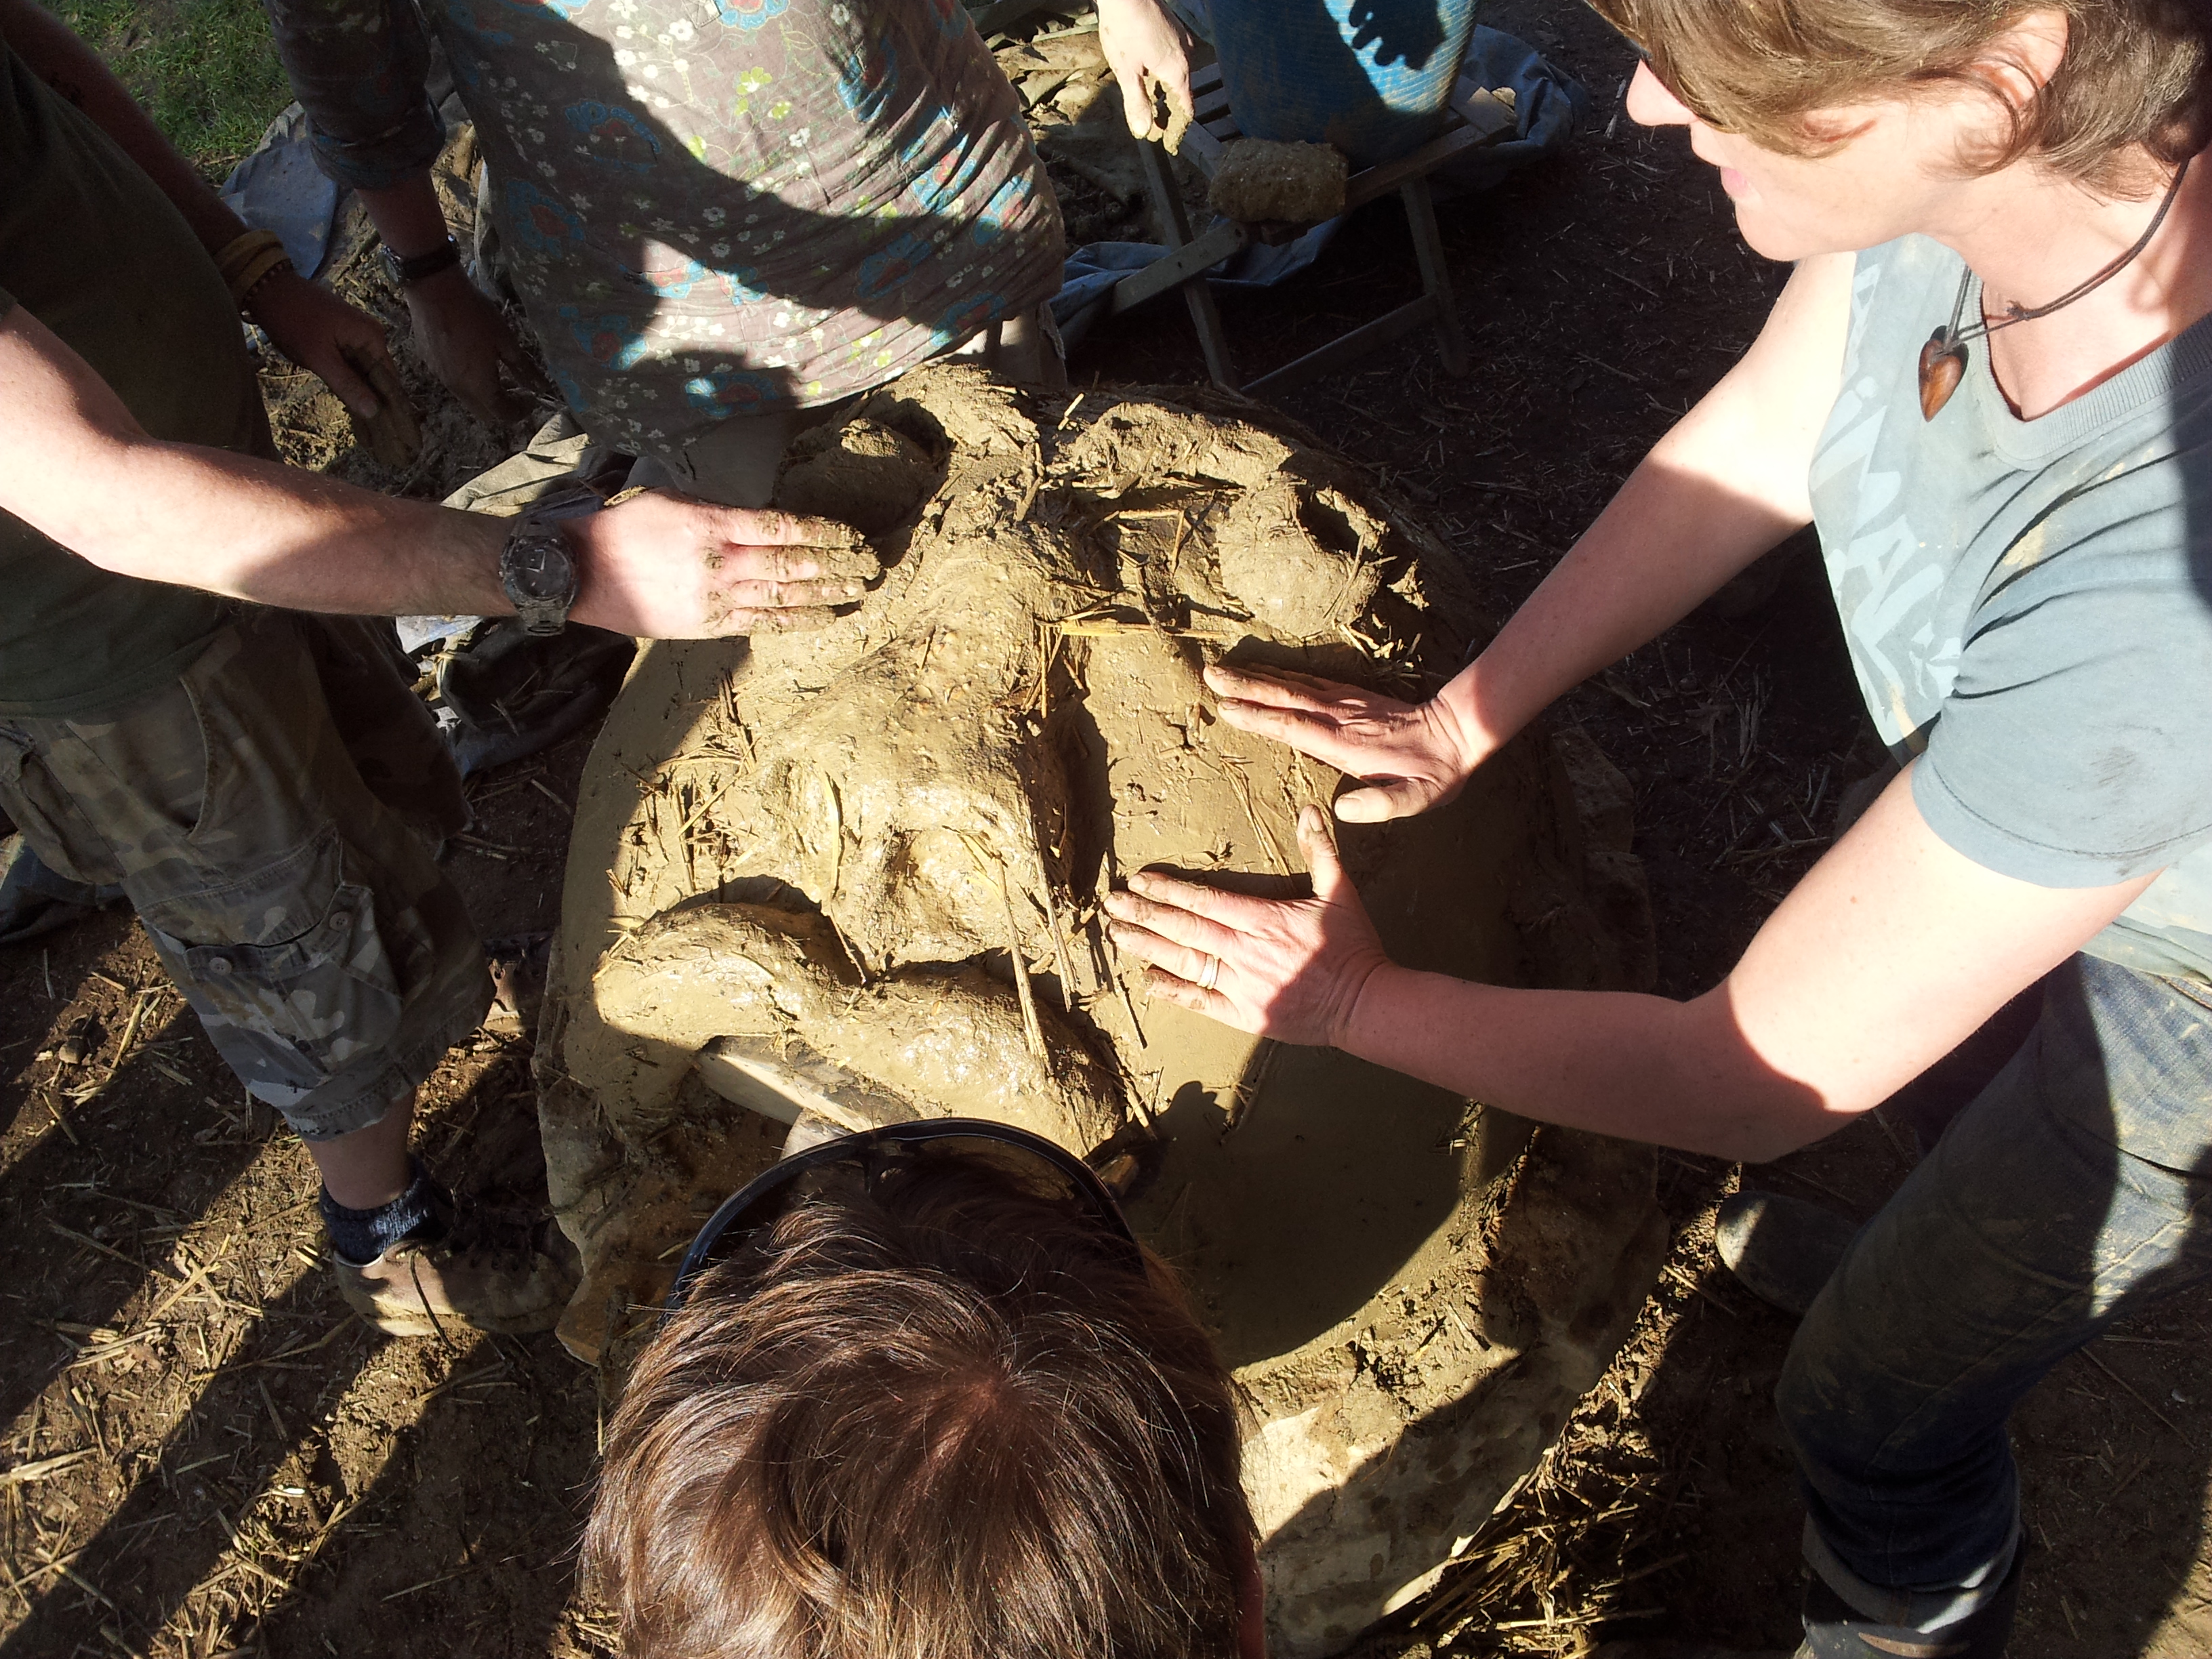
You mix clay and subsoil (Basically very rough sand, grit or if you are buying it “10mm Ballast”) with a bit of water and the best method for this is to “Dance it in” (apparently) and If you mix it on a tarpaulin you can also roll it together as part of the process, as shown below:
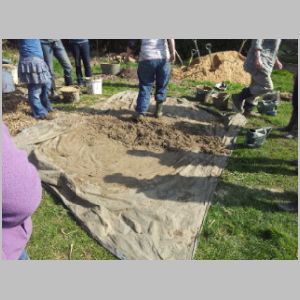
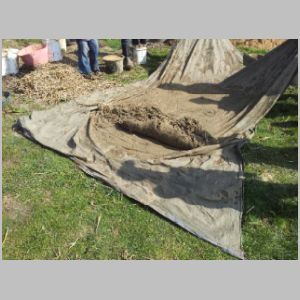

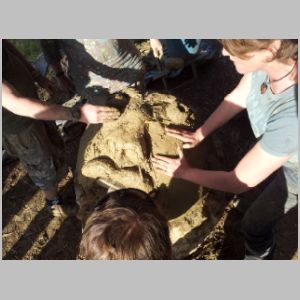
You need to reserve some of this “not actually cob” for lining the oven, and to the rest add some clean straw, then after more stomping and rolling you should get to the “Dinosaur Poo” stage
Then we had lunch, Pizza from “One we made earlier”, lovely
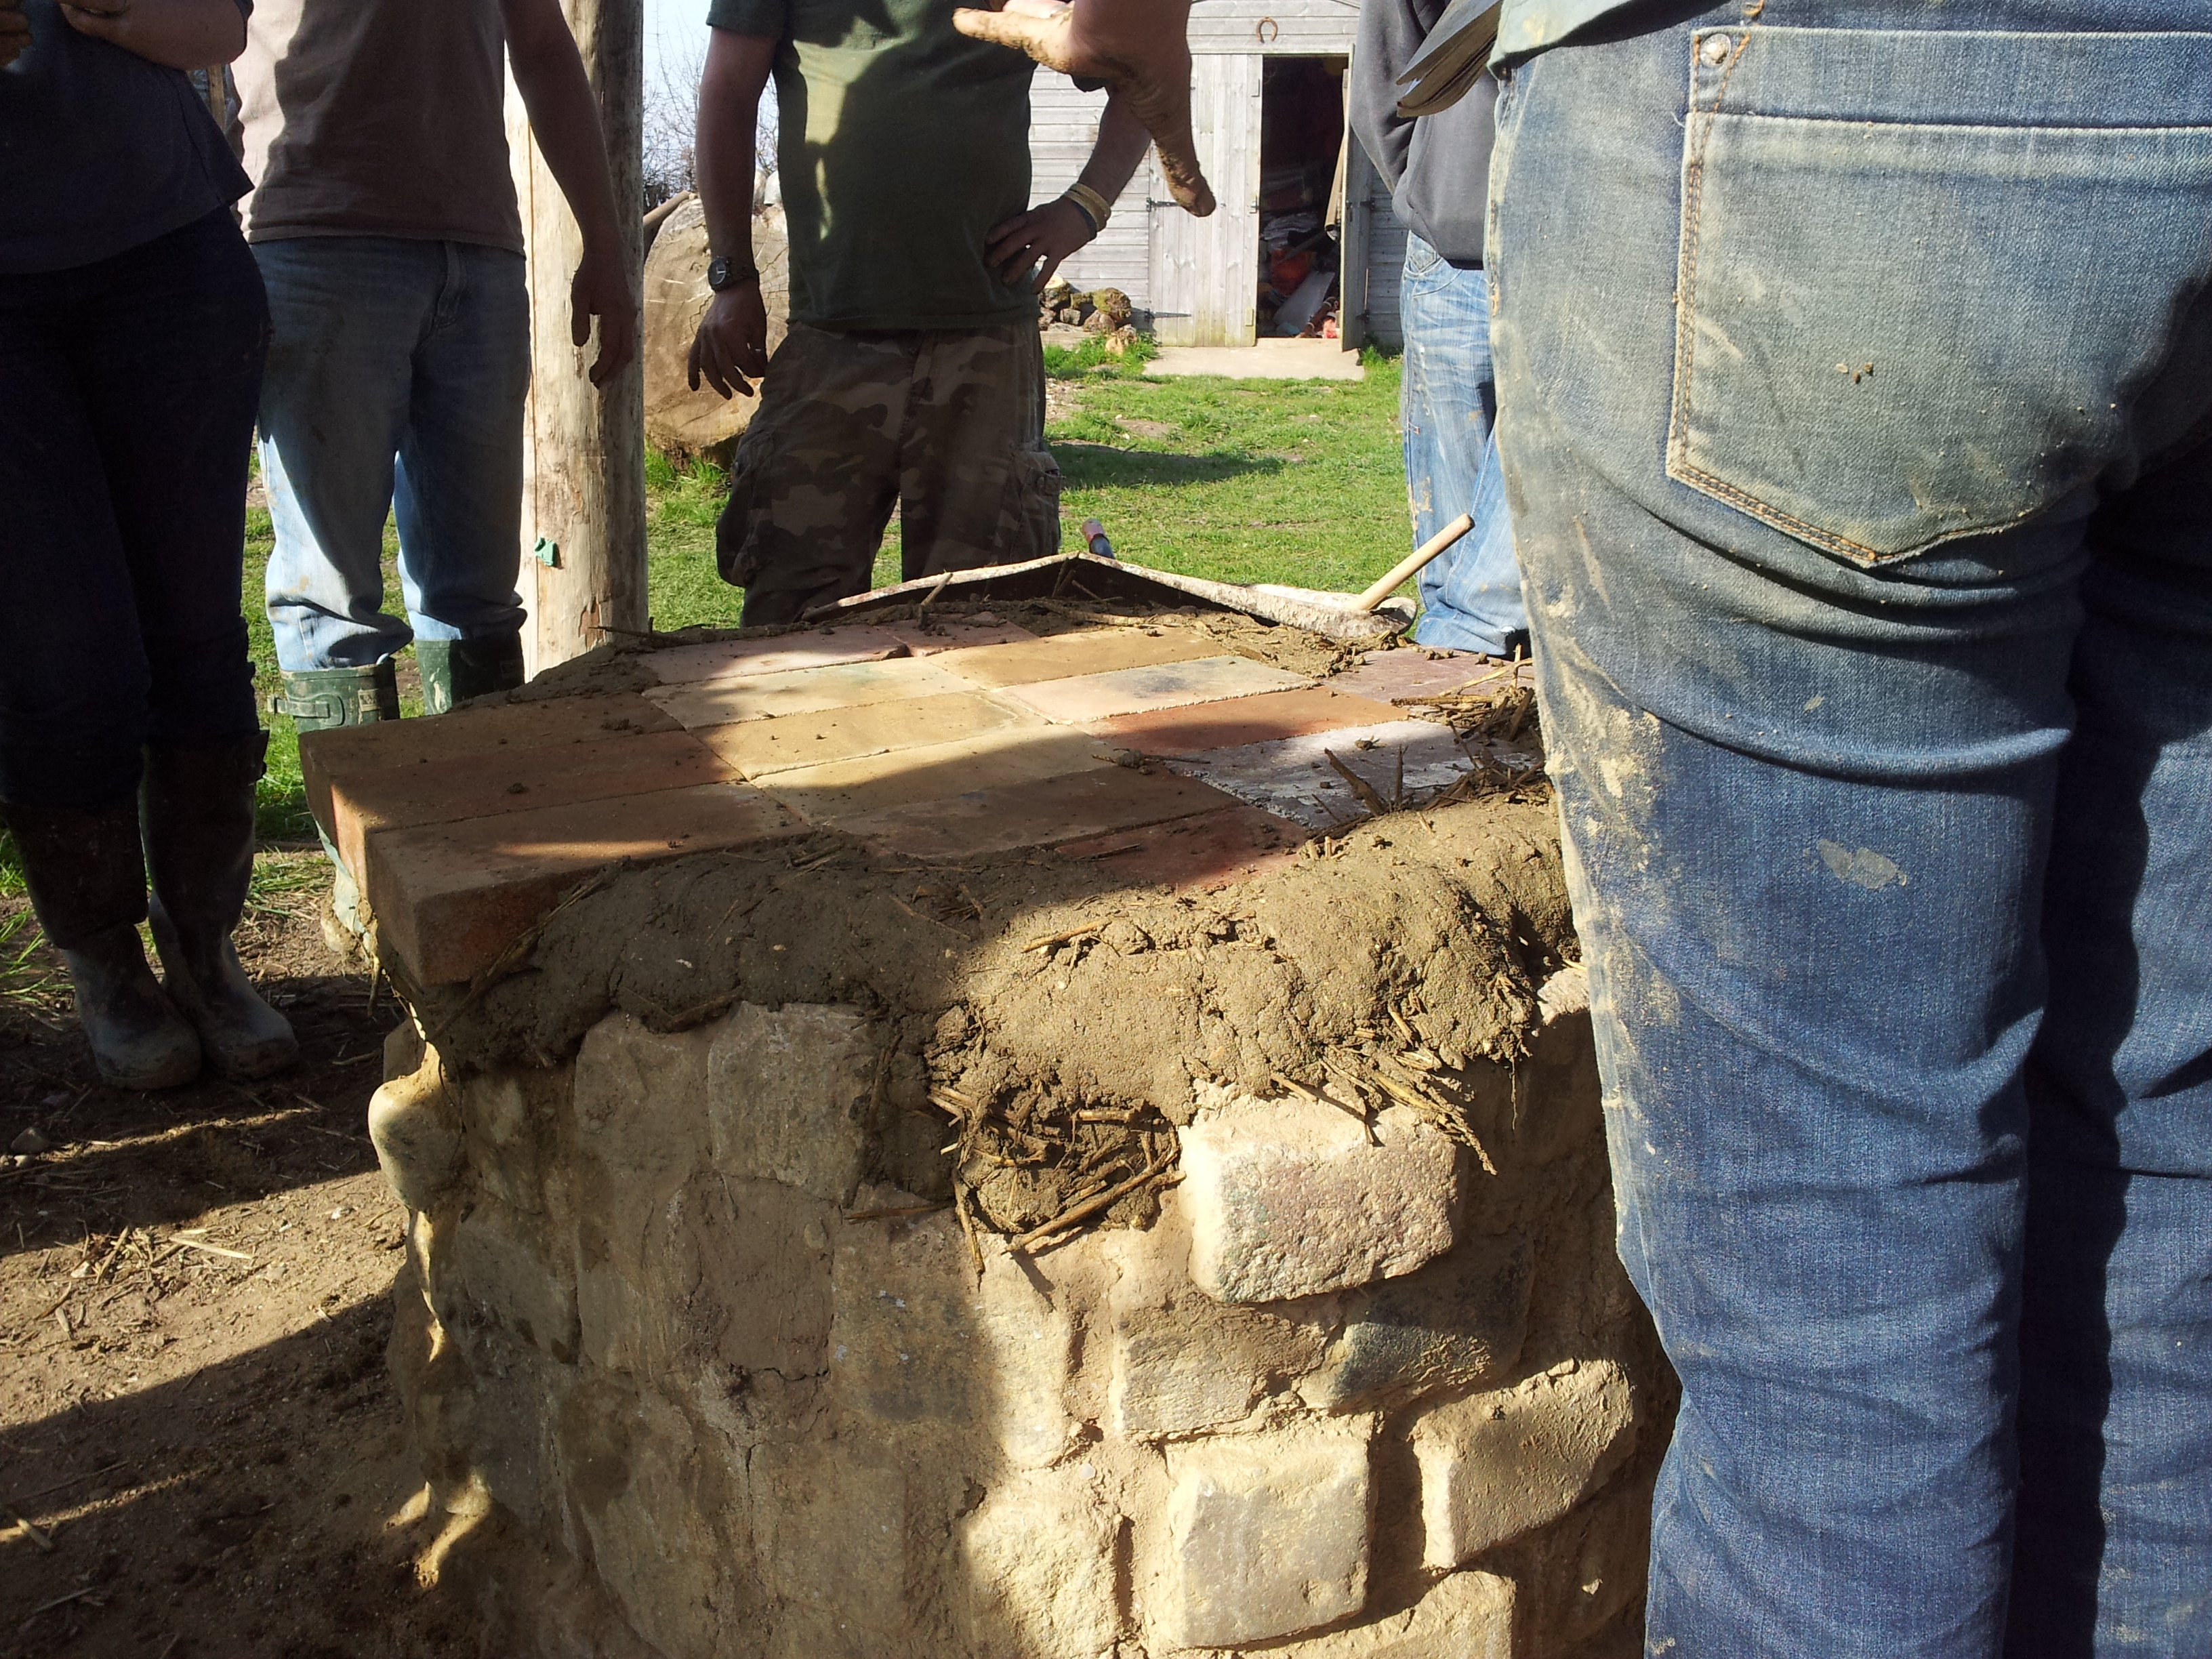
Building the Oven:
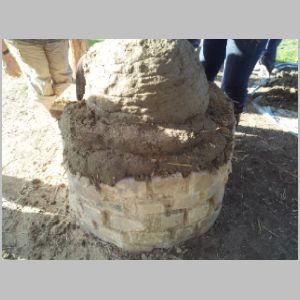
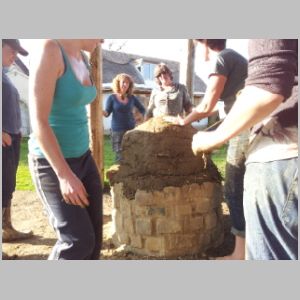
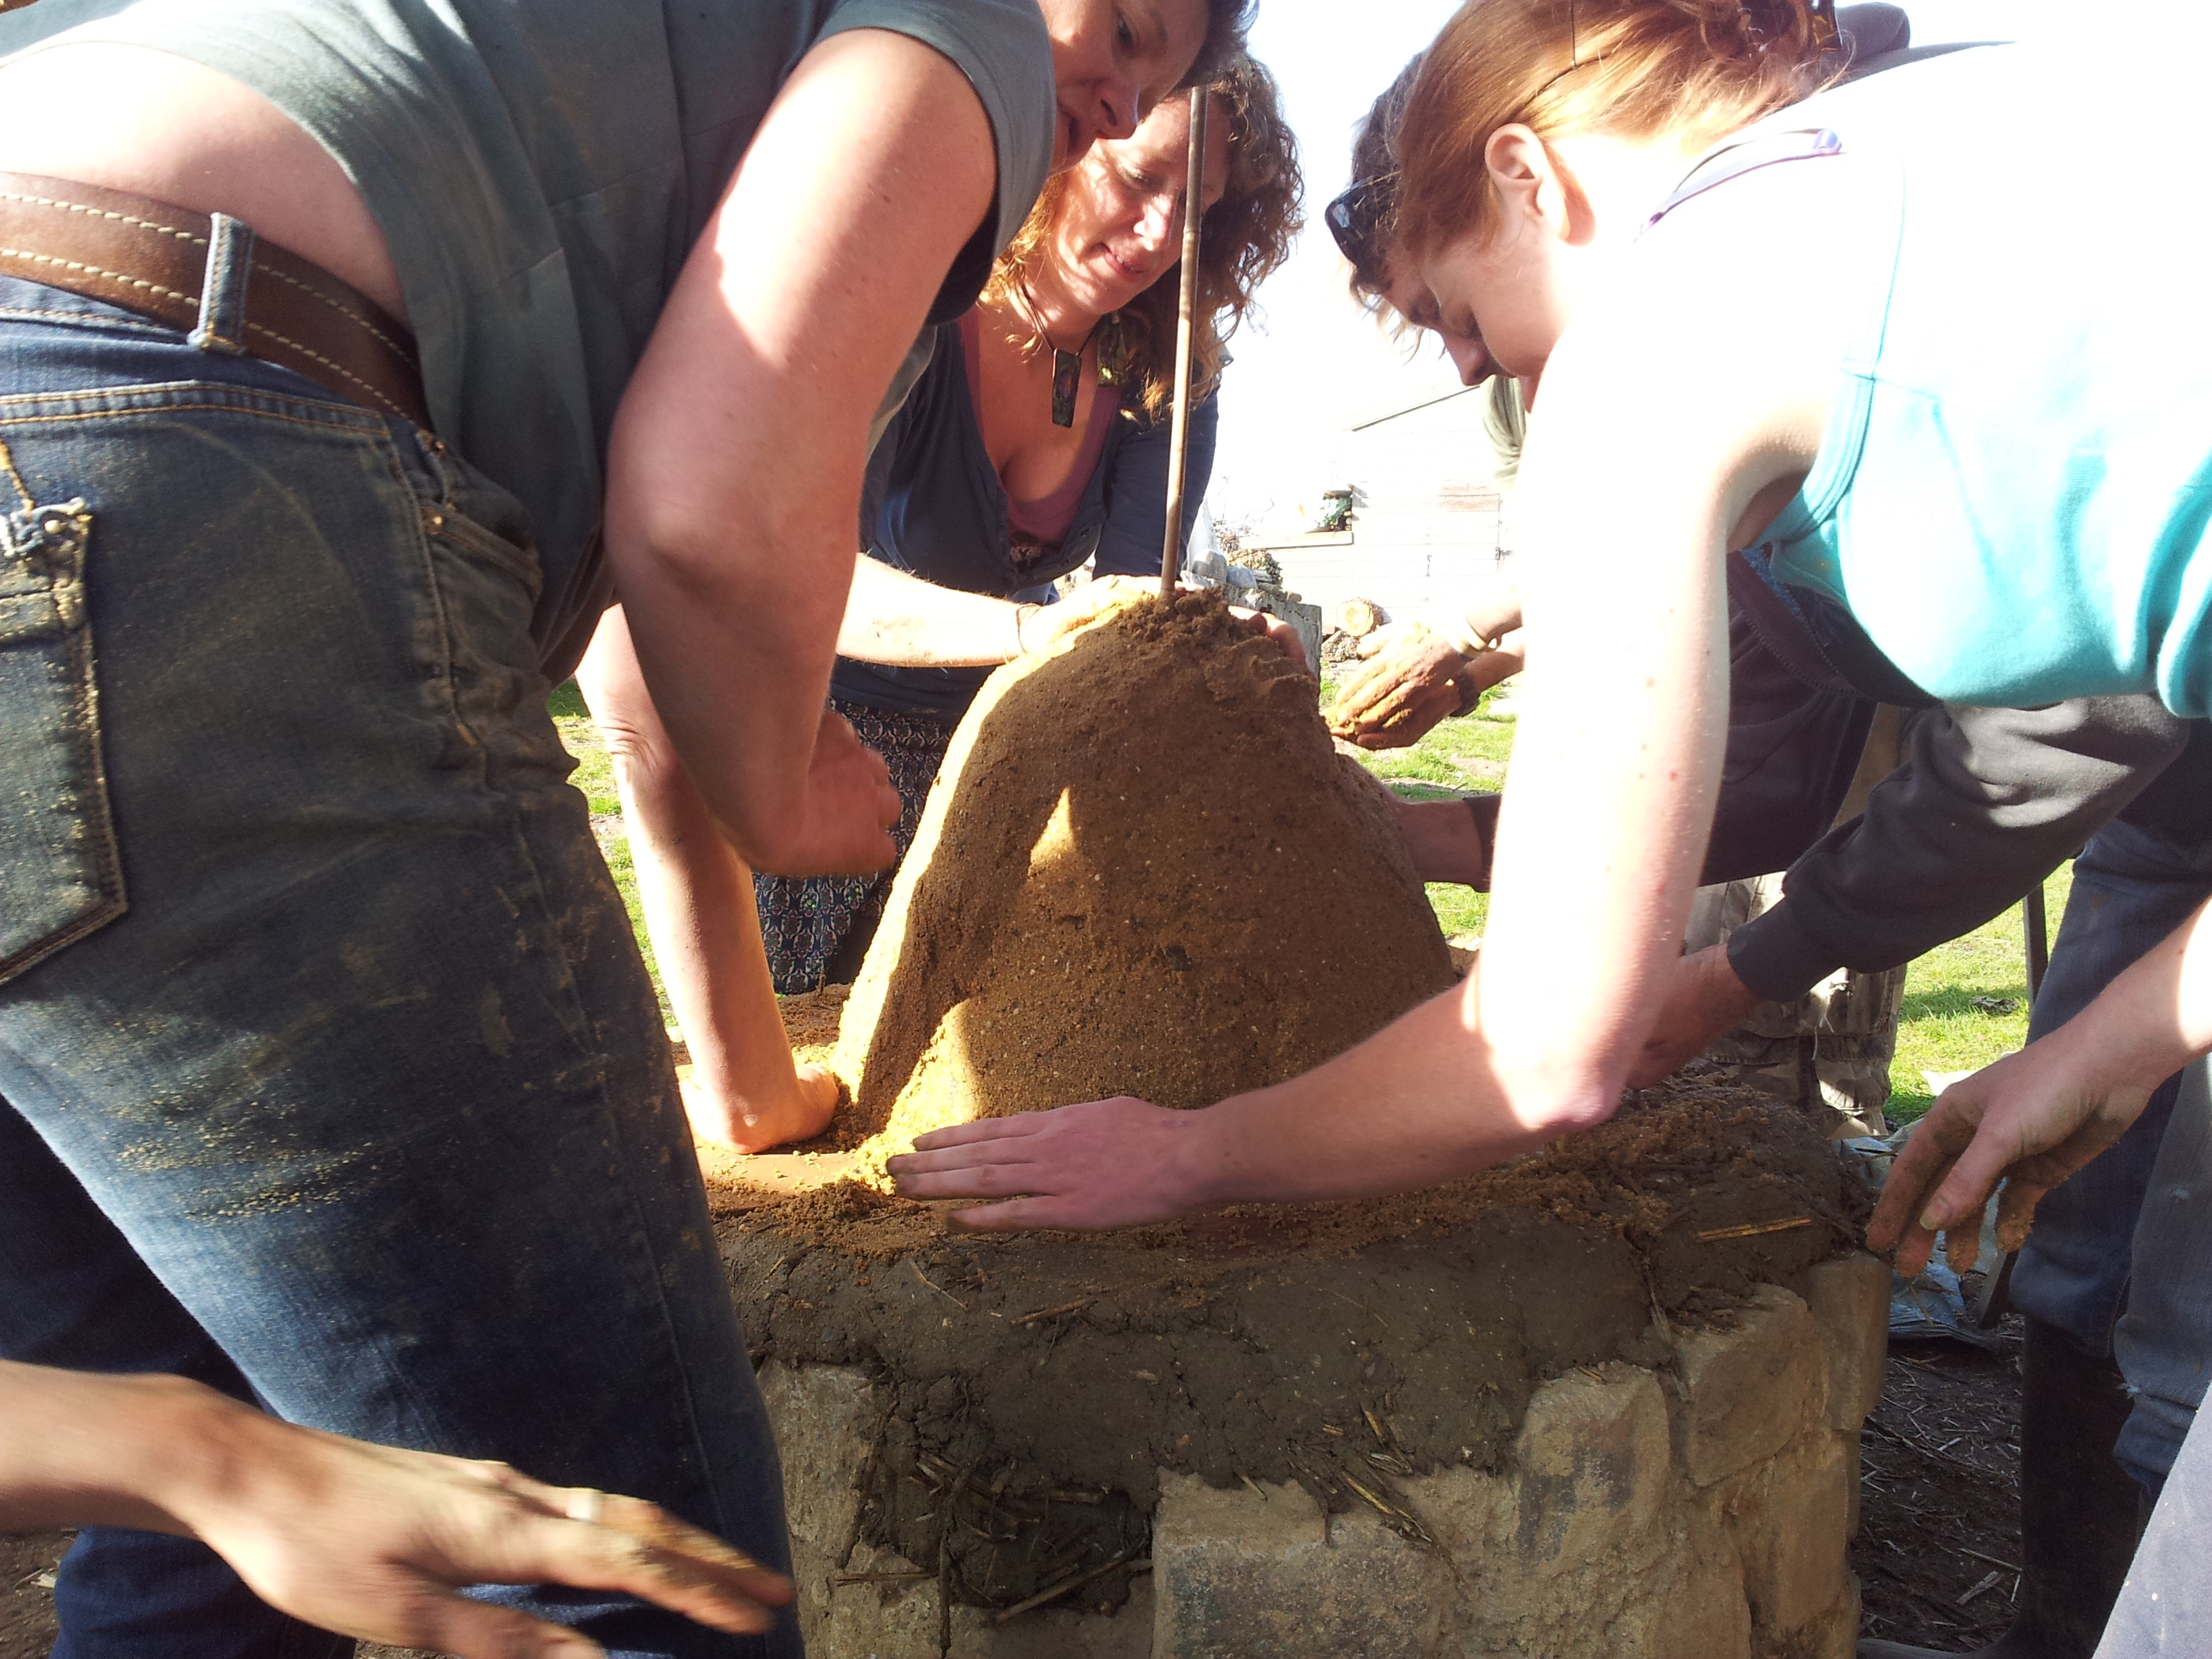
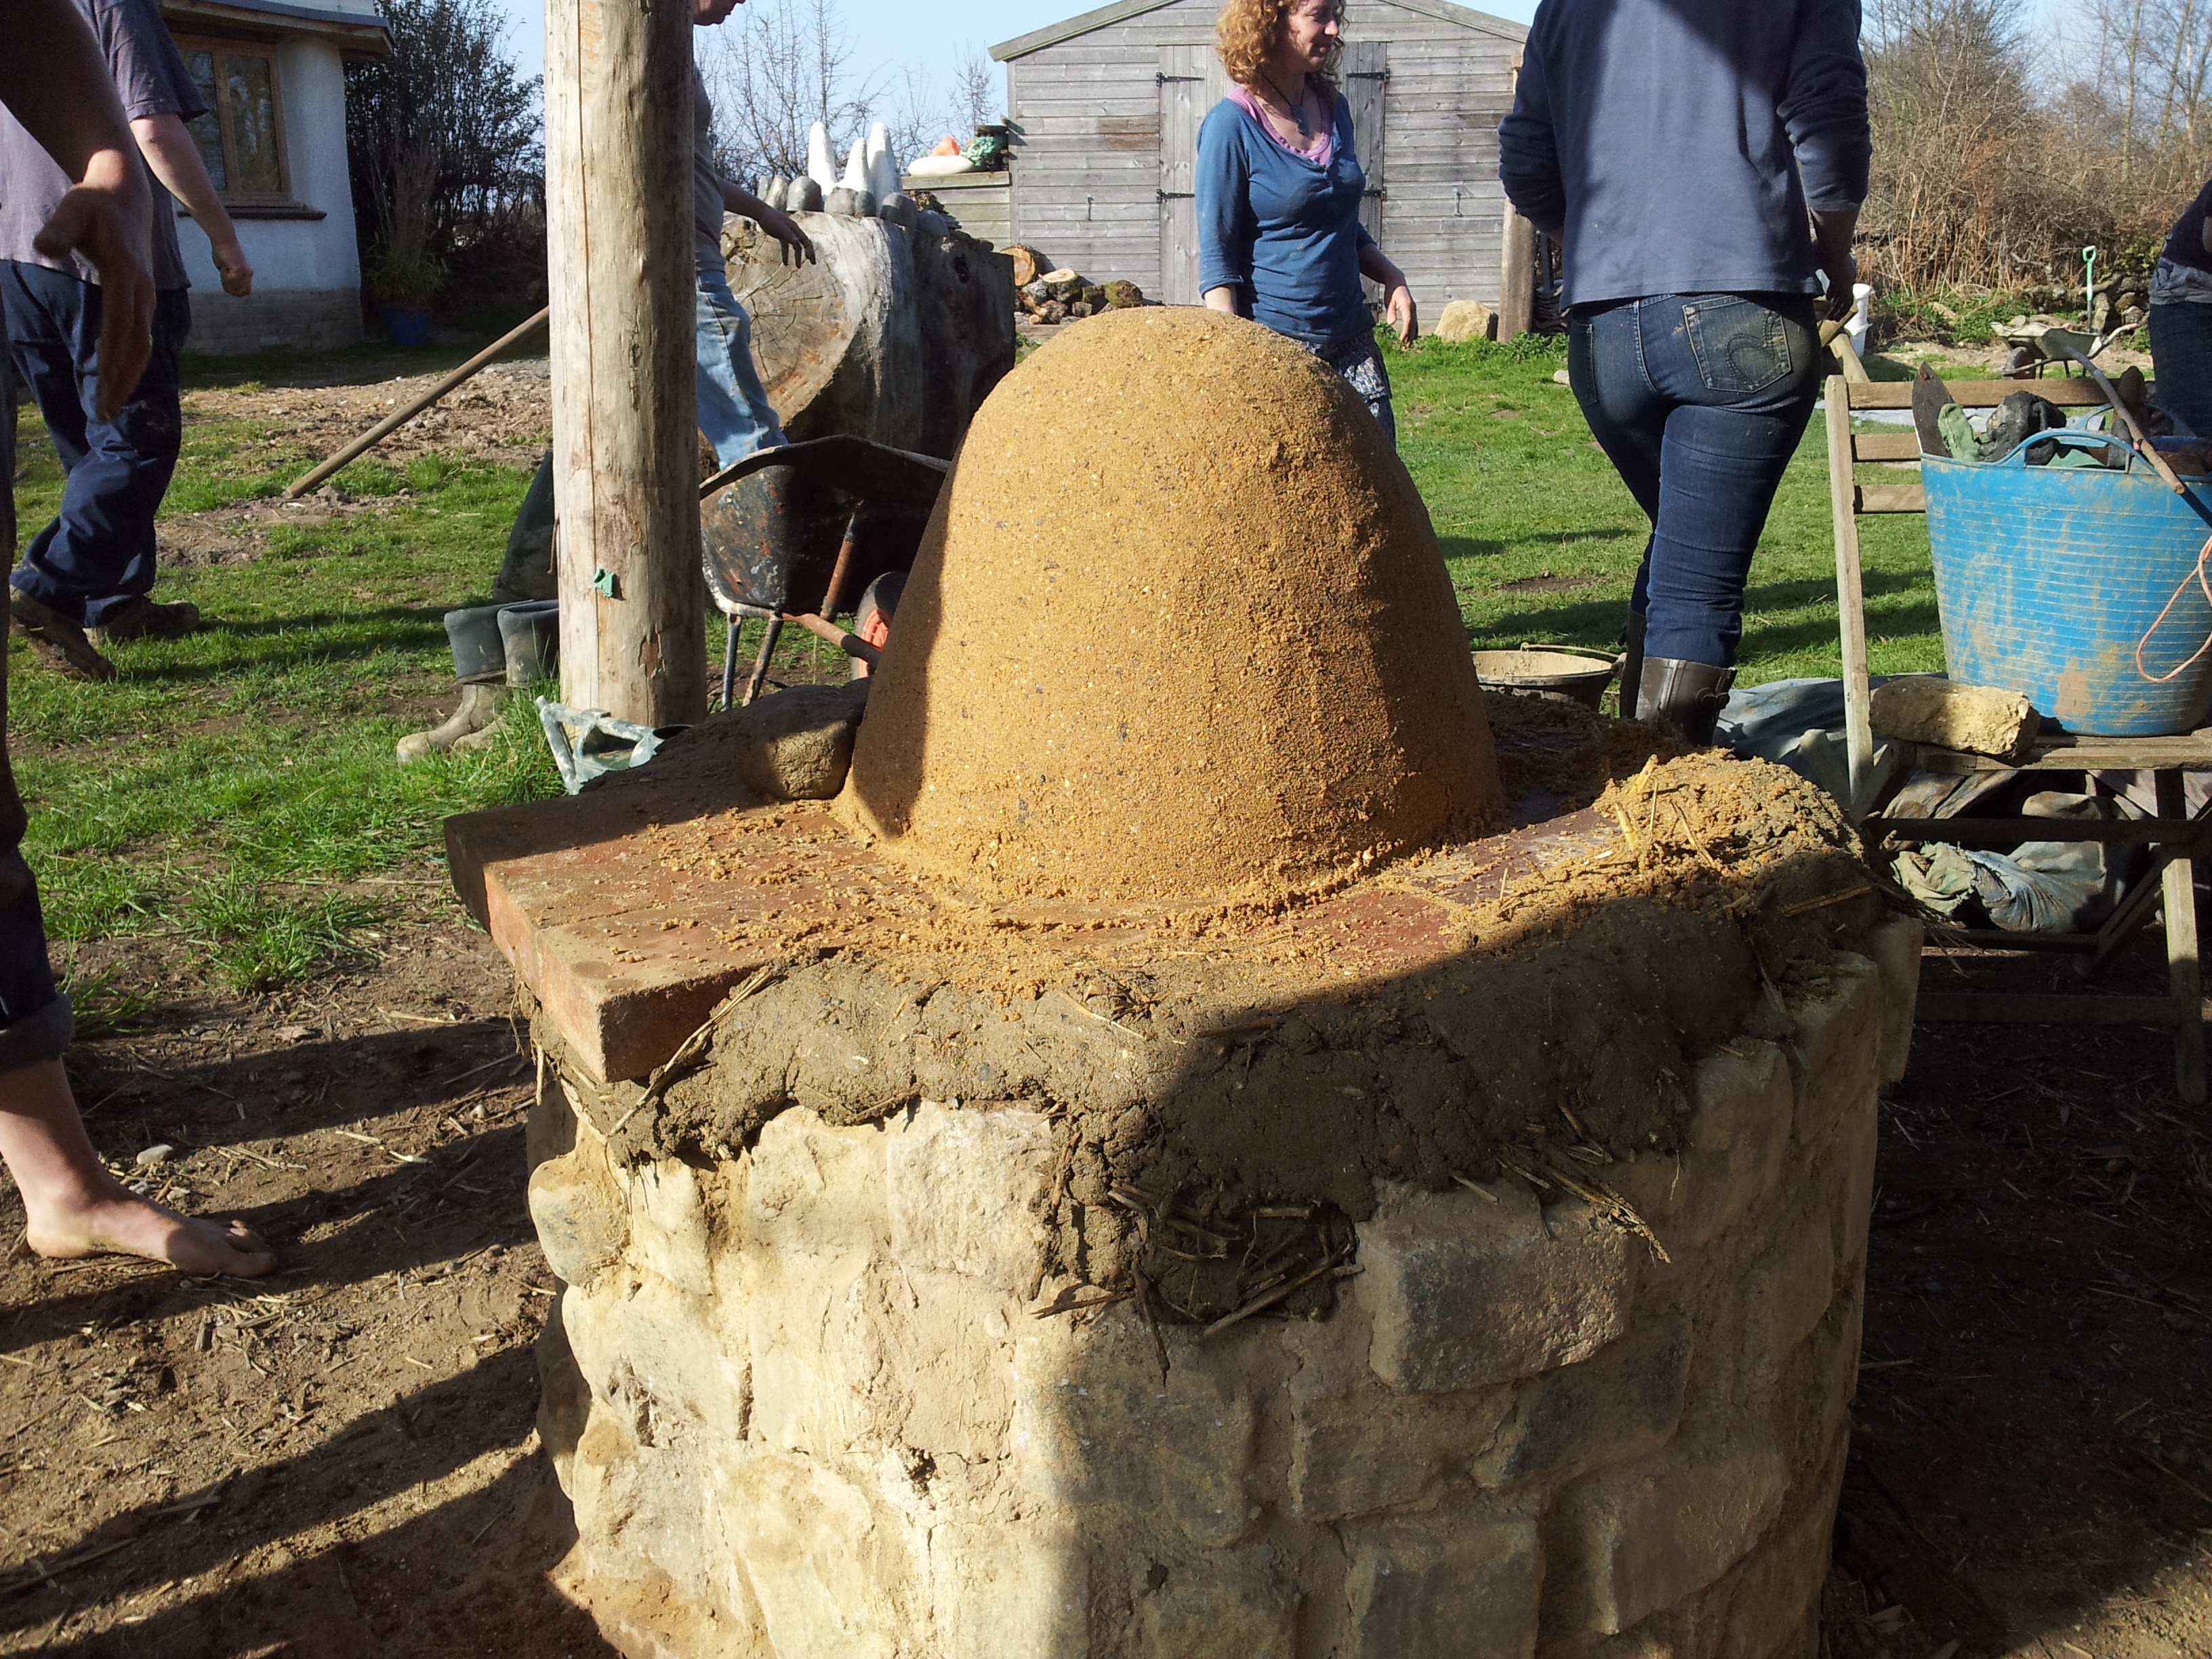
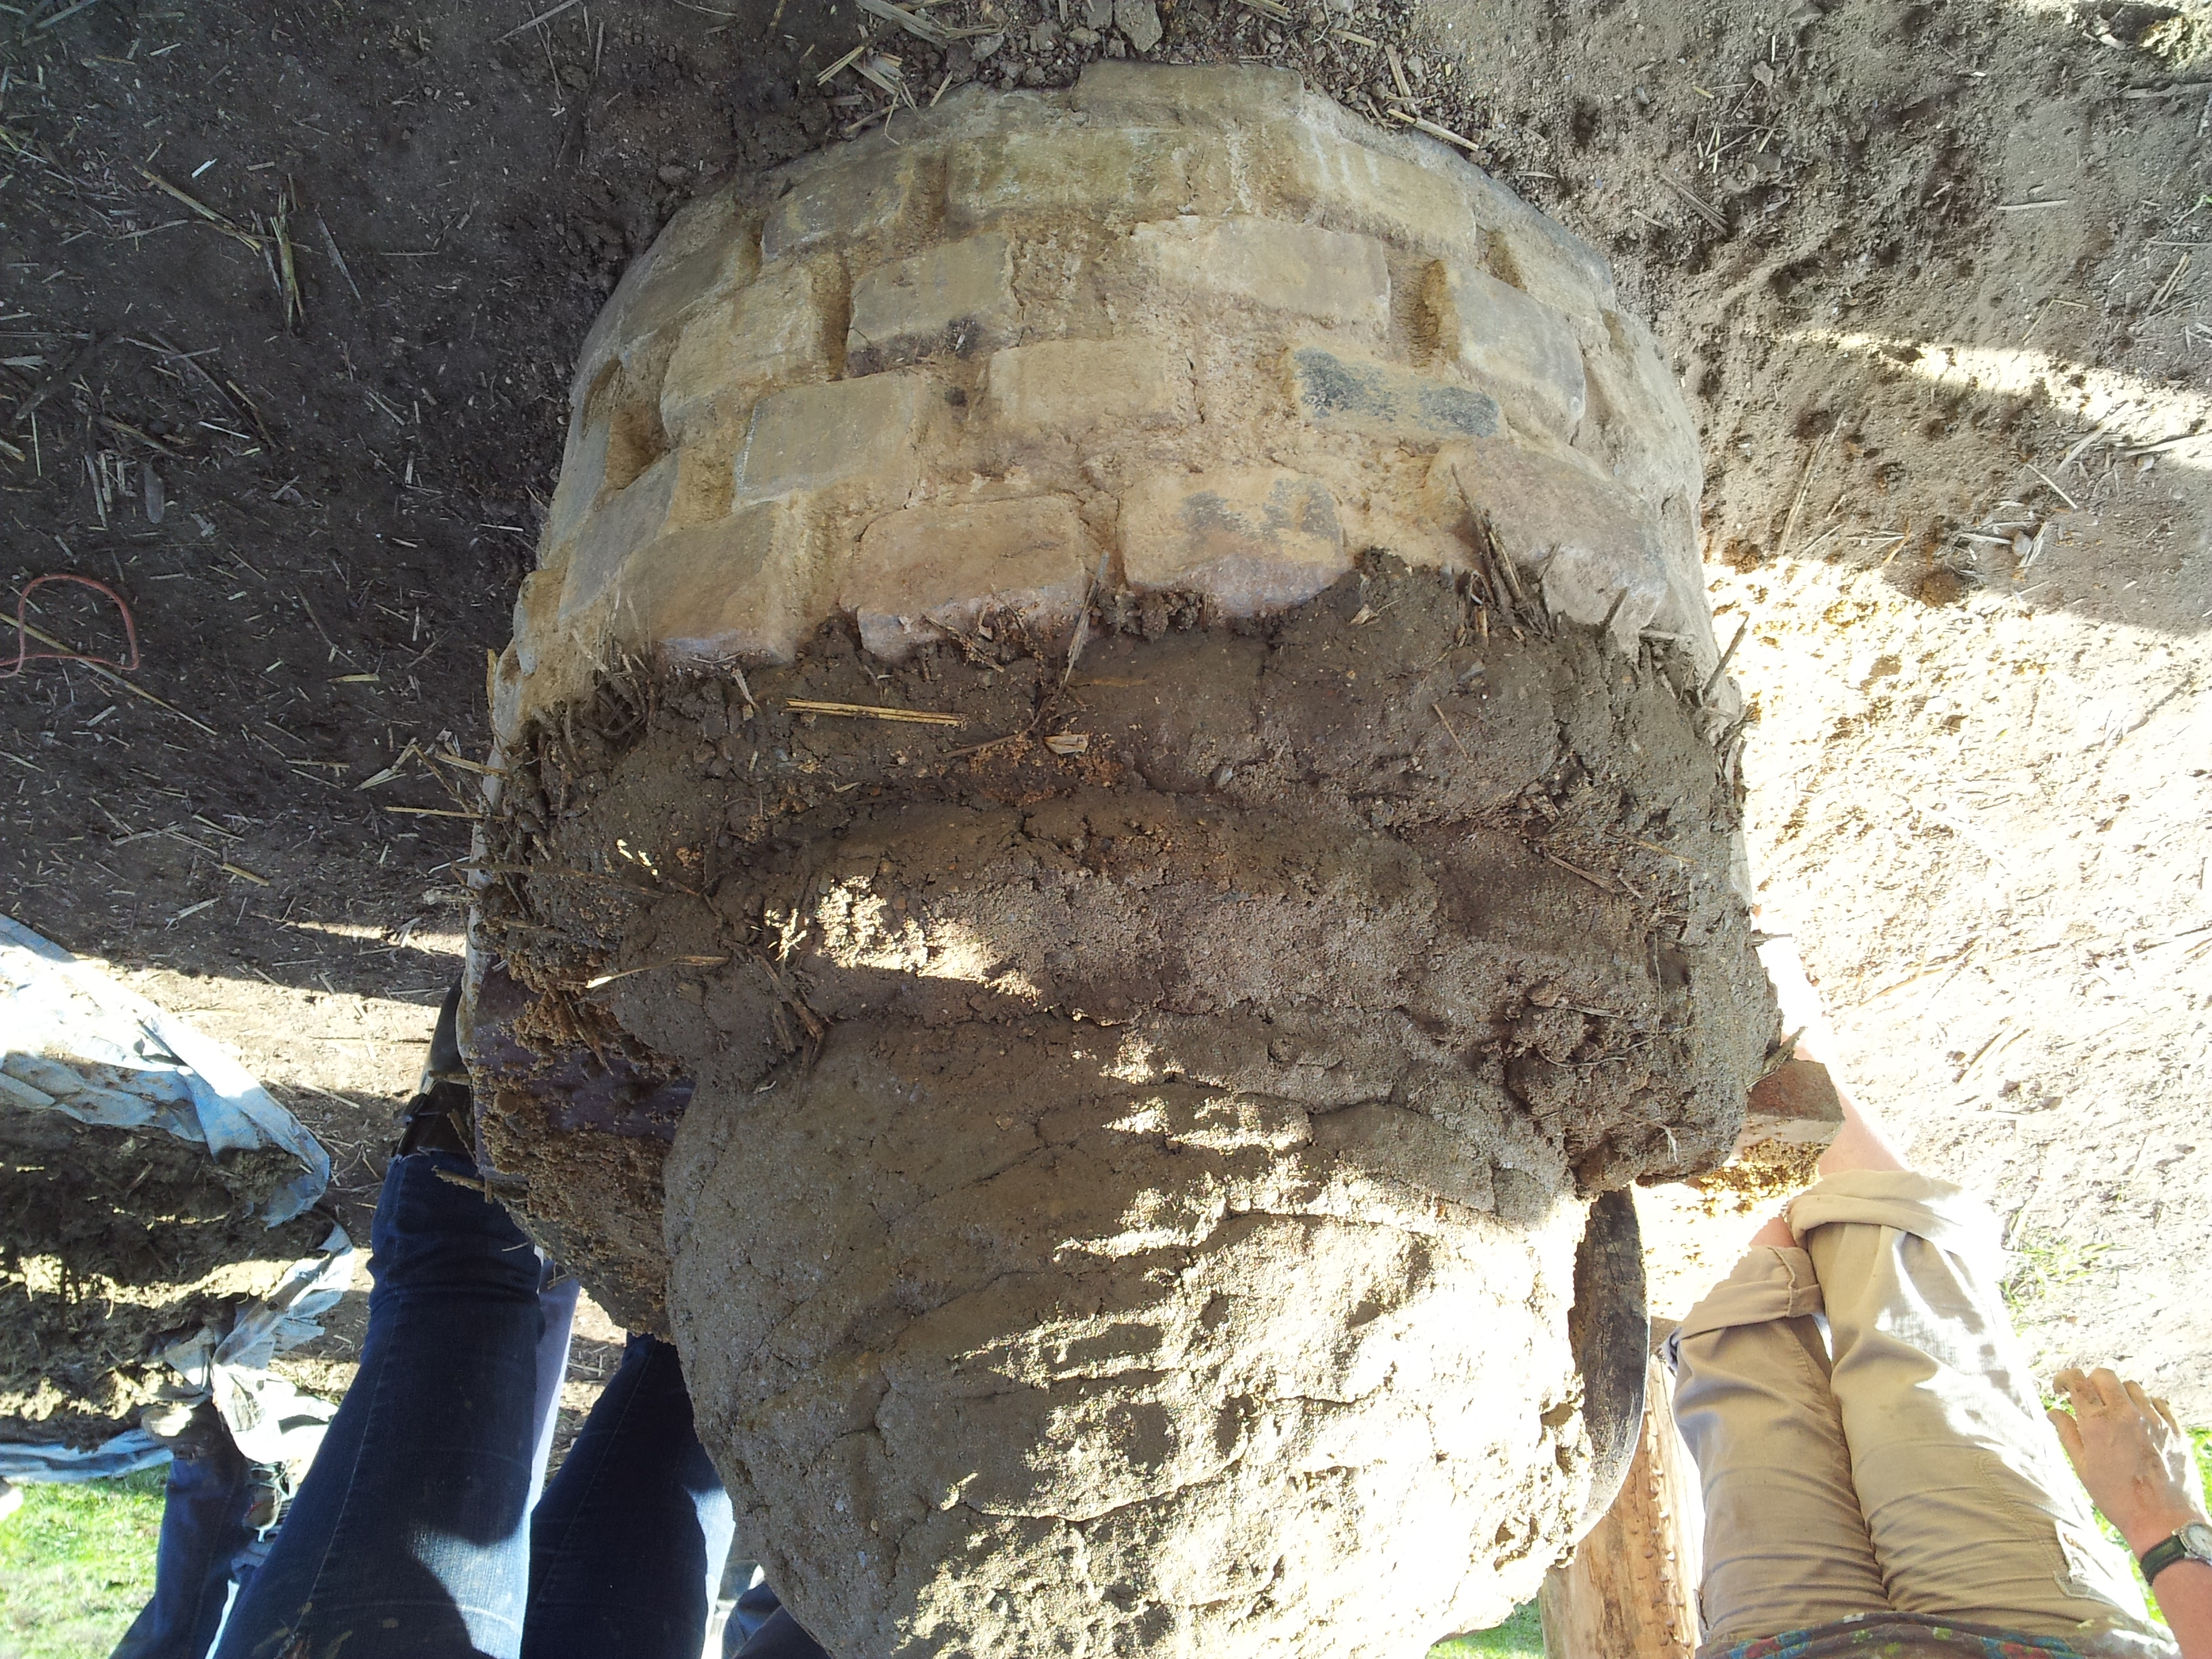
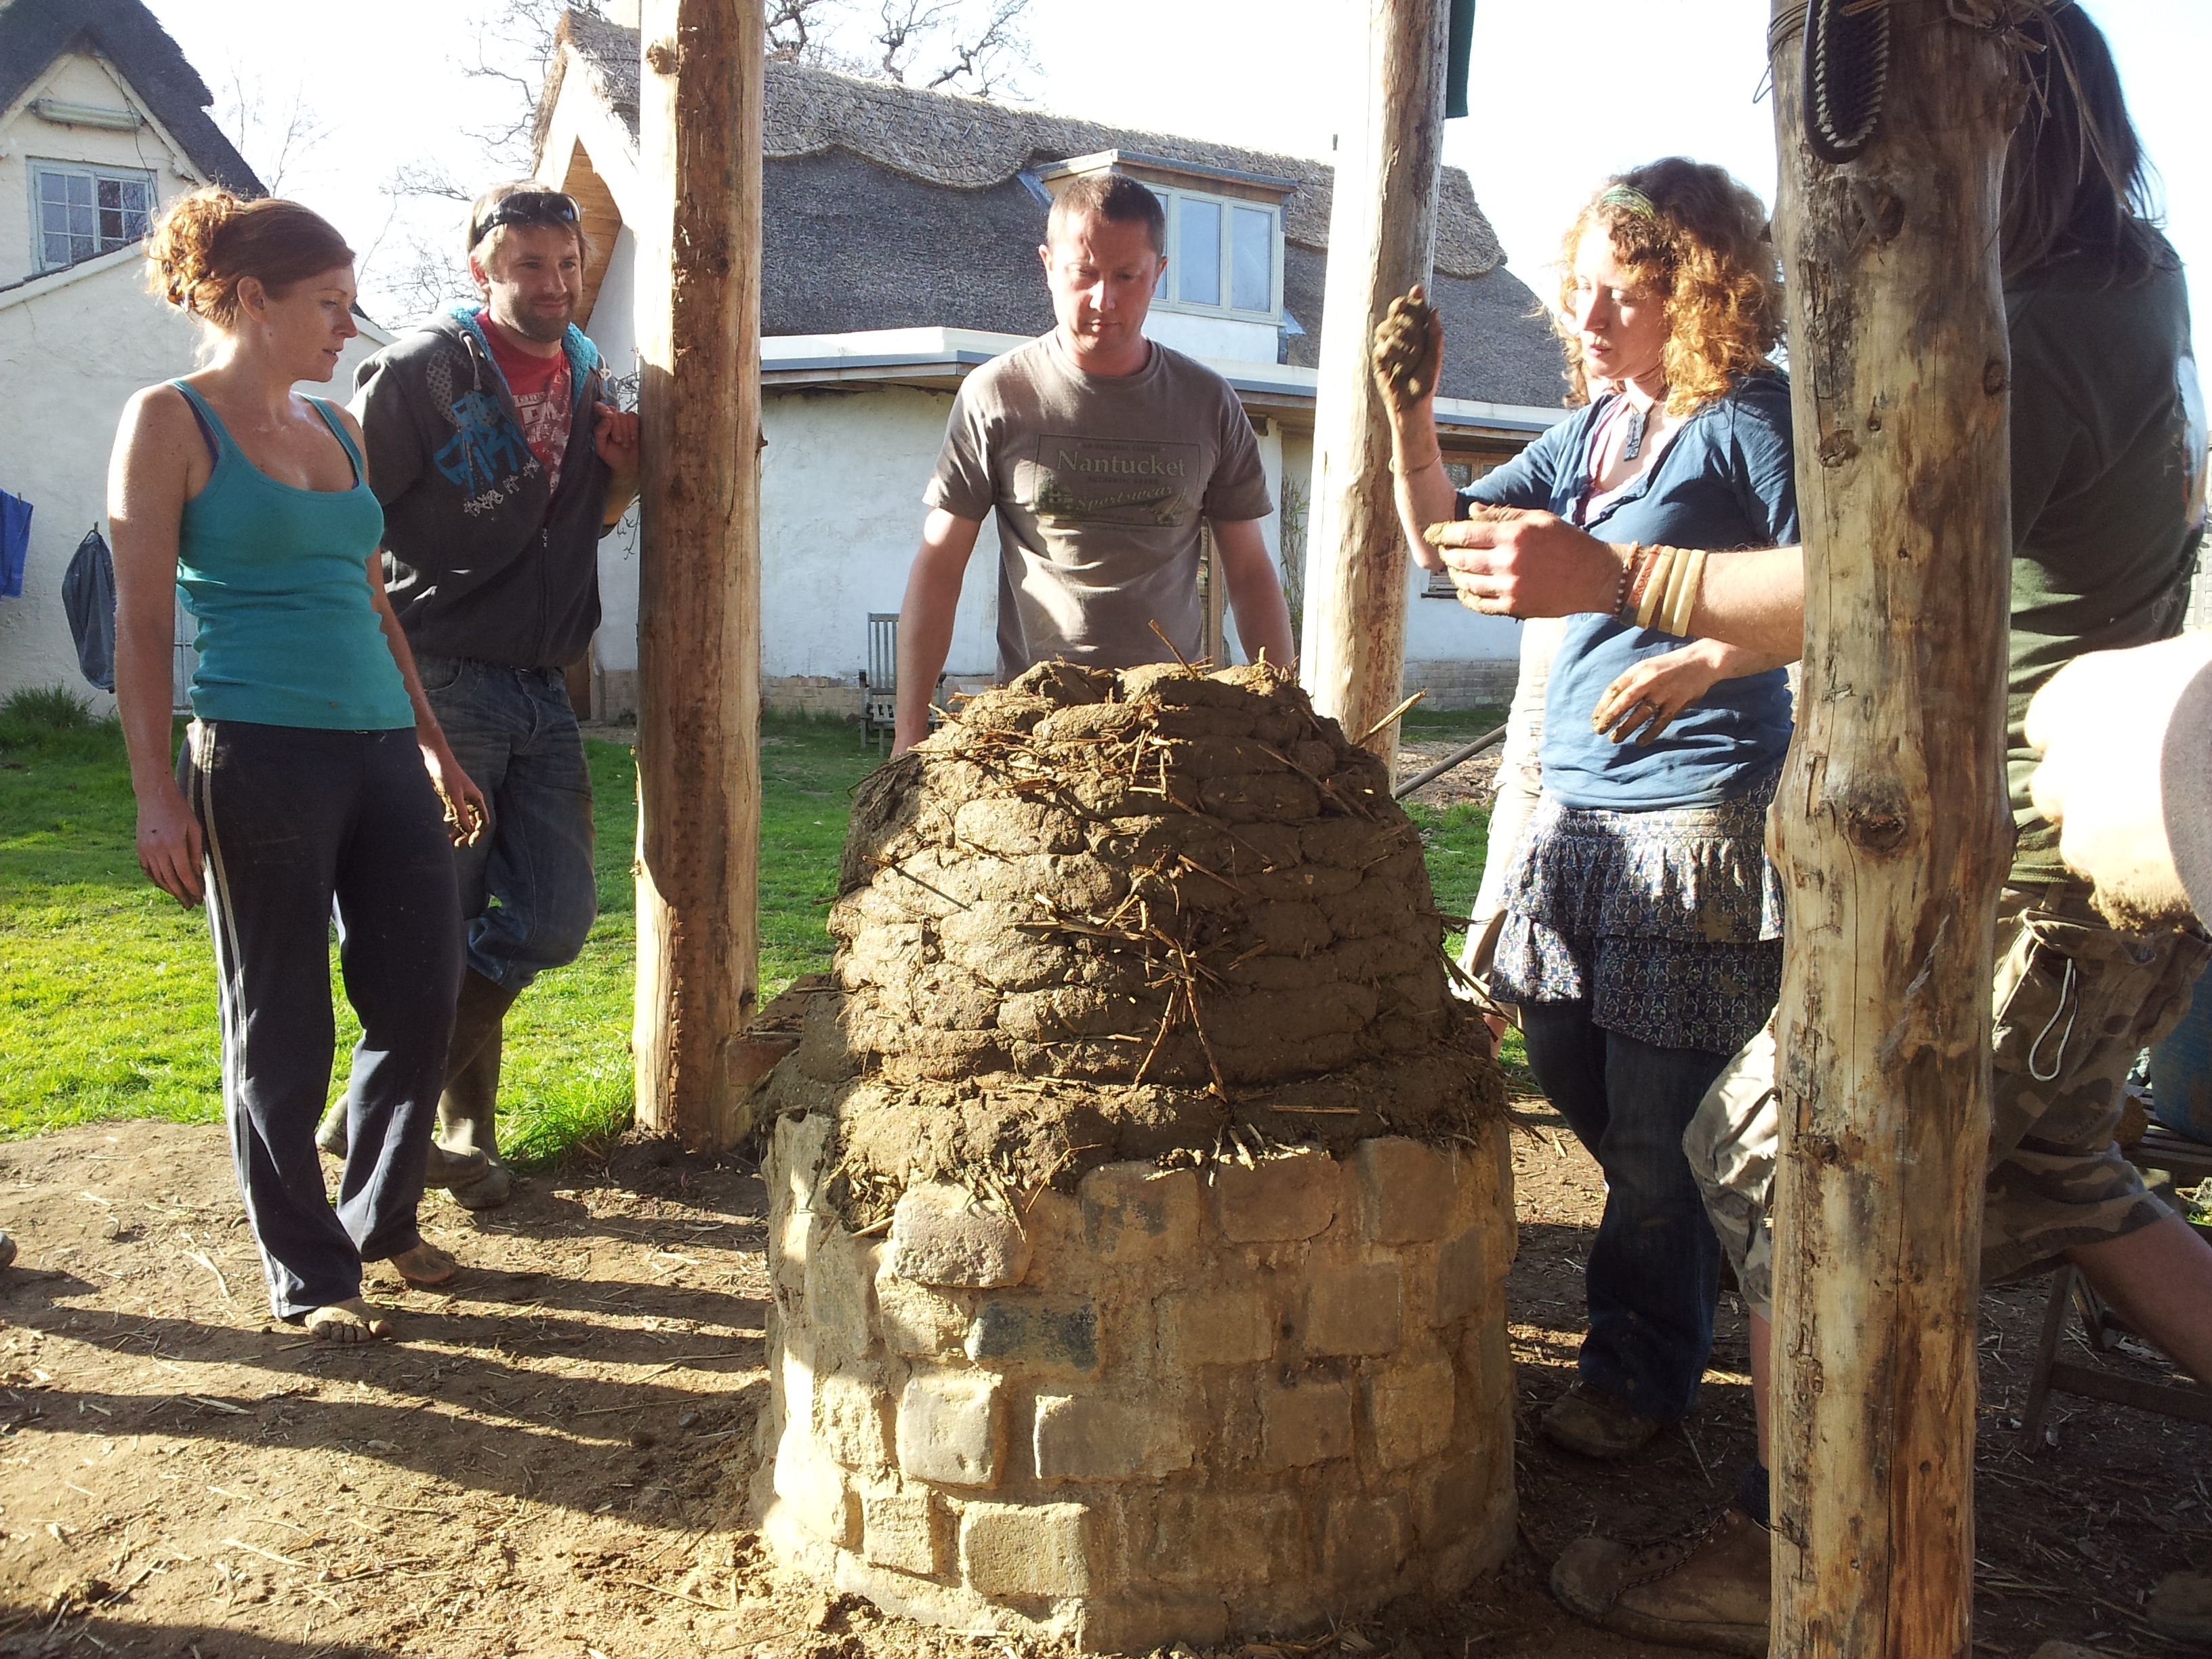
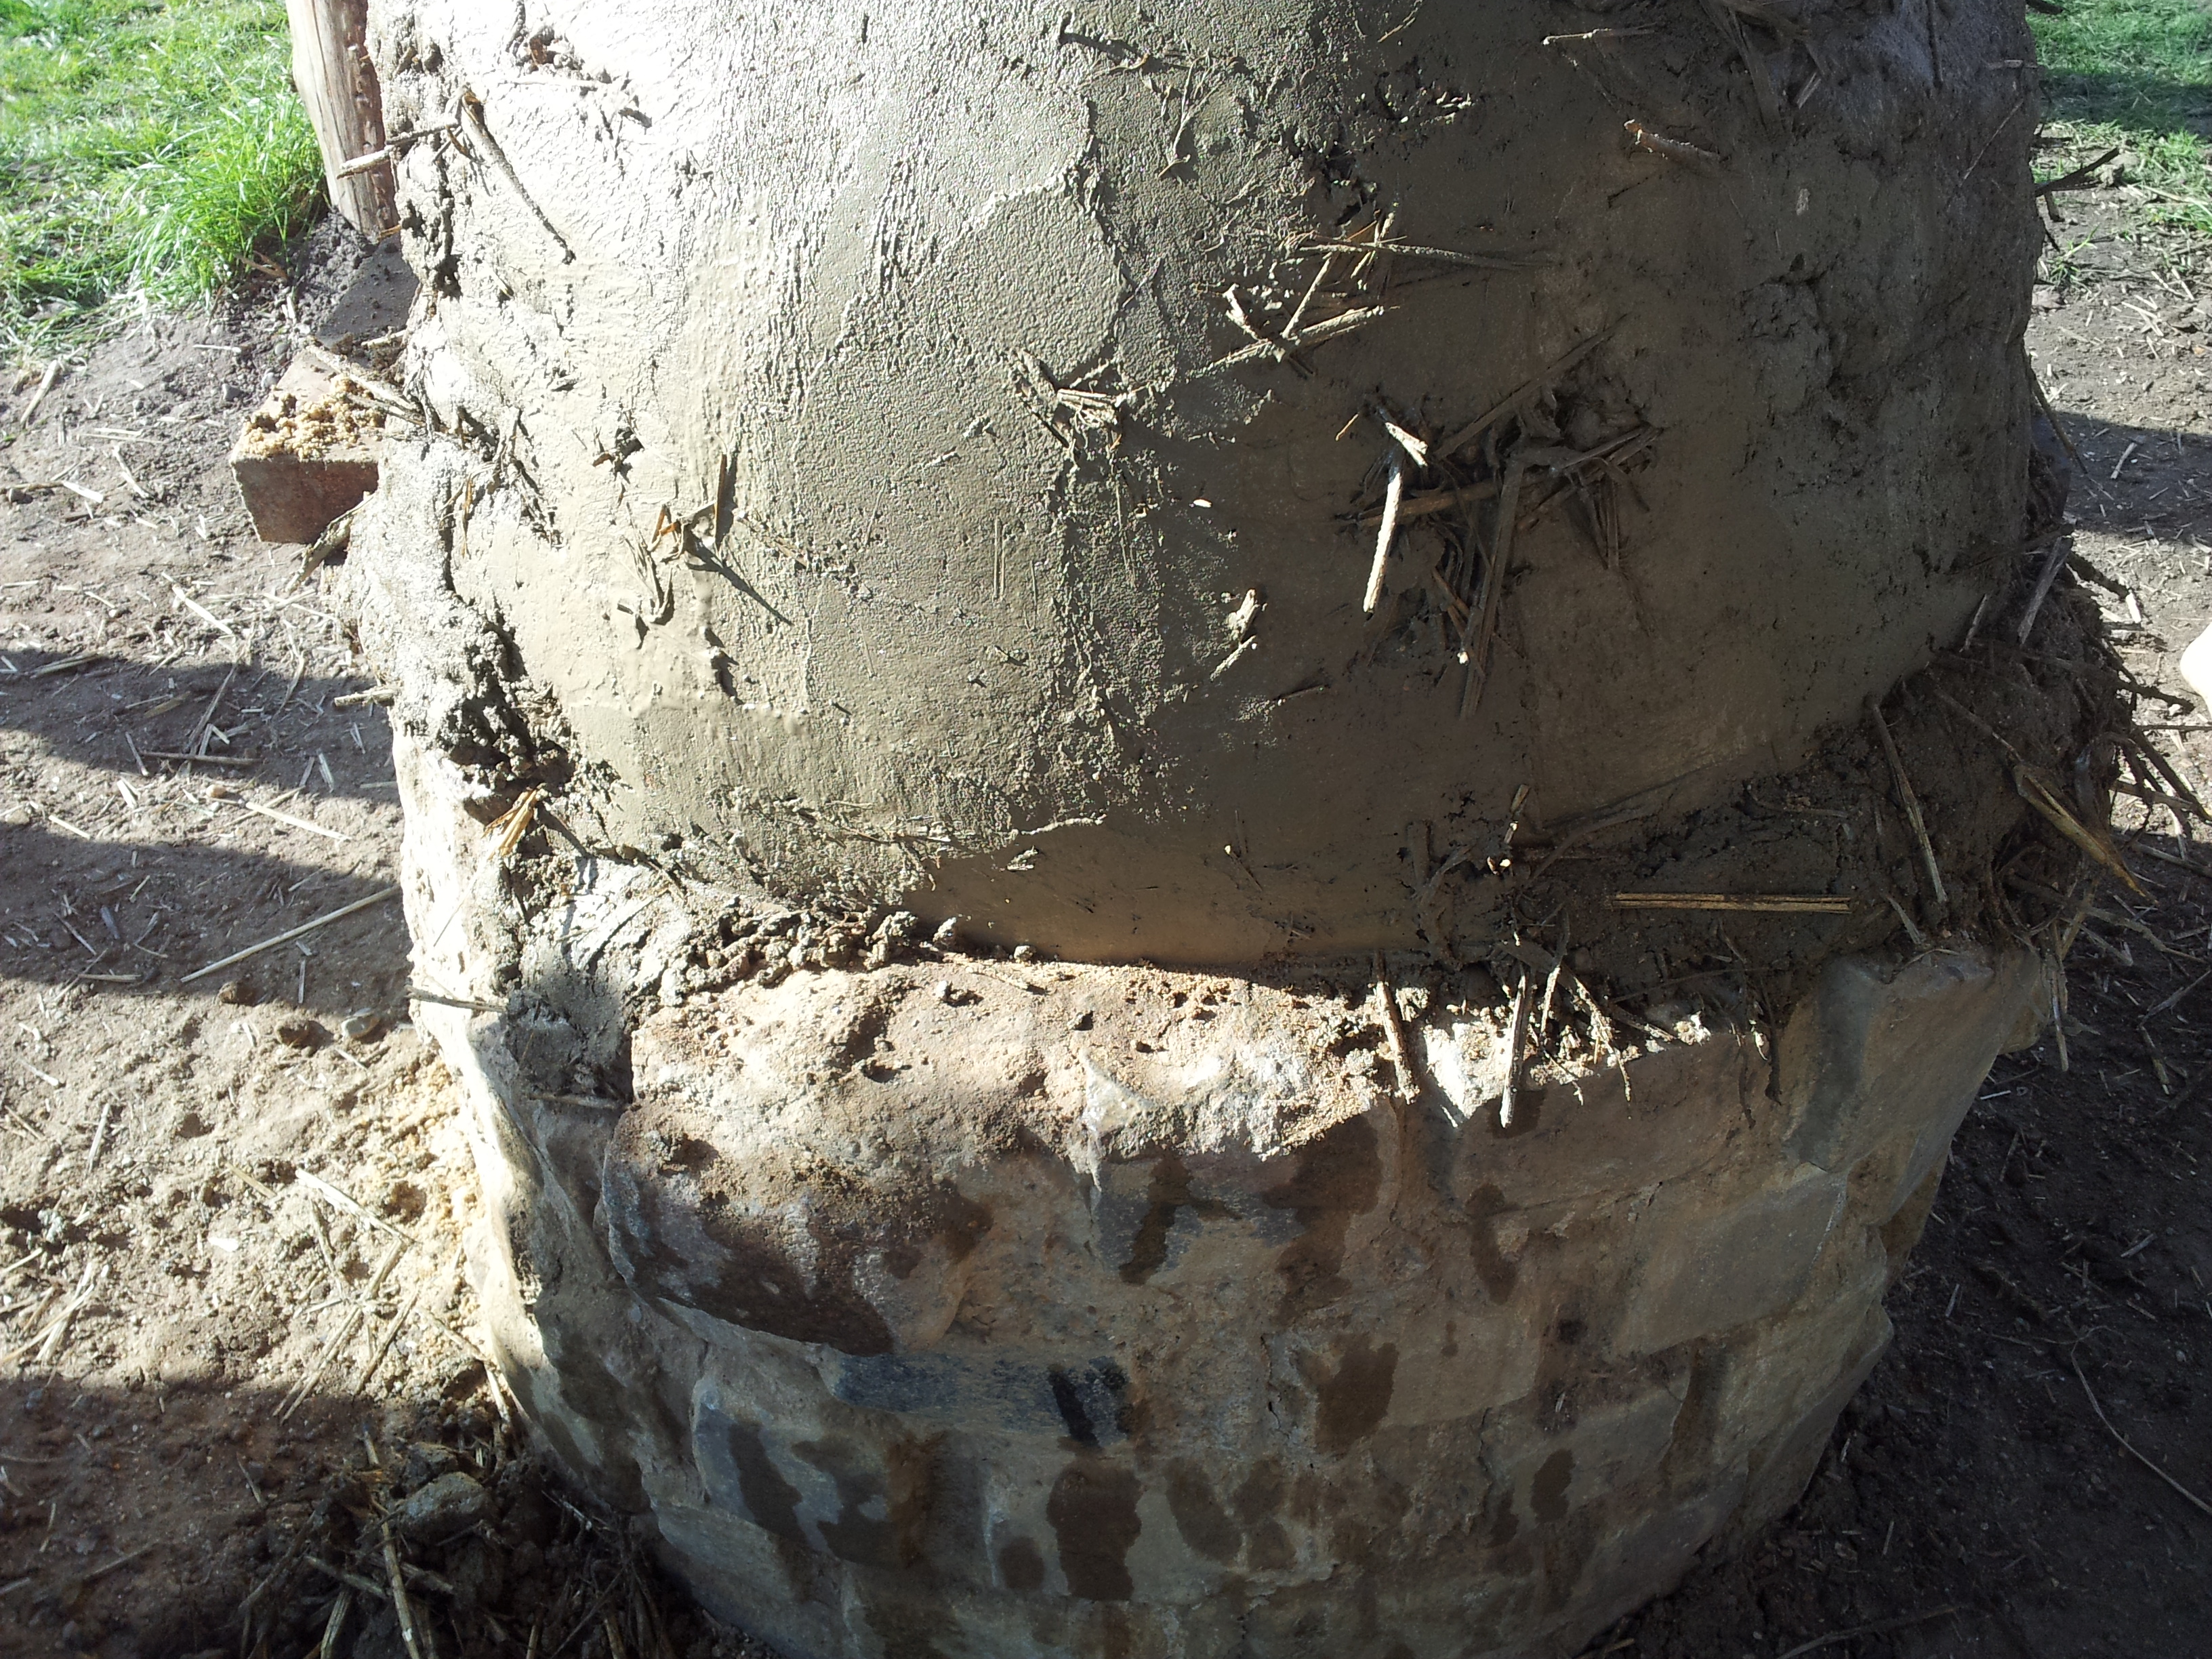
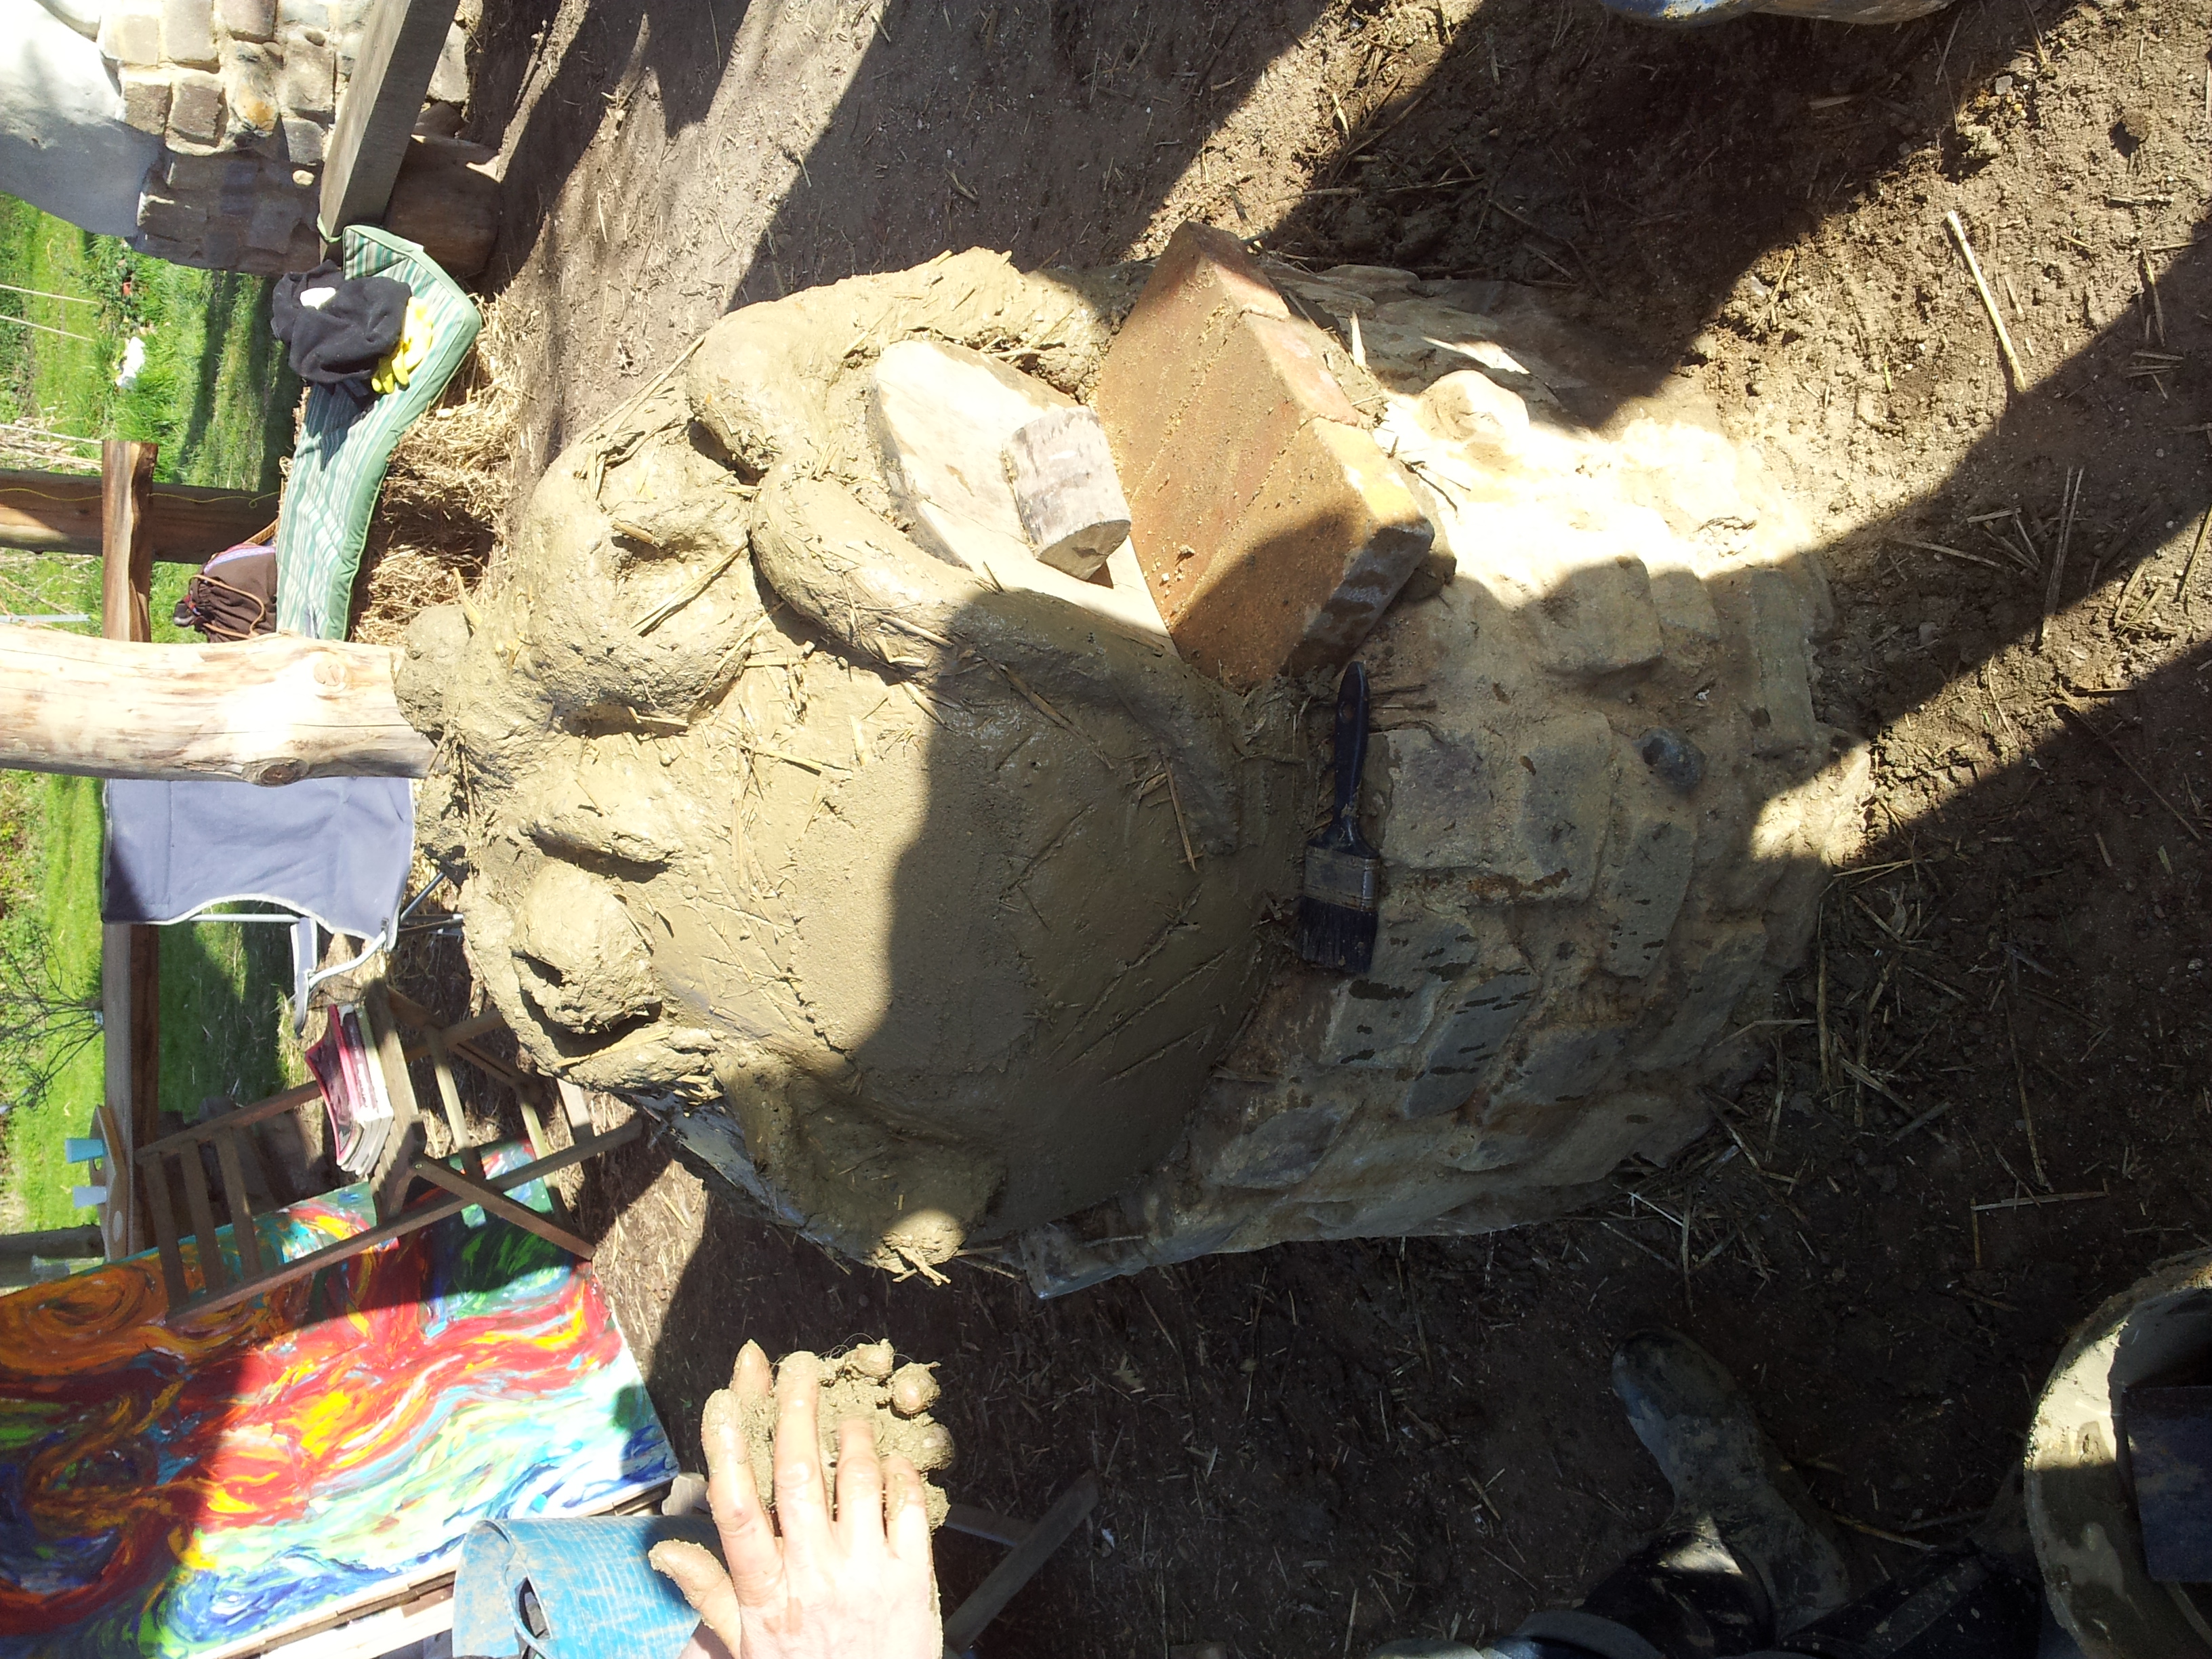
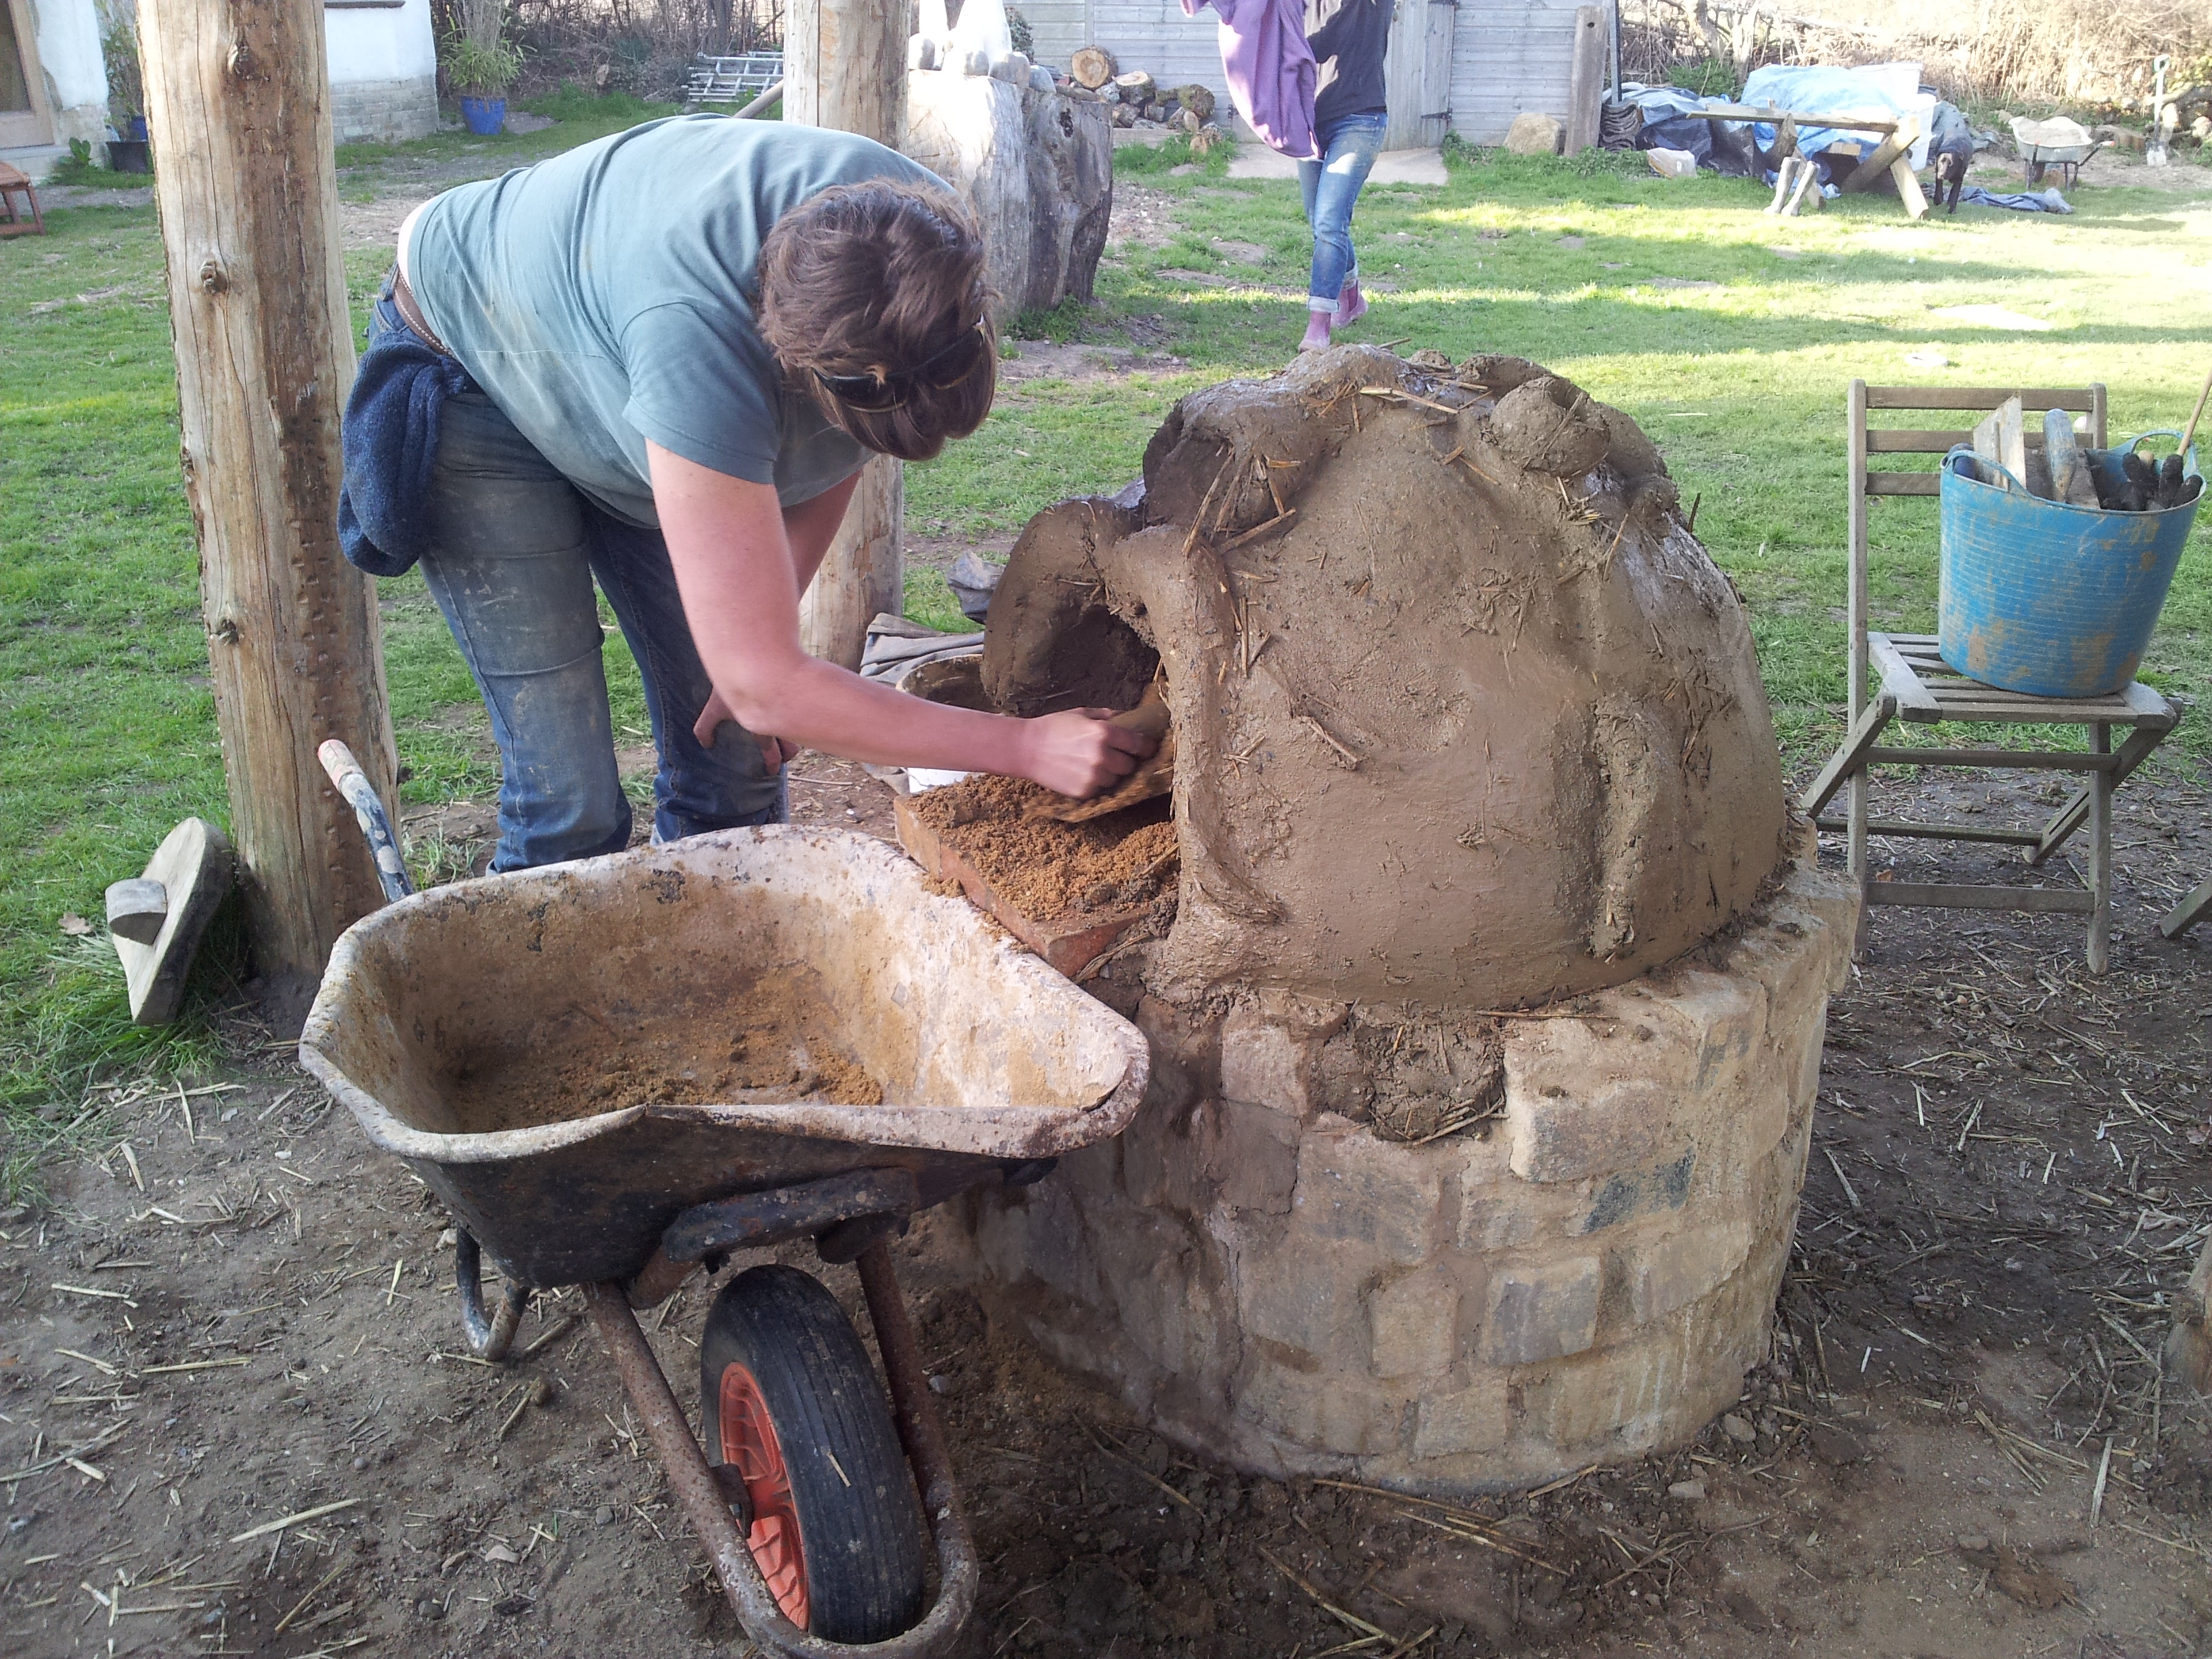
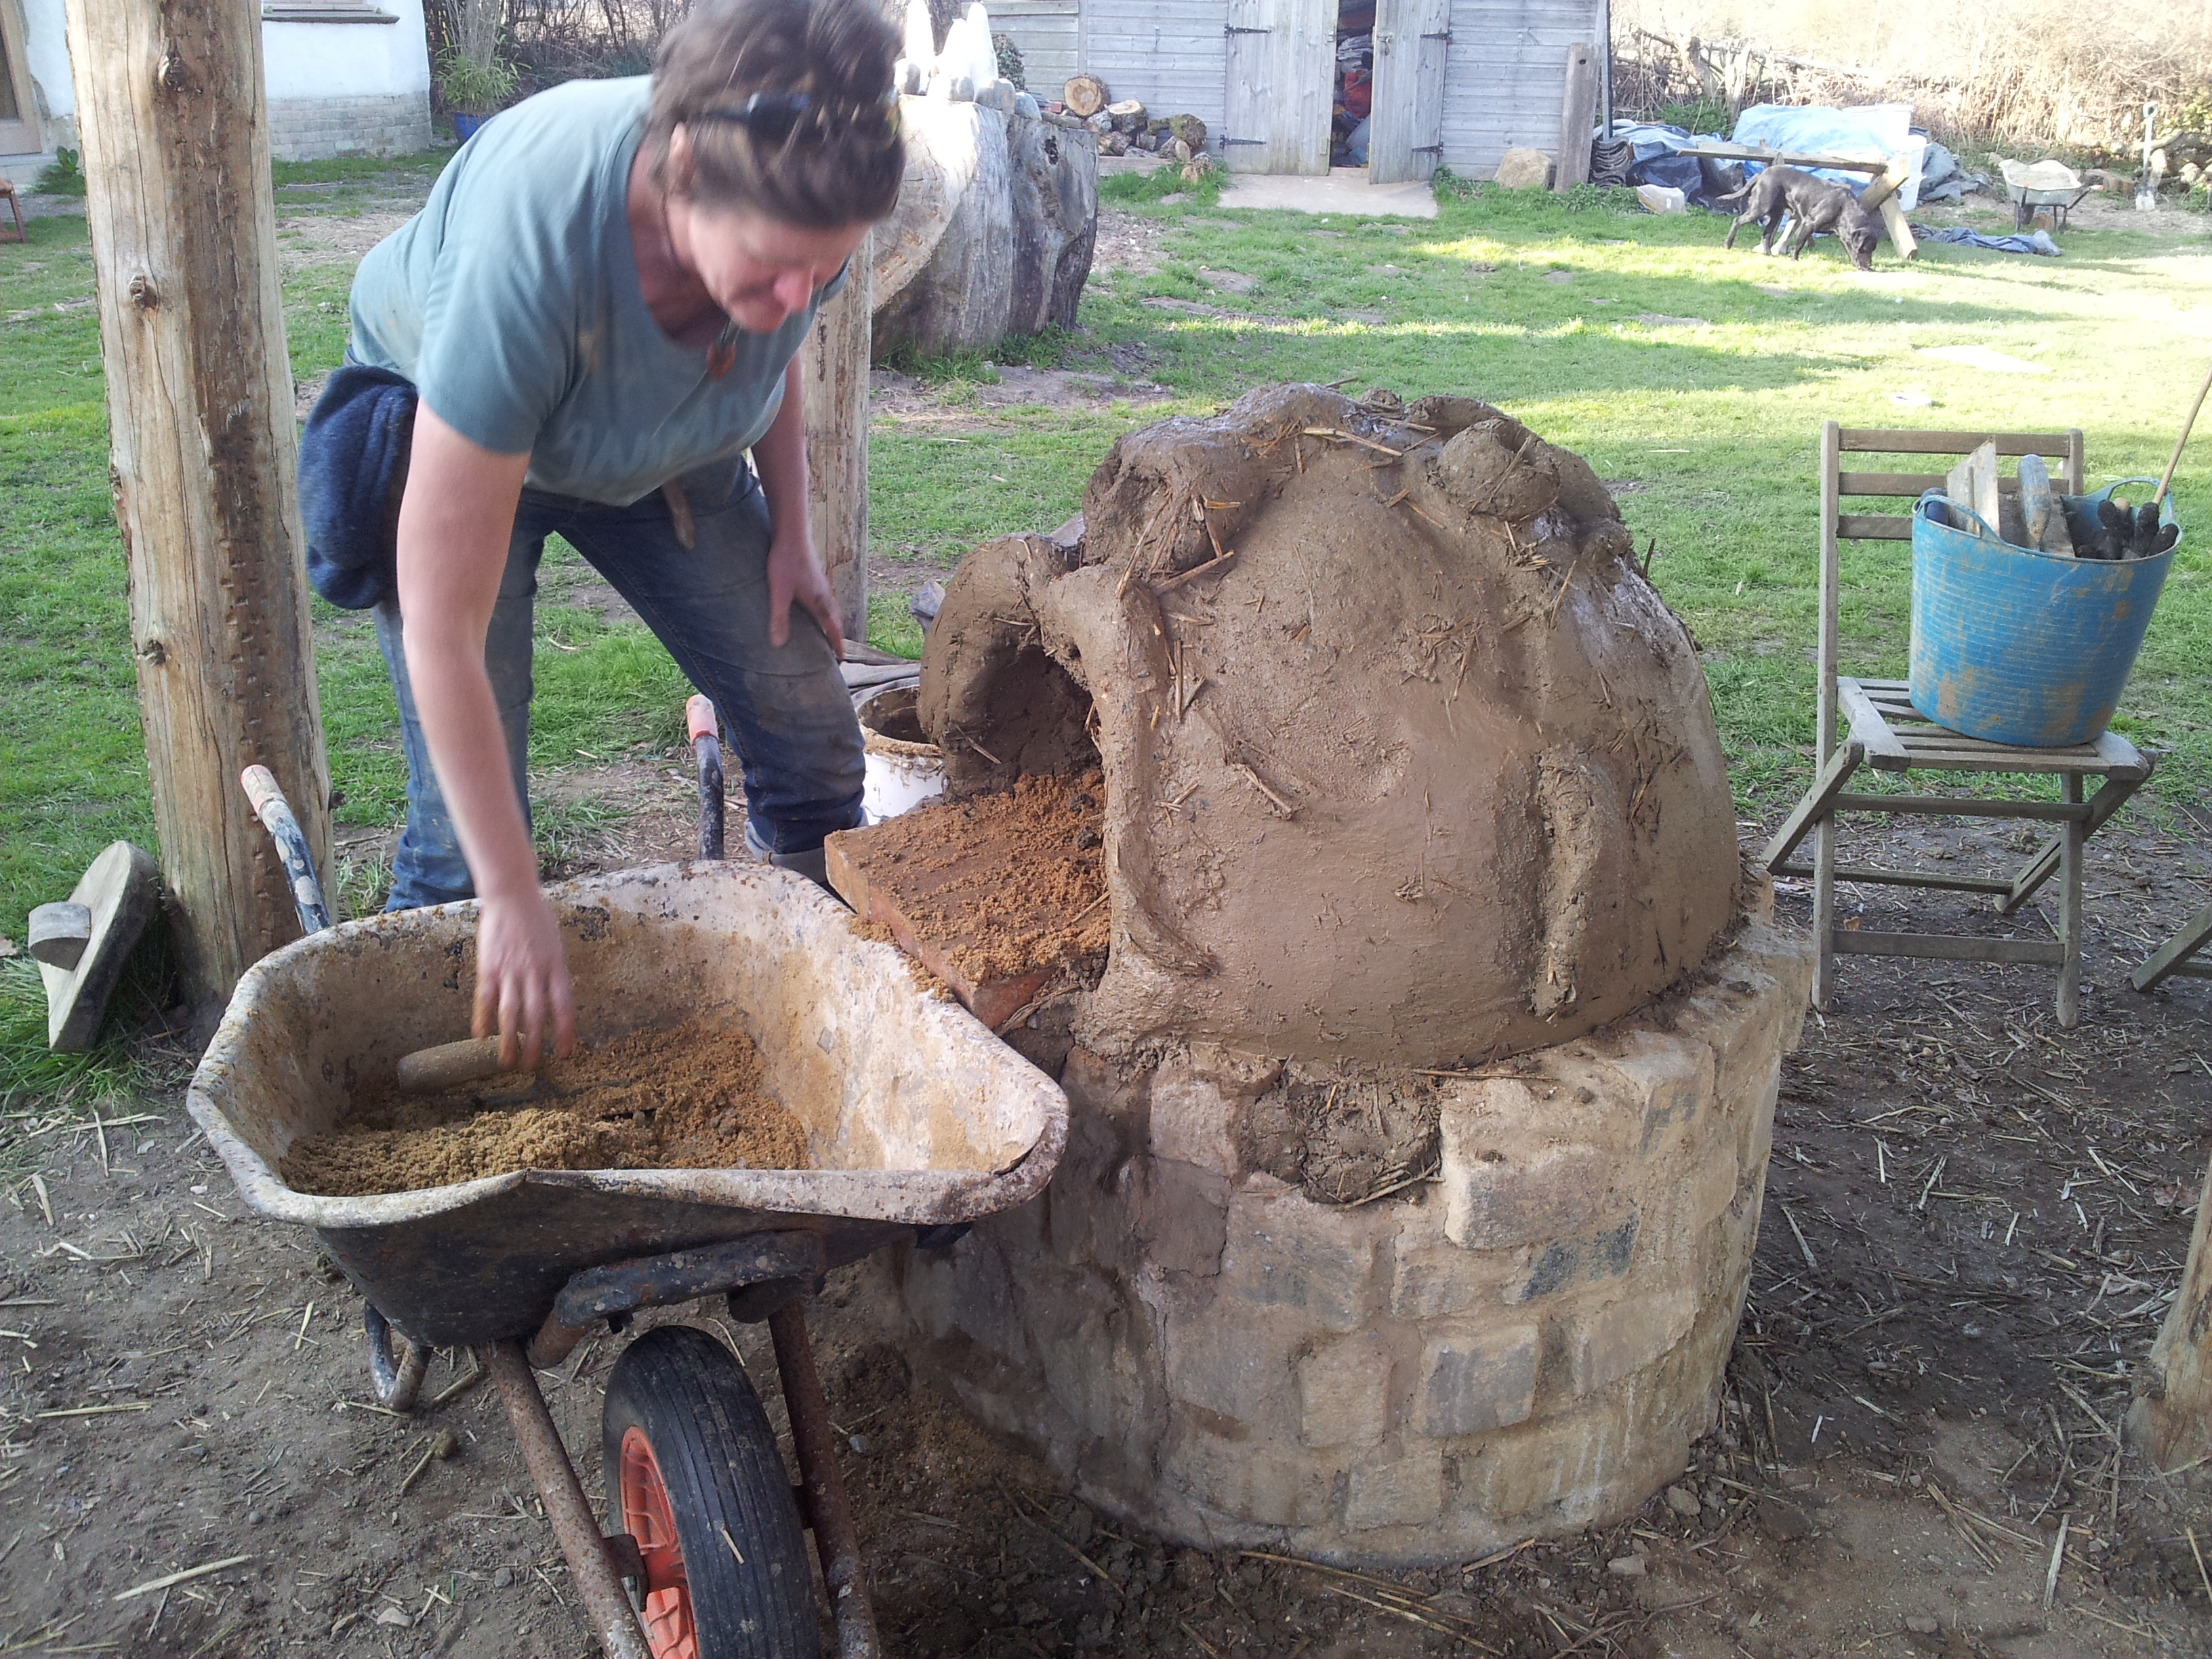
On any base (just to have it as a useable height) you need a surface of firebricks (reclaimed from storage heaters is a good free/cheap source) and levelled in sand.
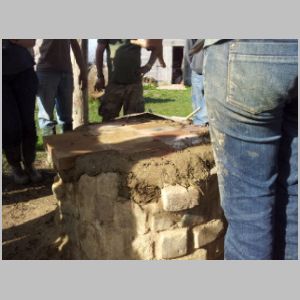
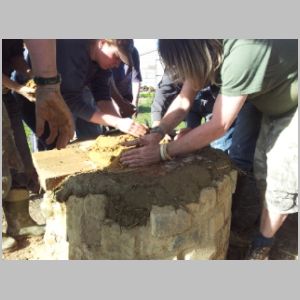
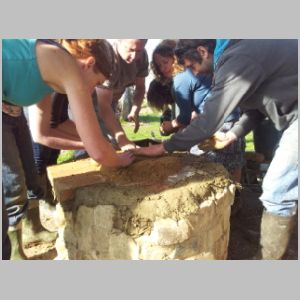
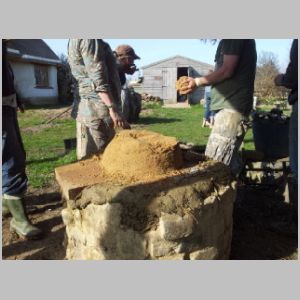
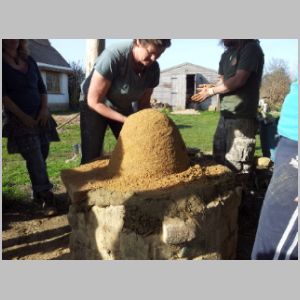
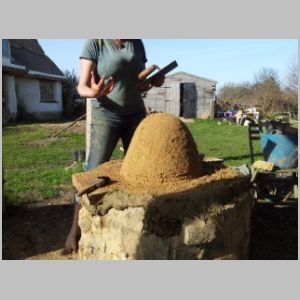
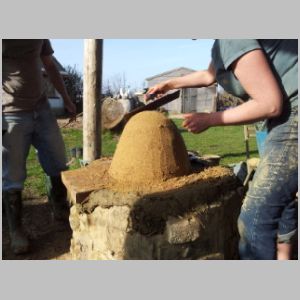
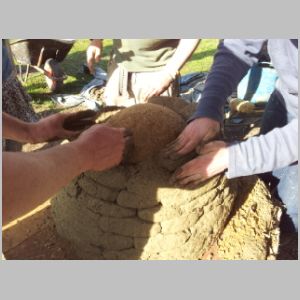
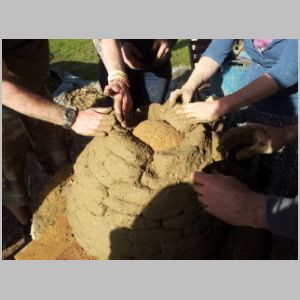
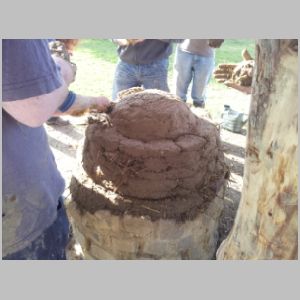
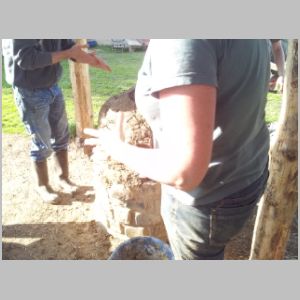
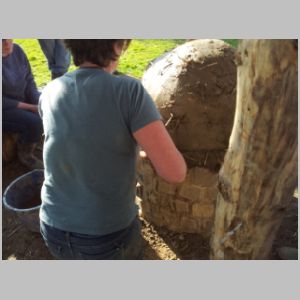
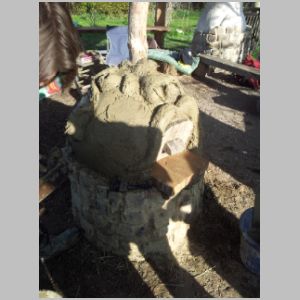
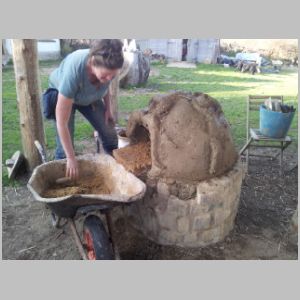
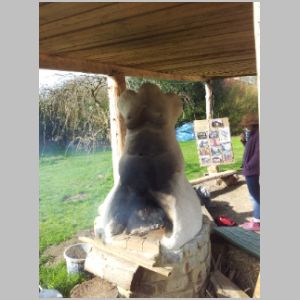
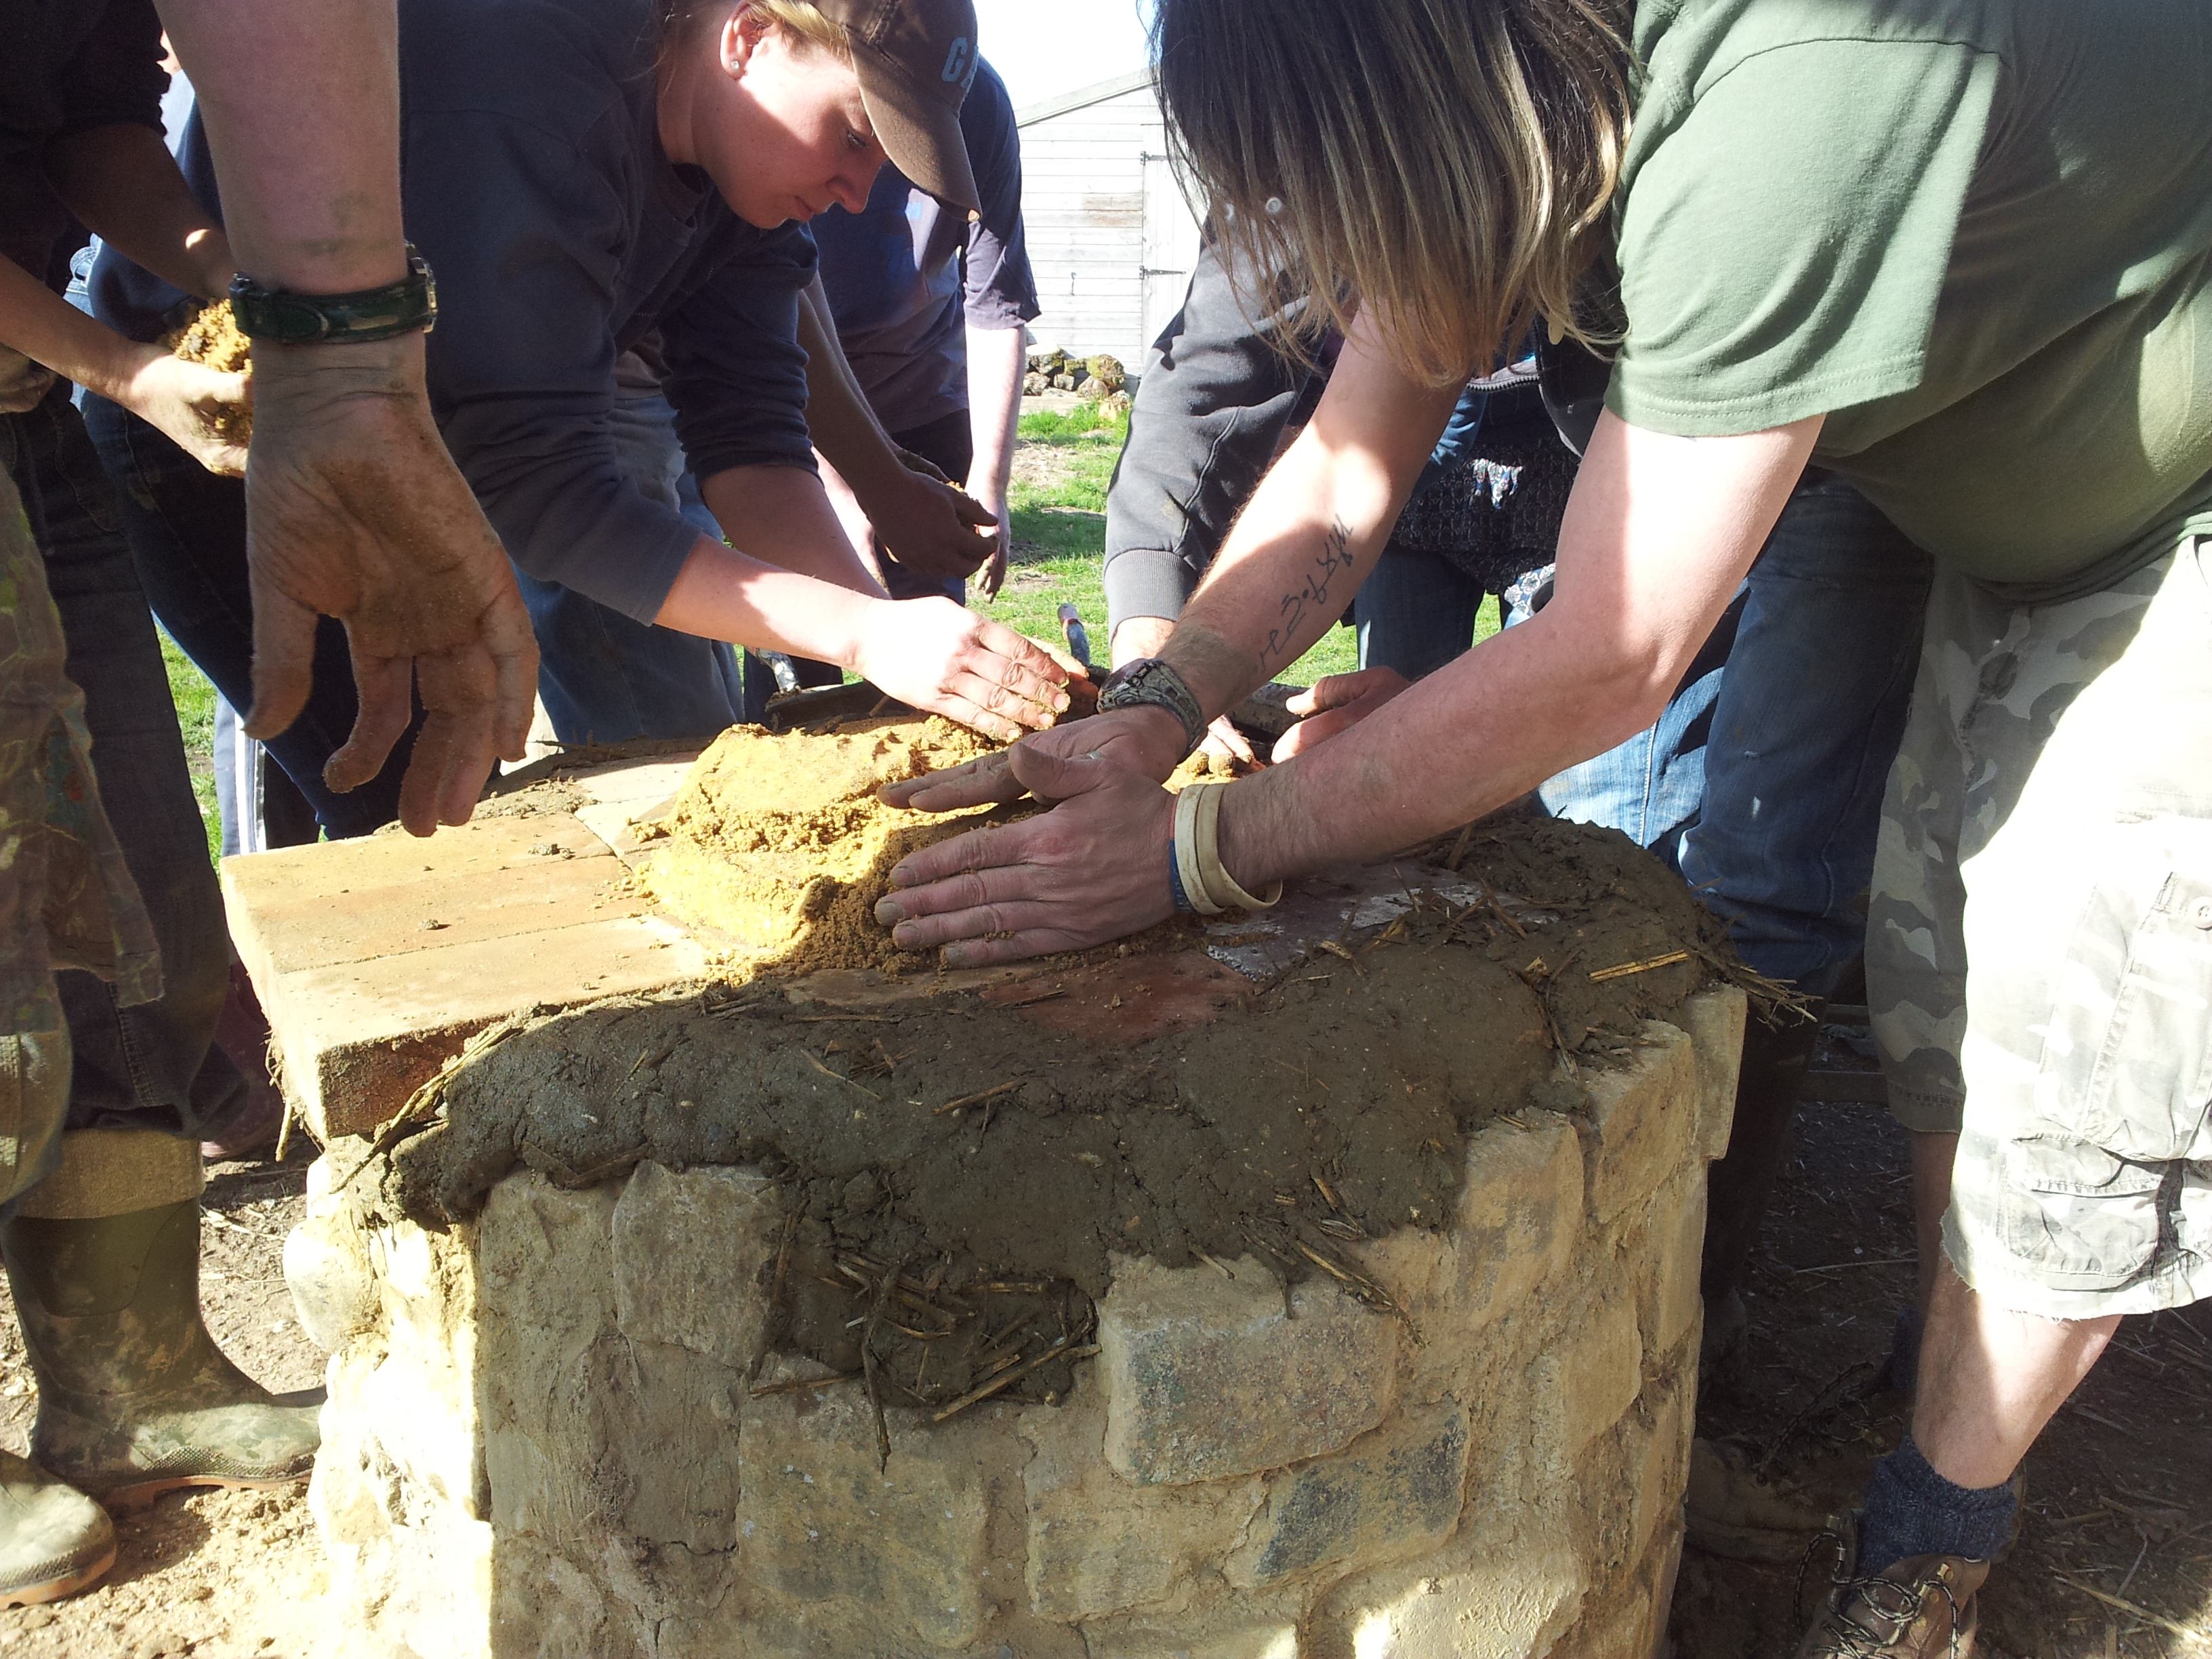
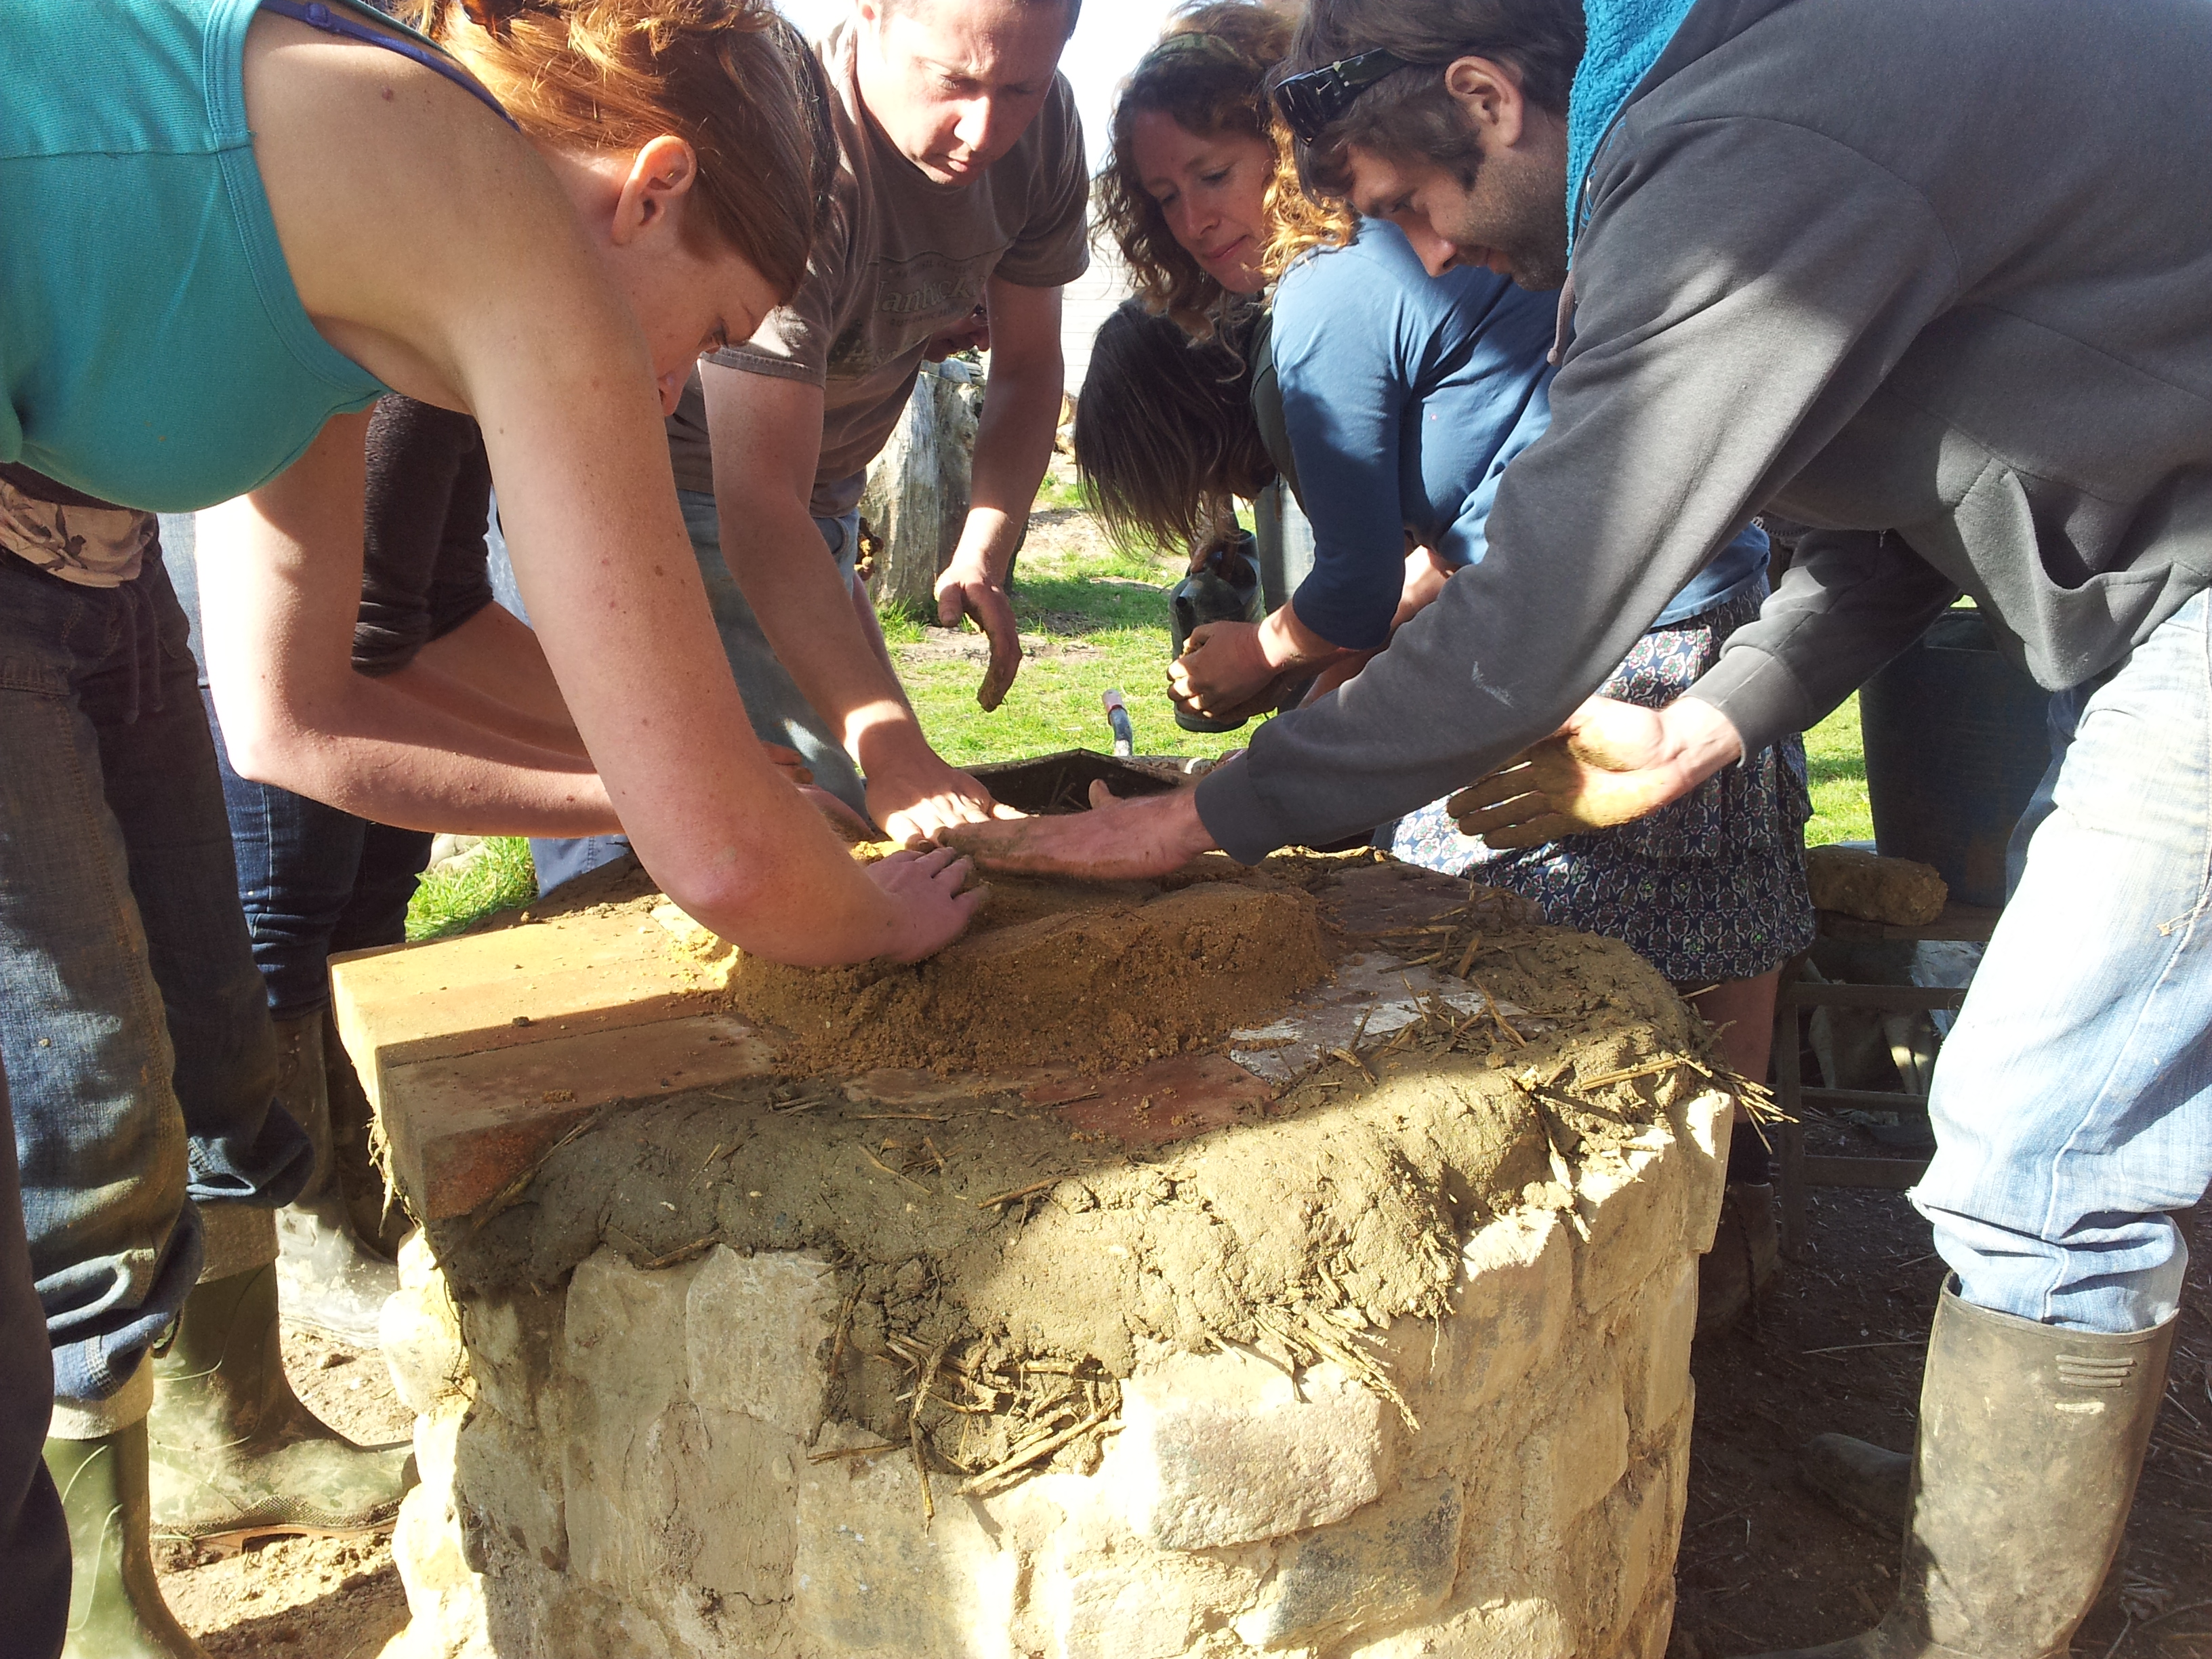
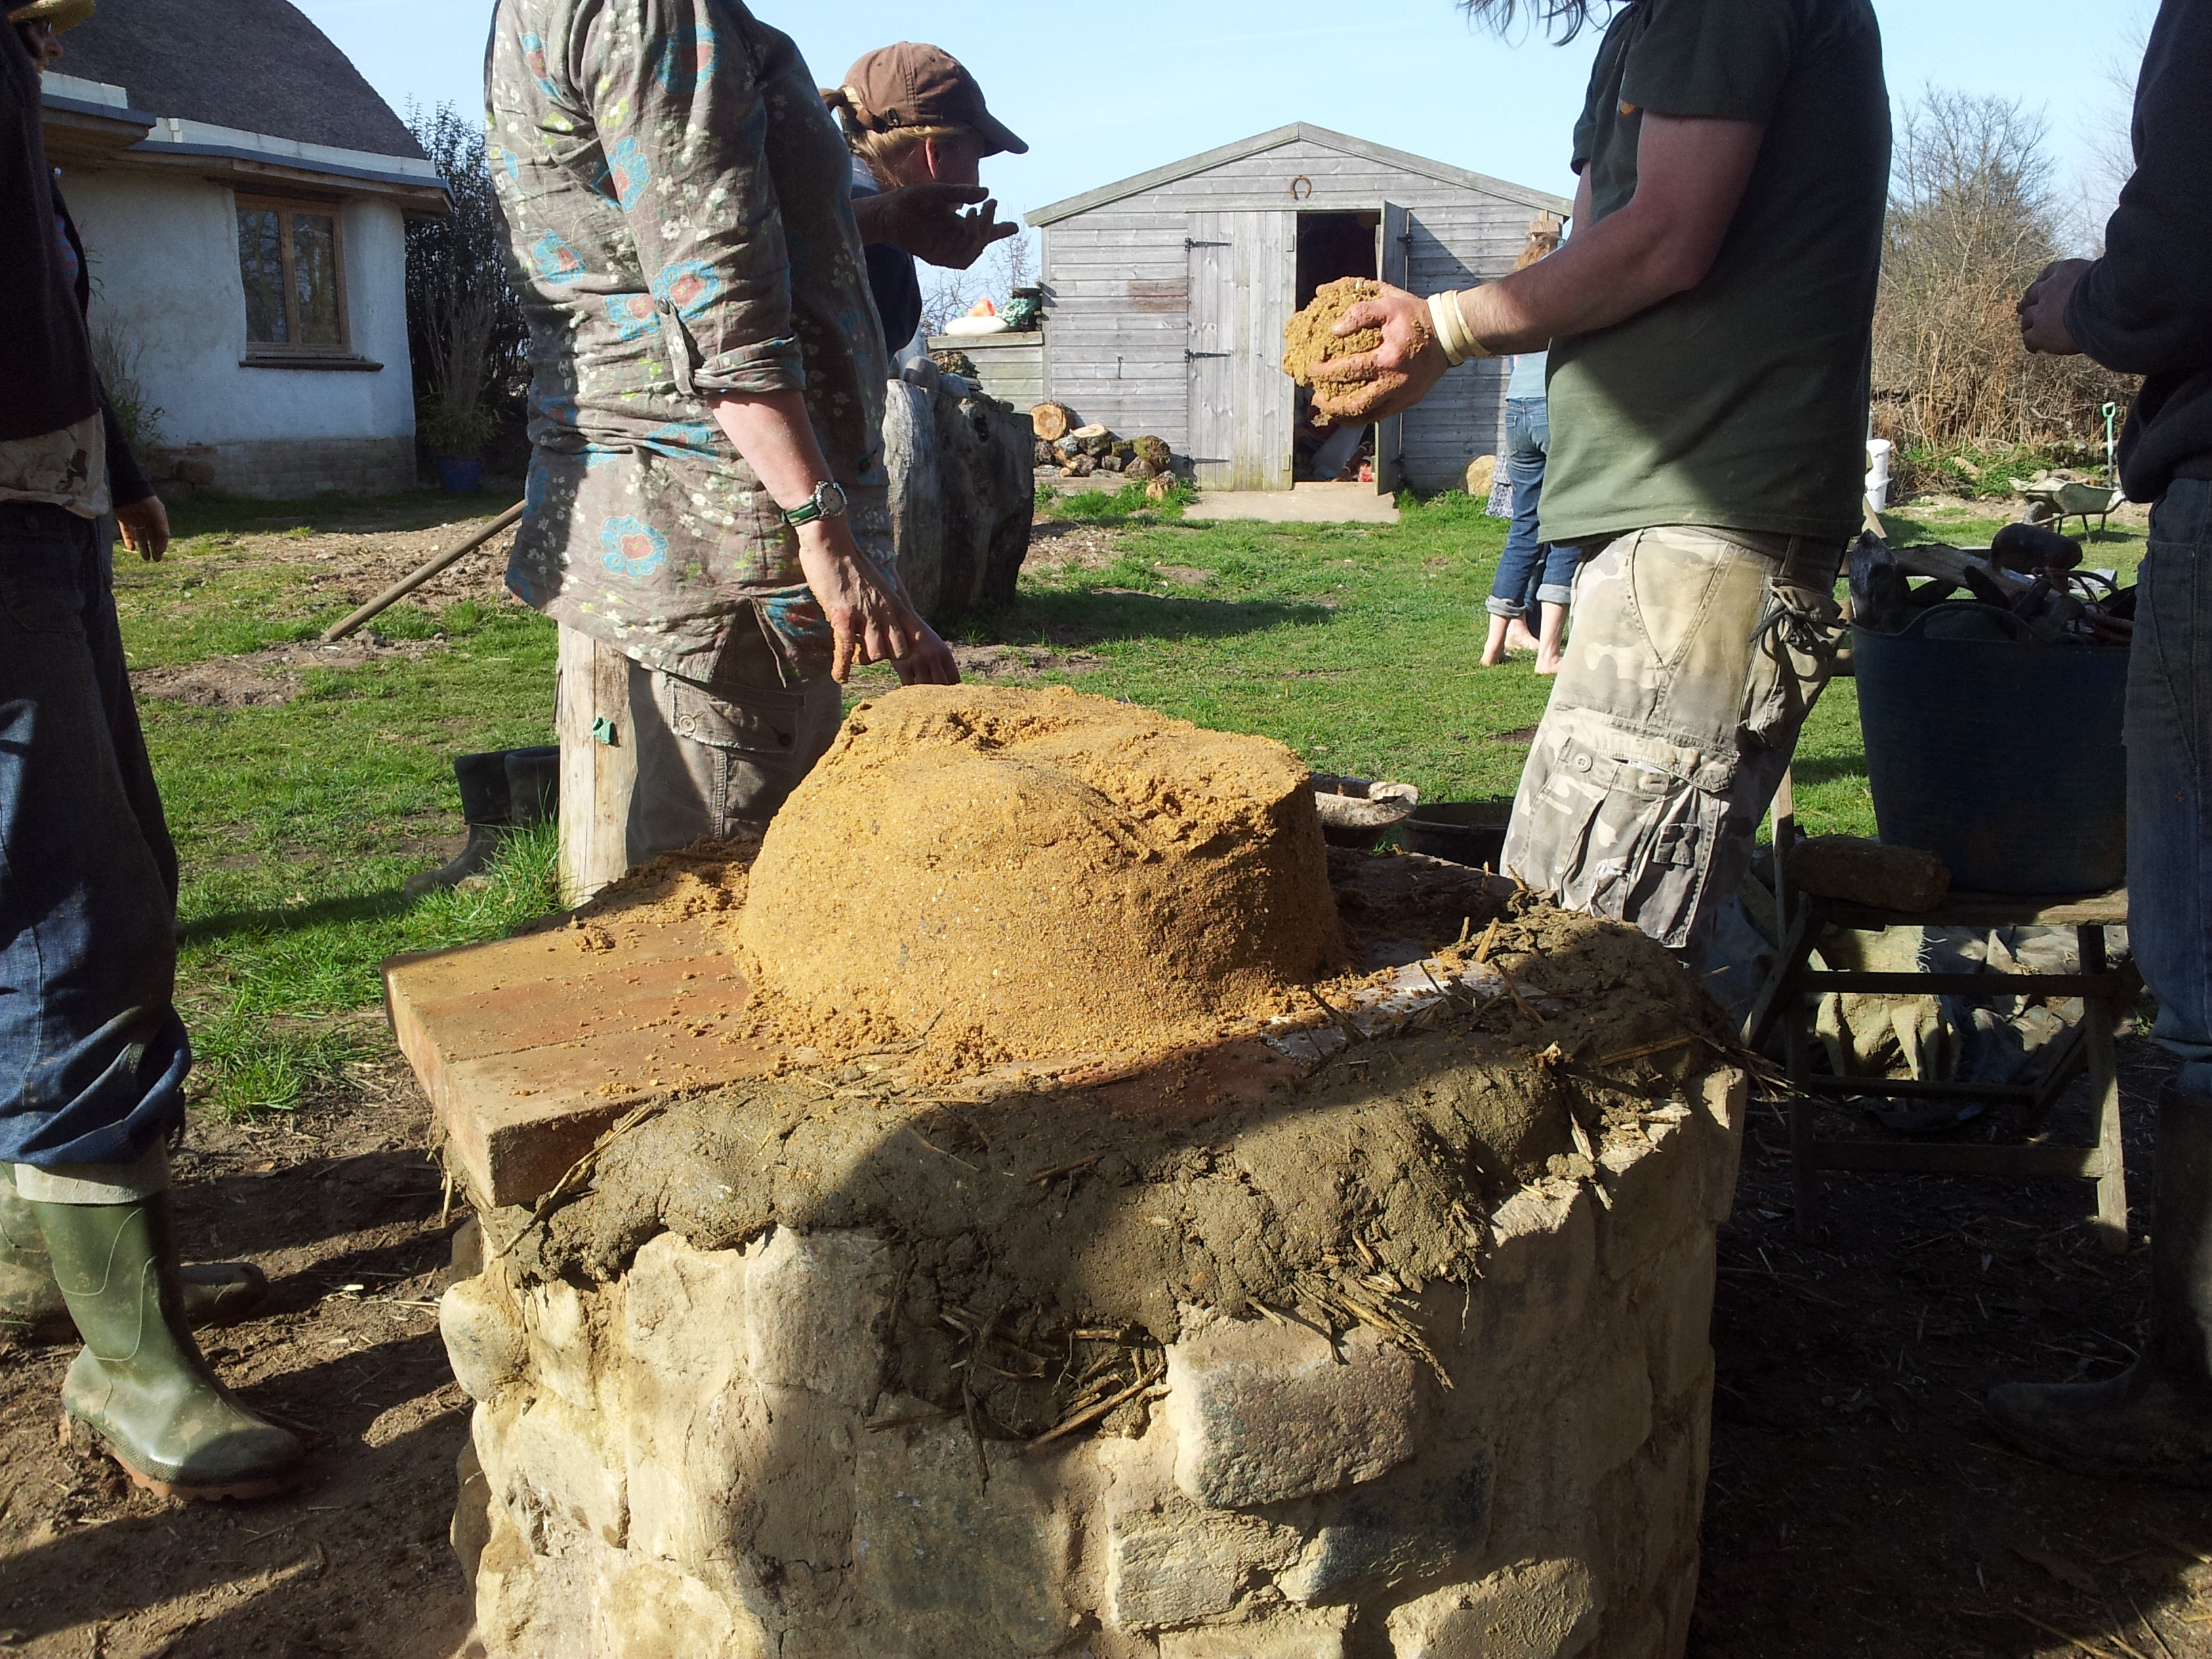
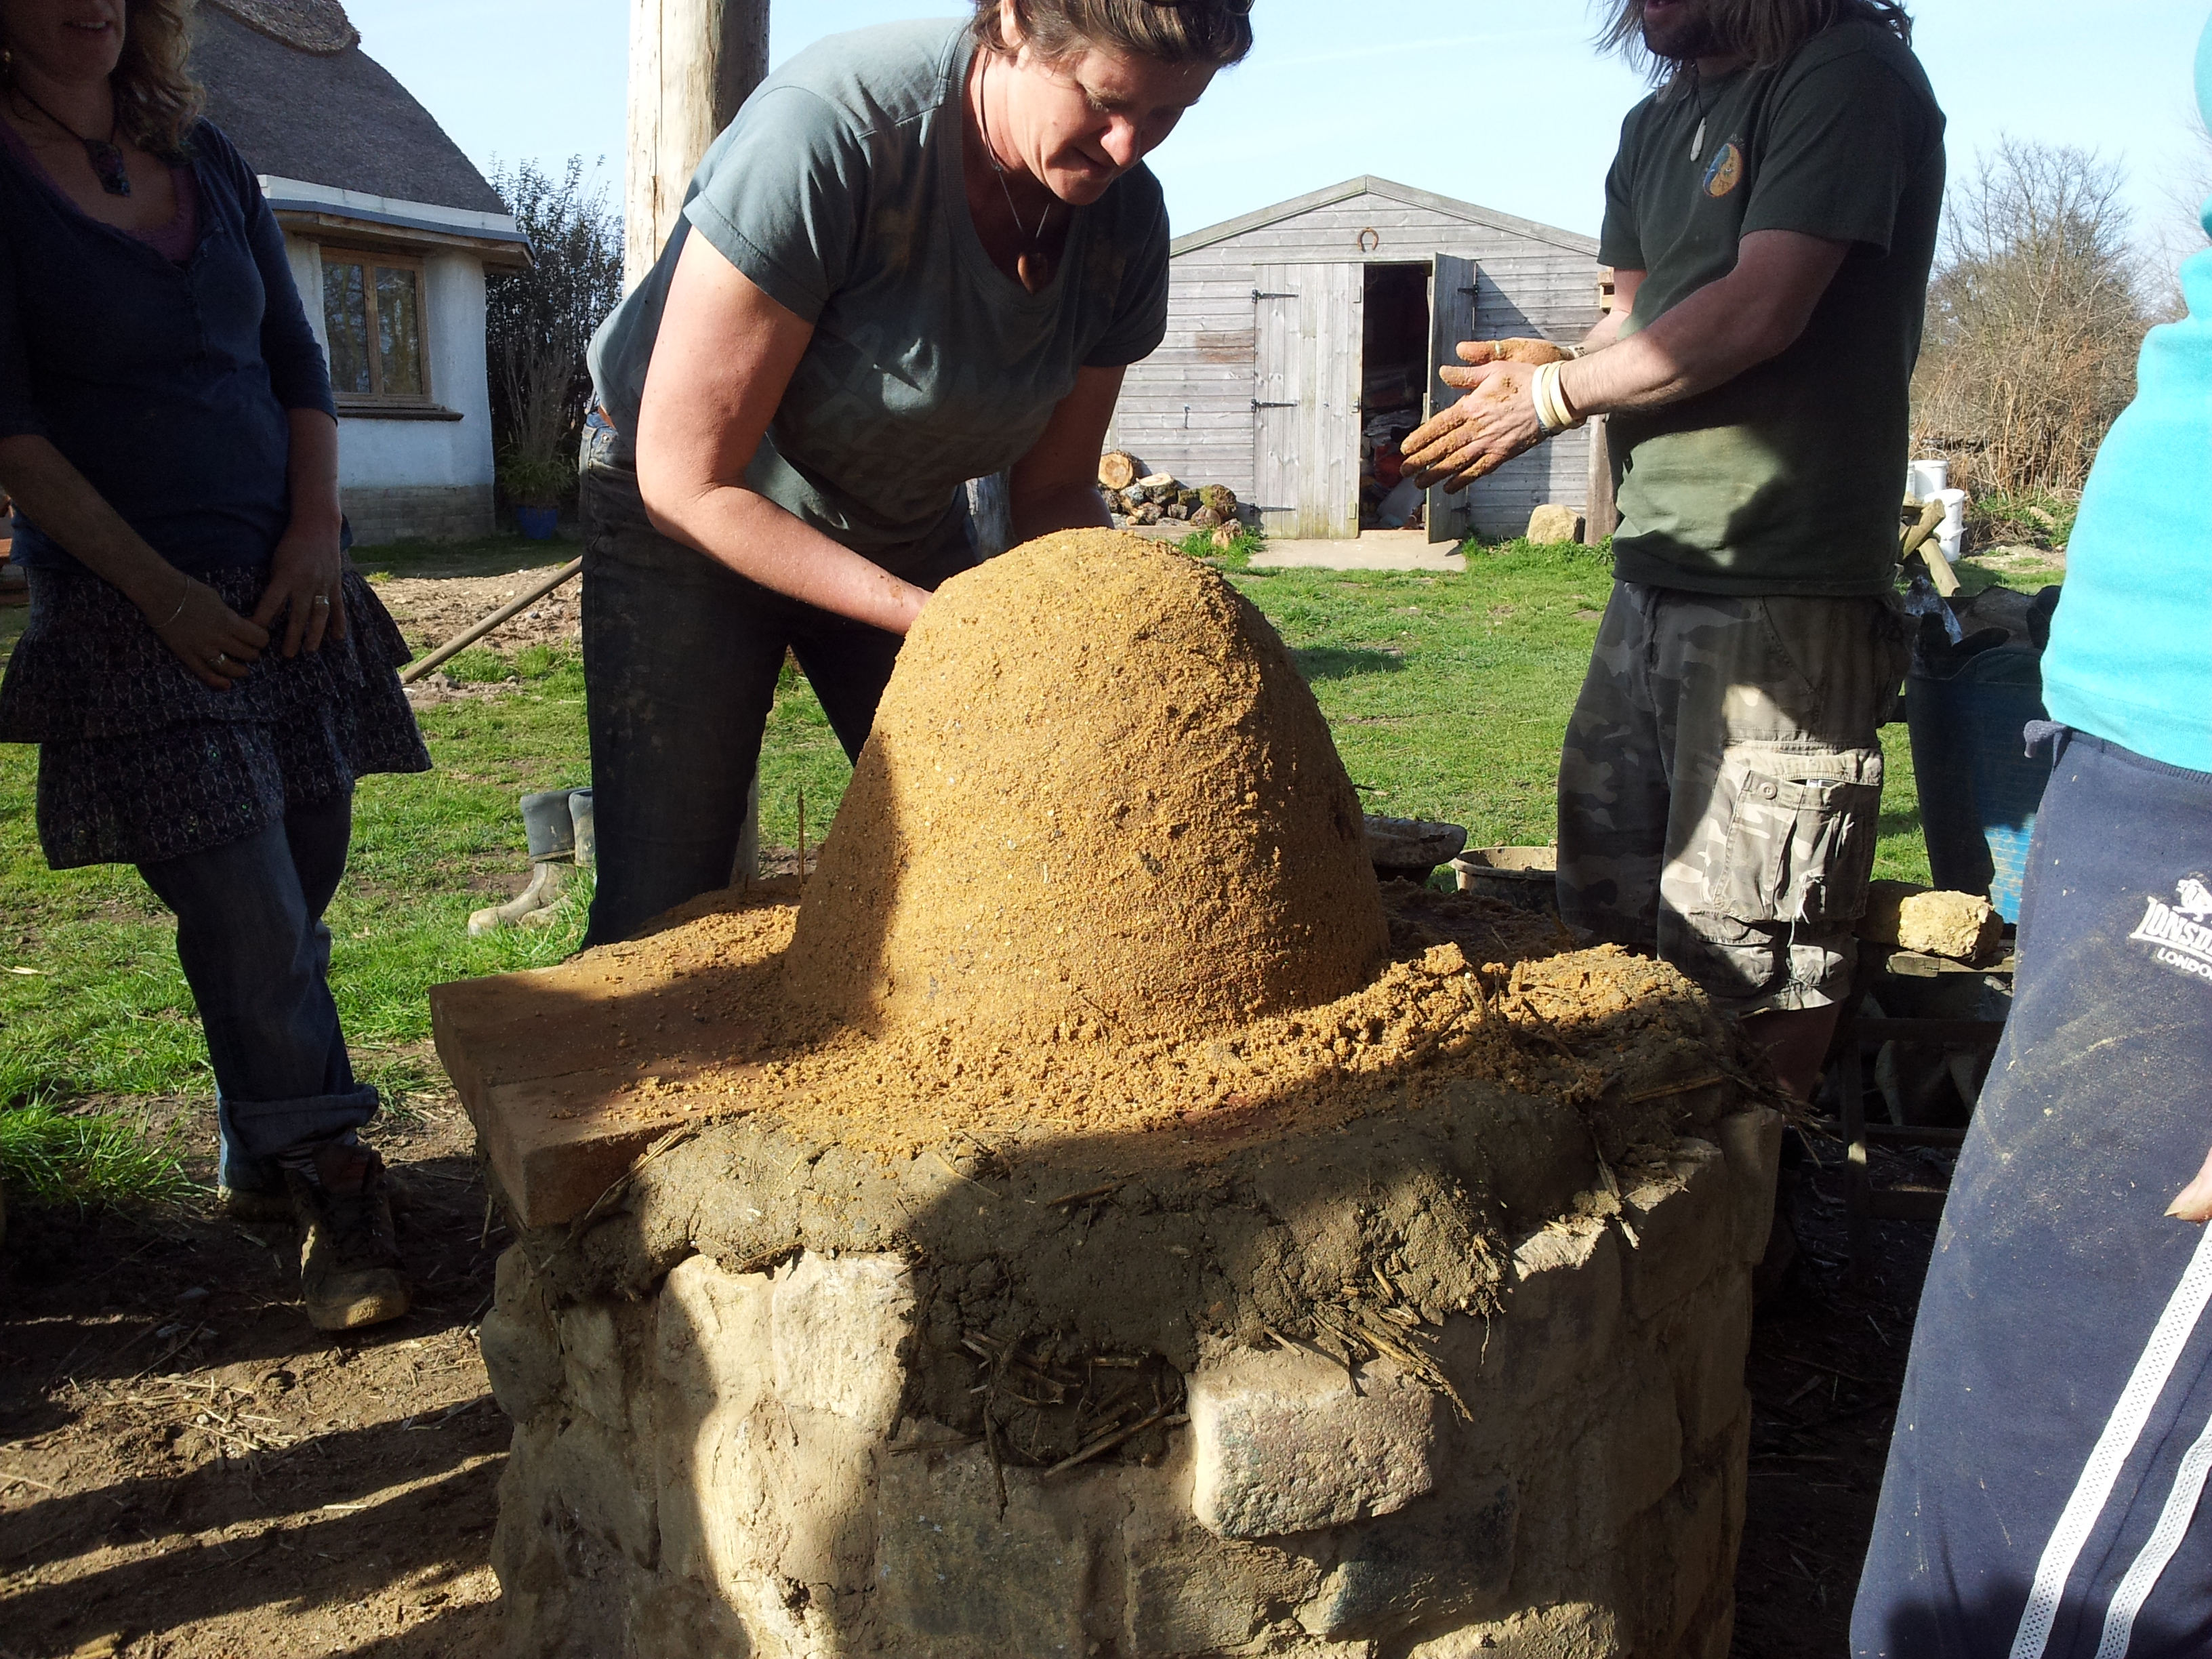
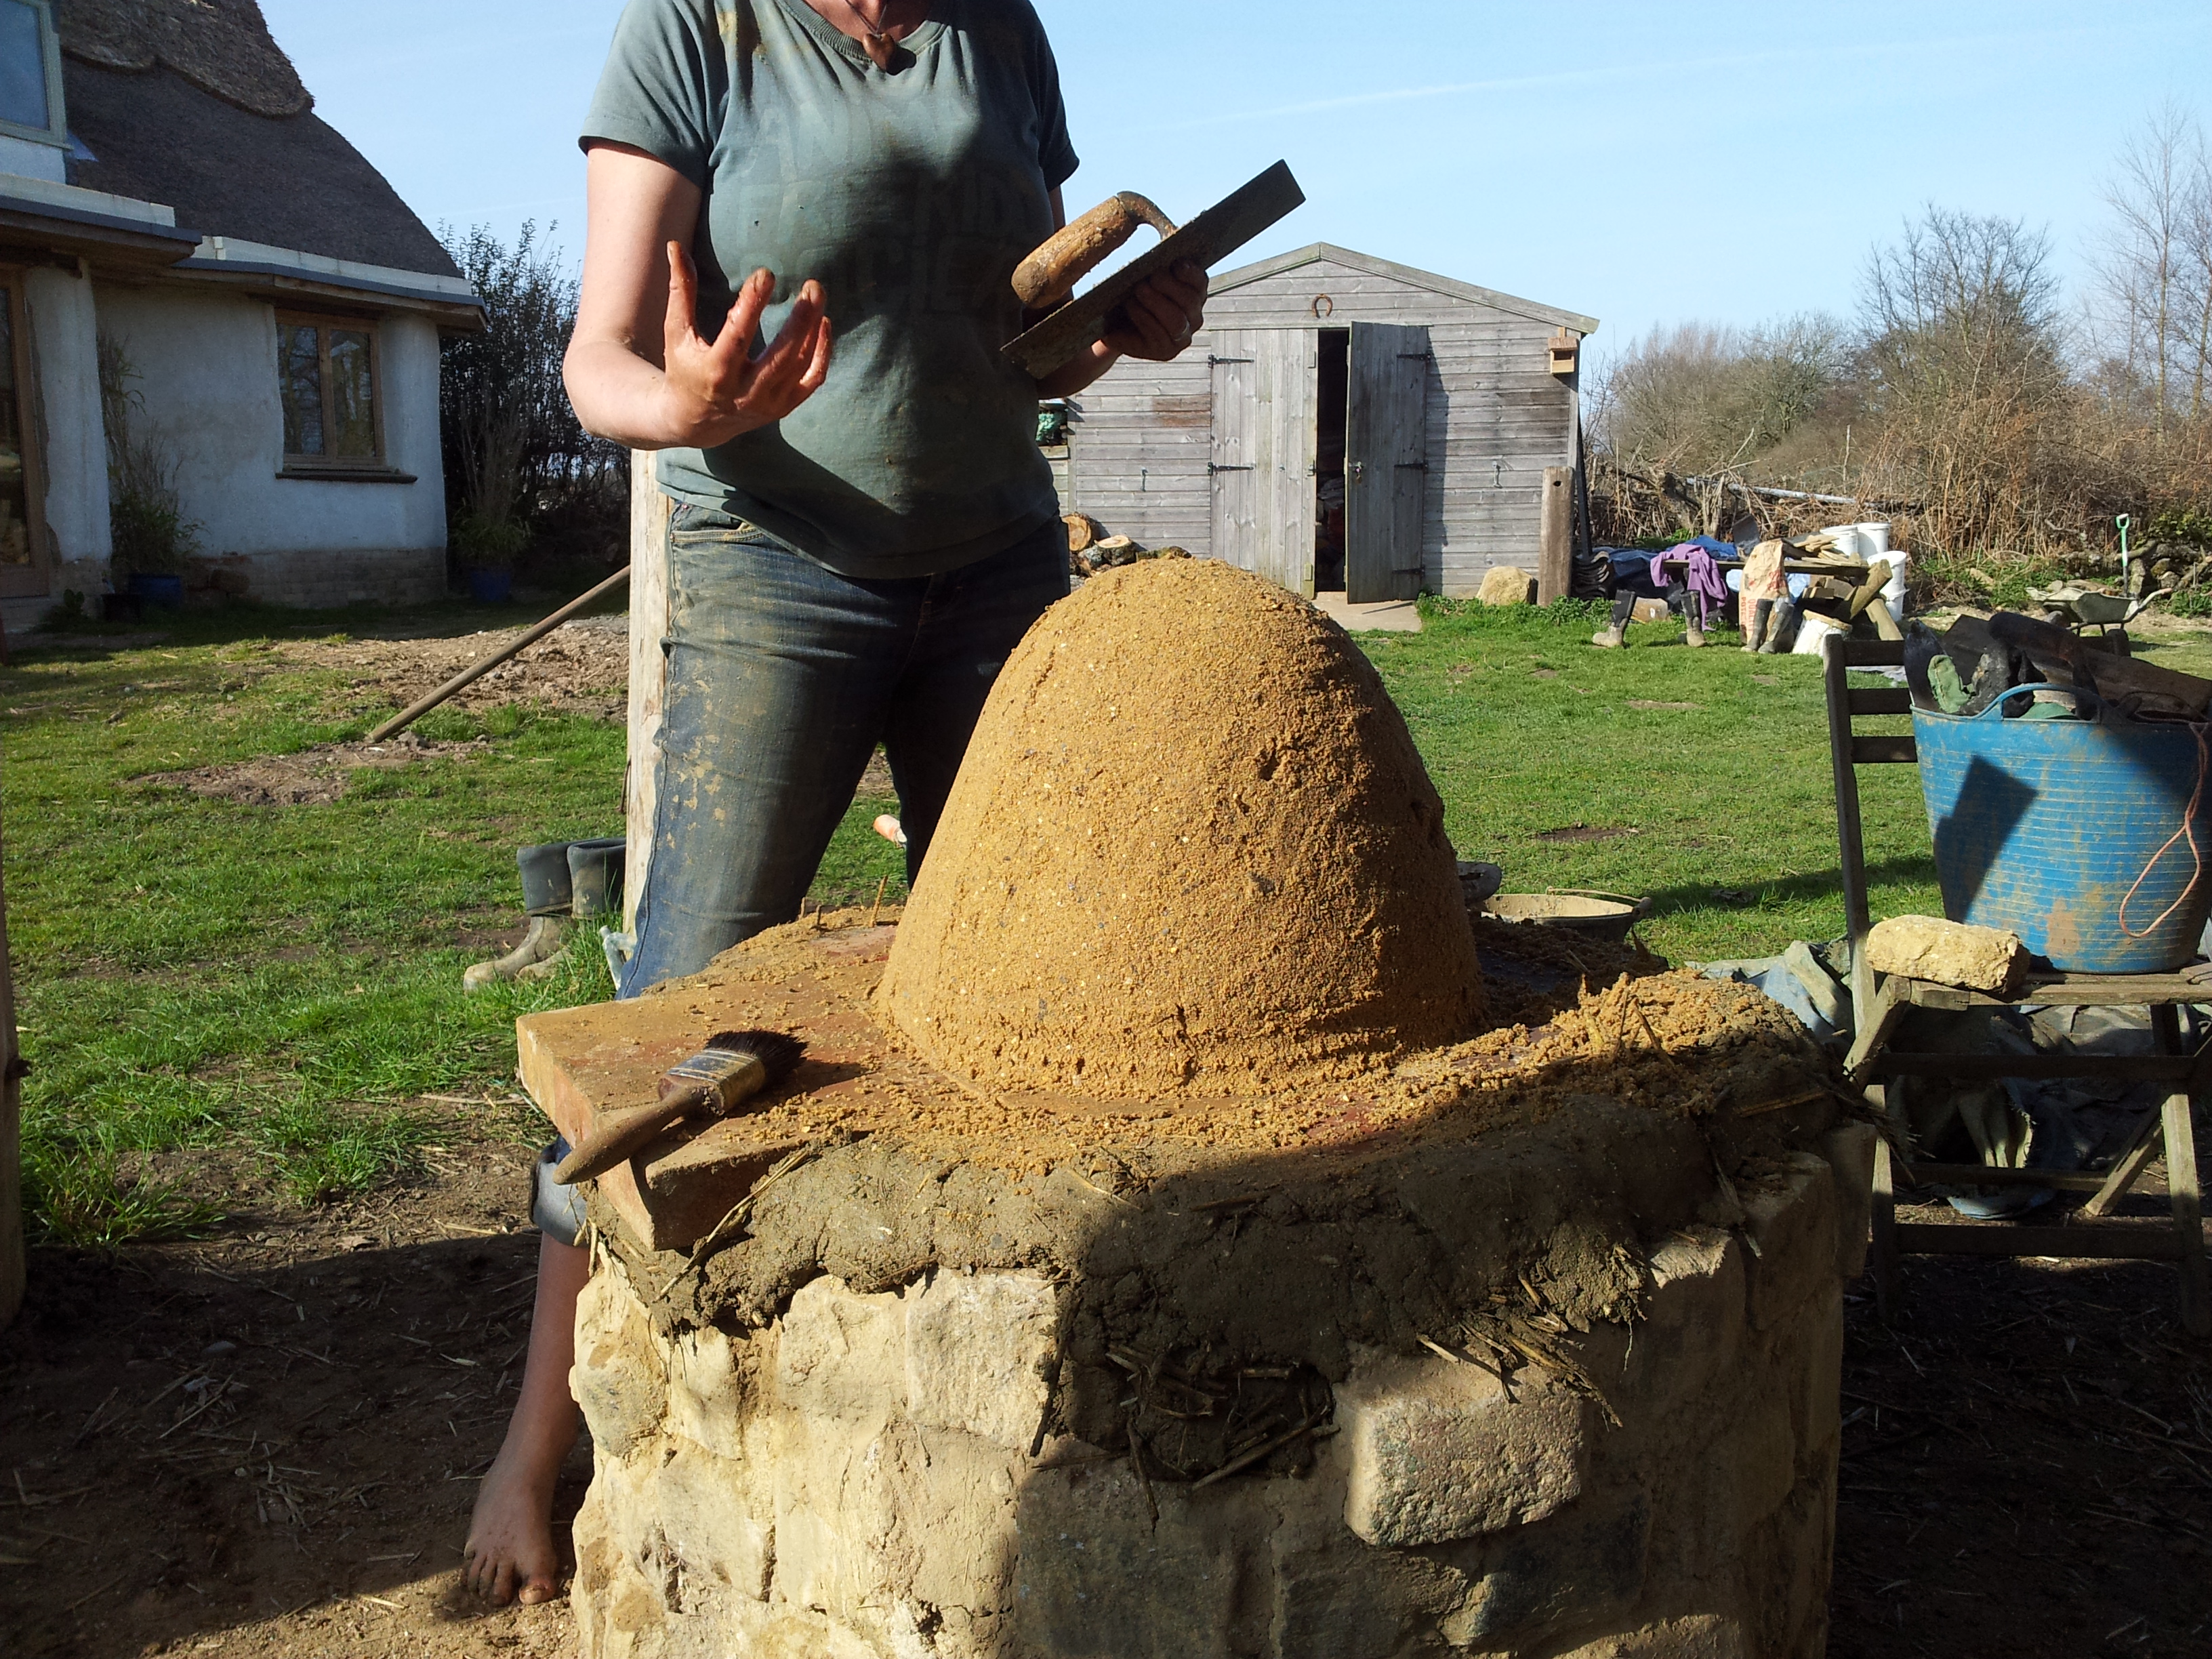
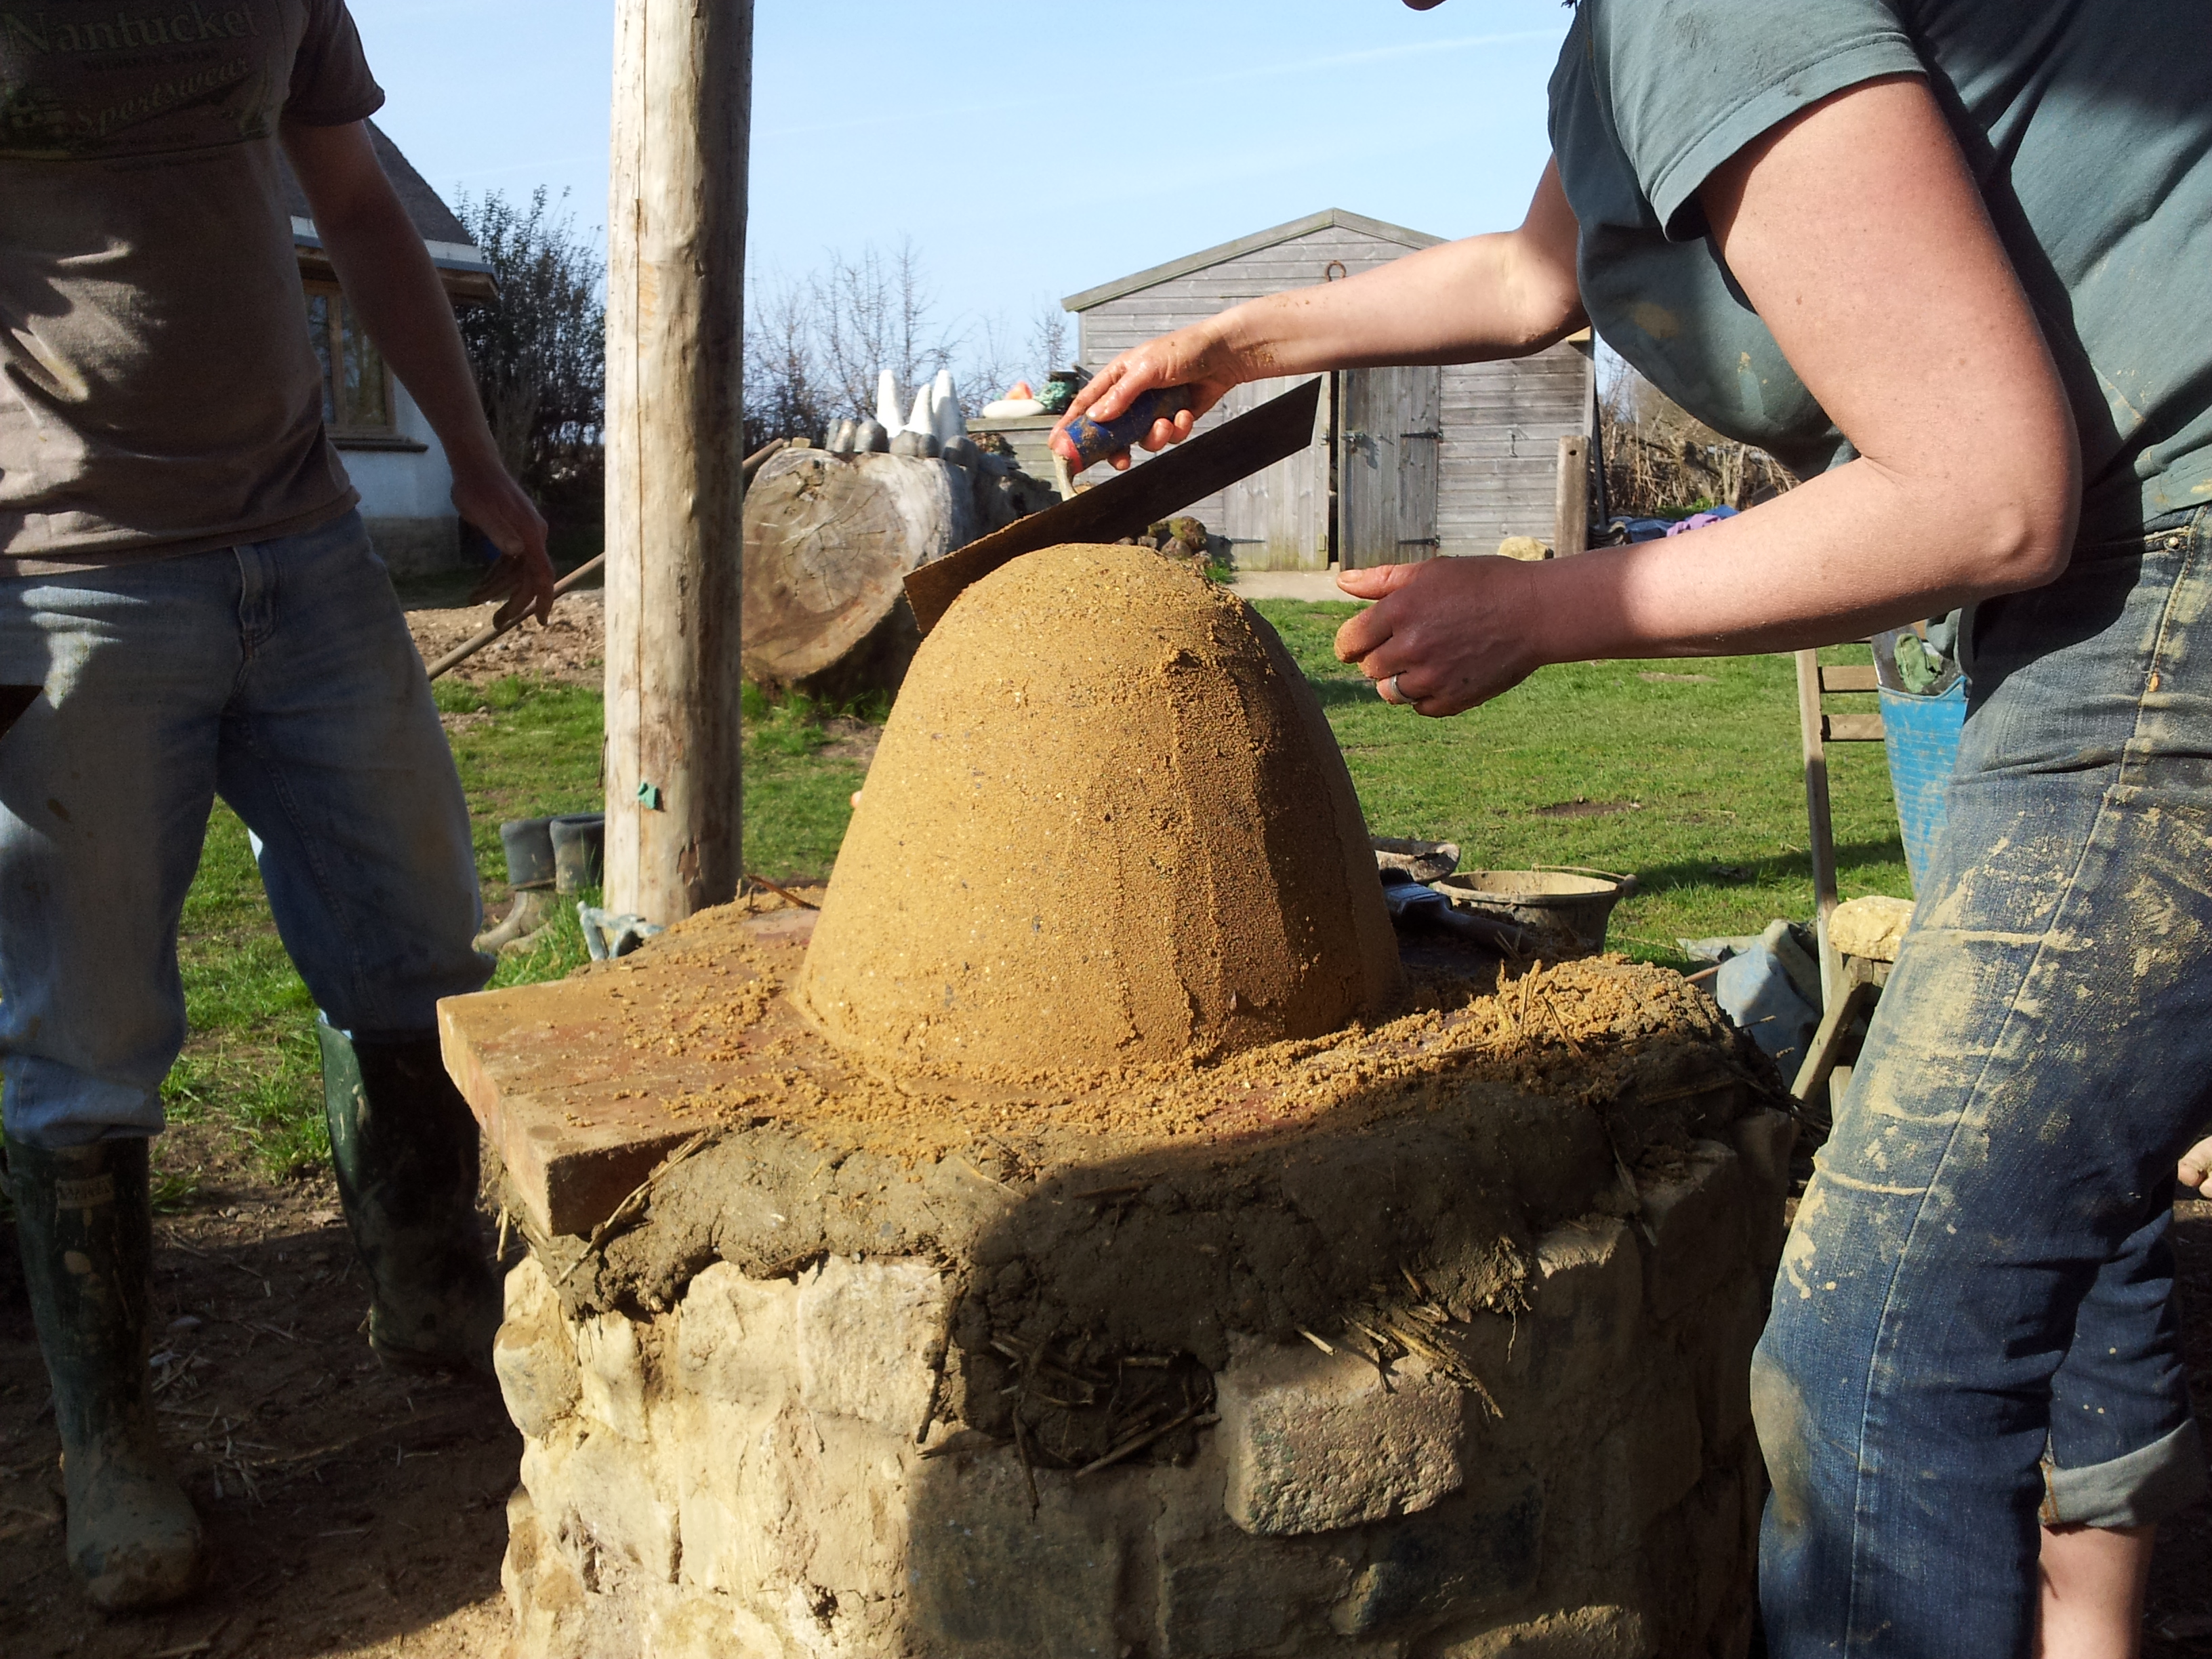
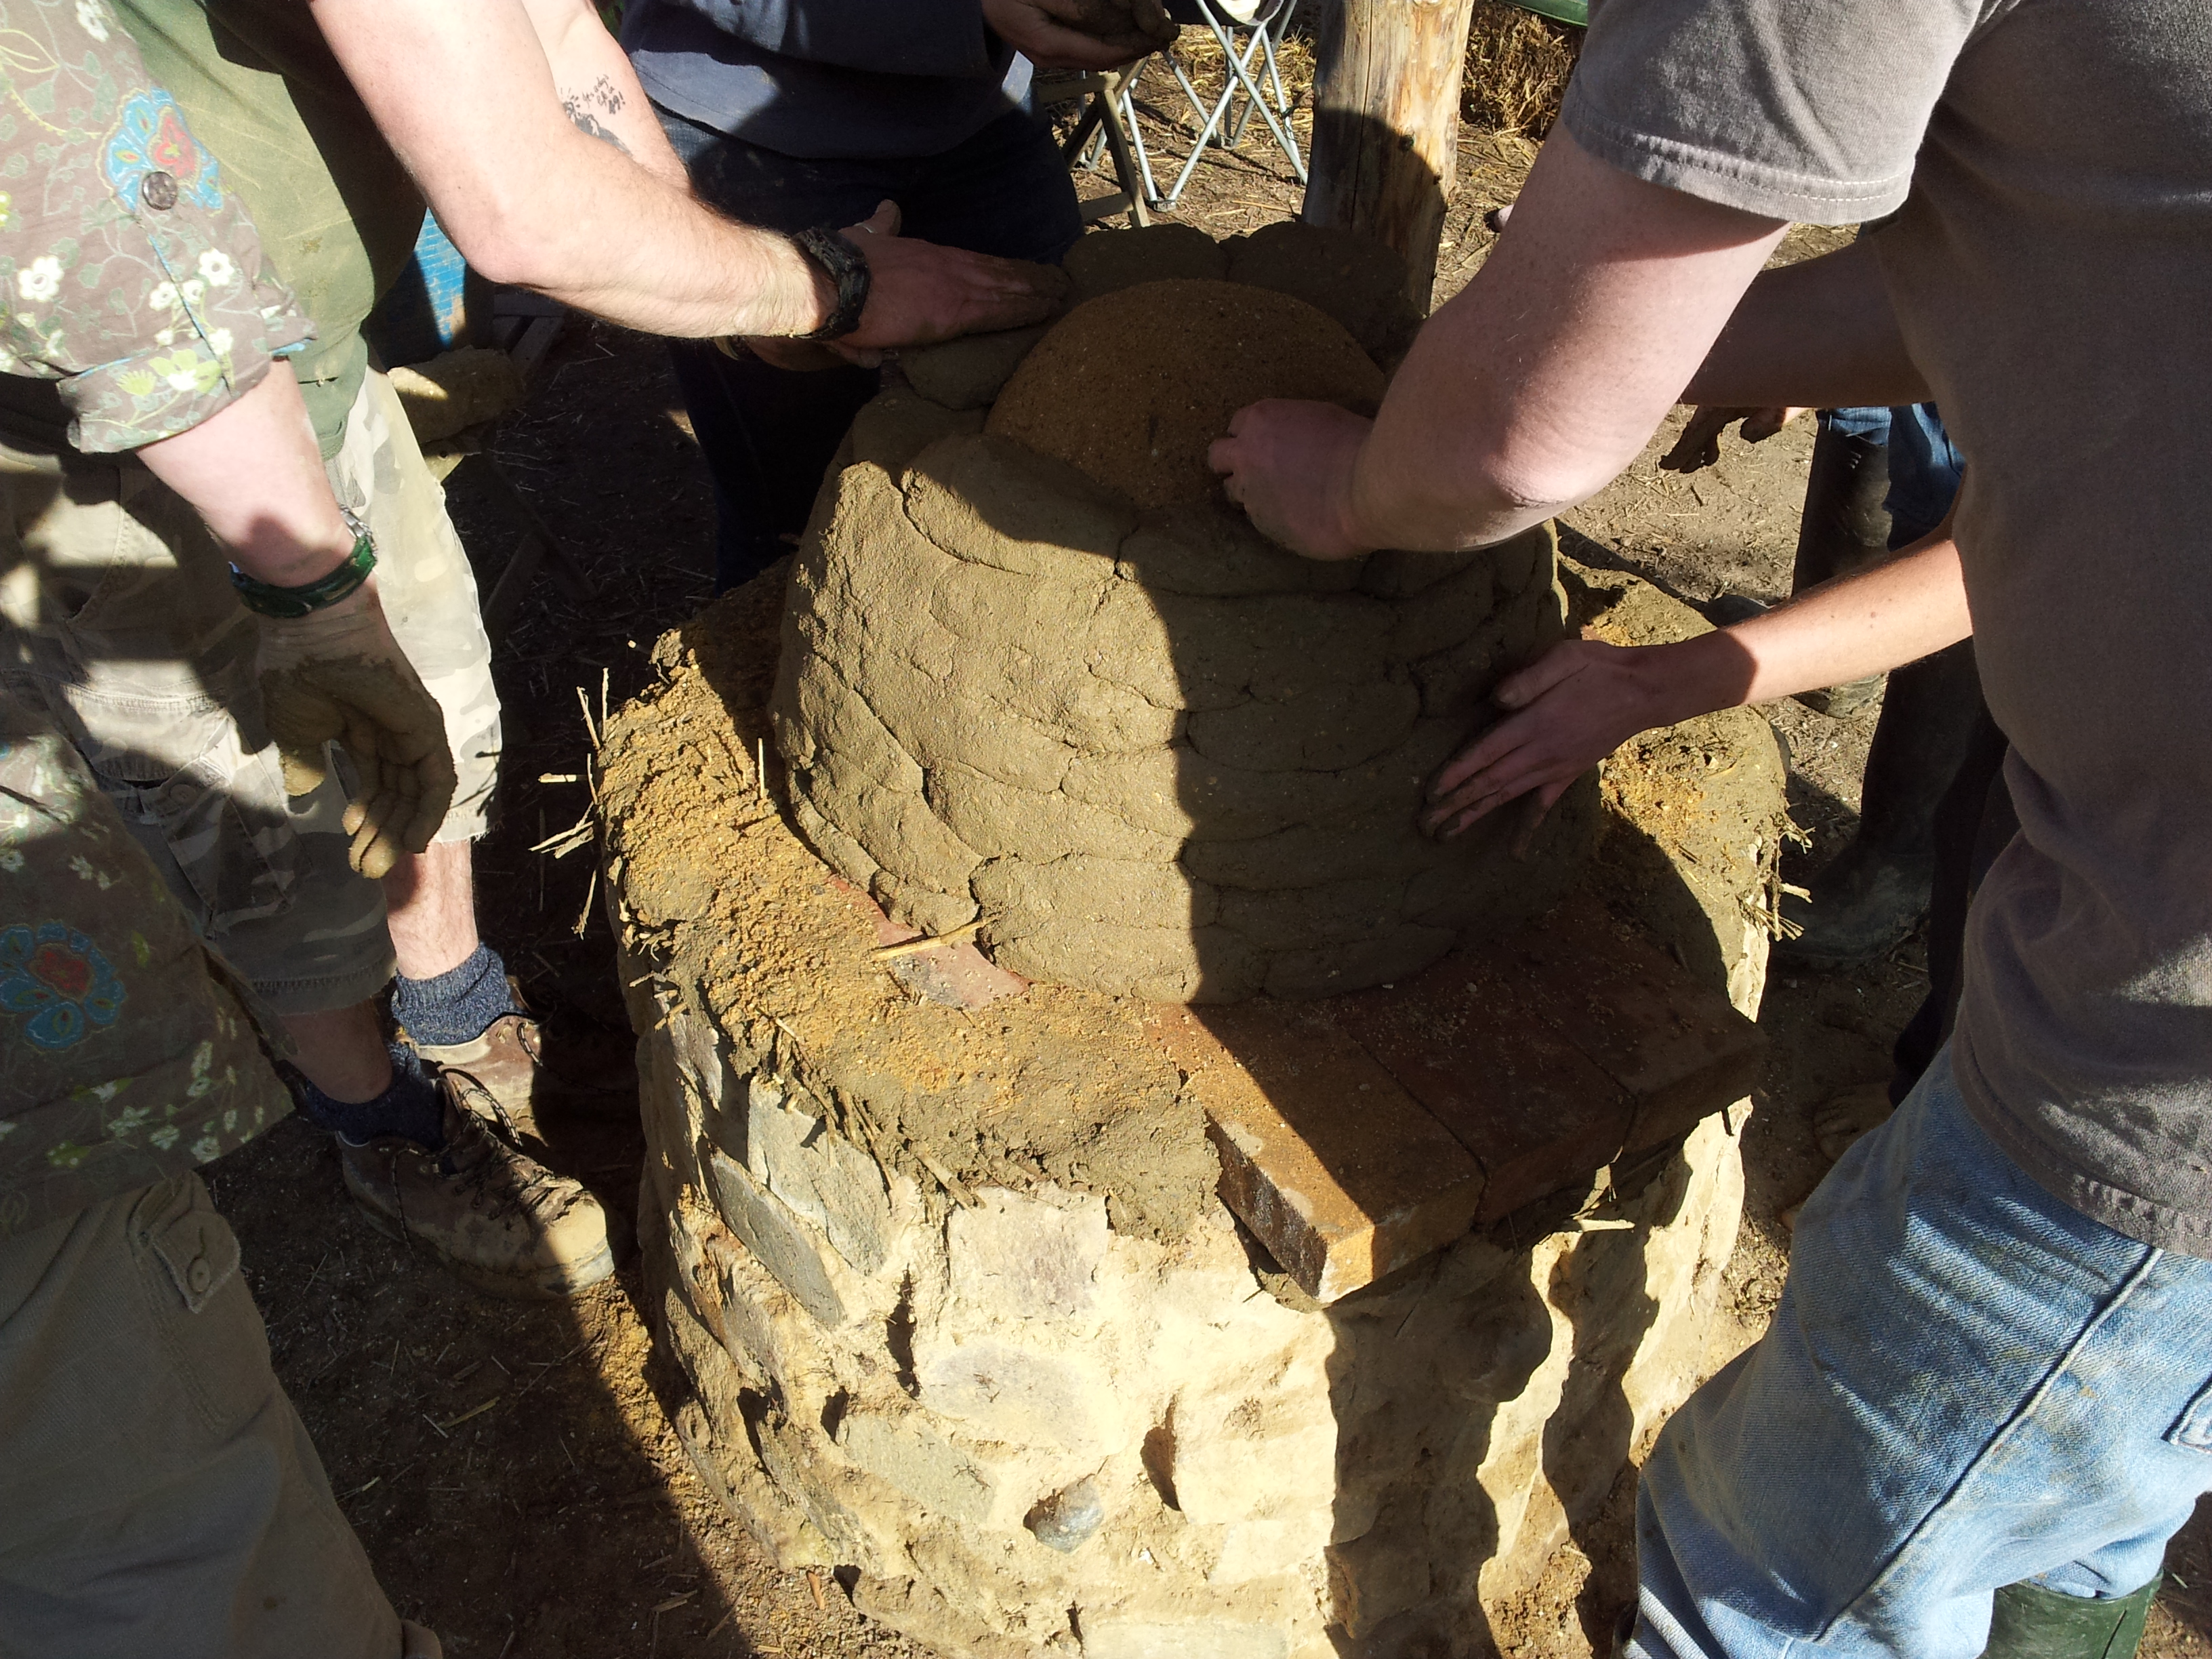
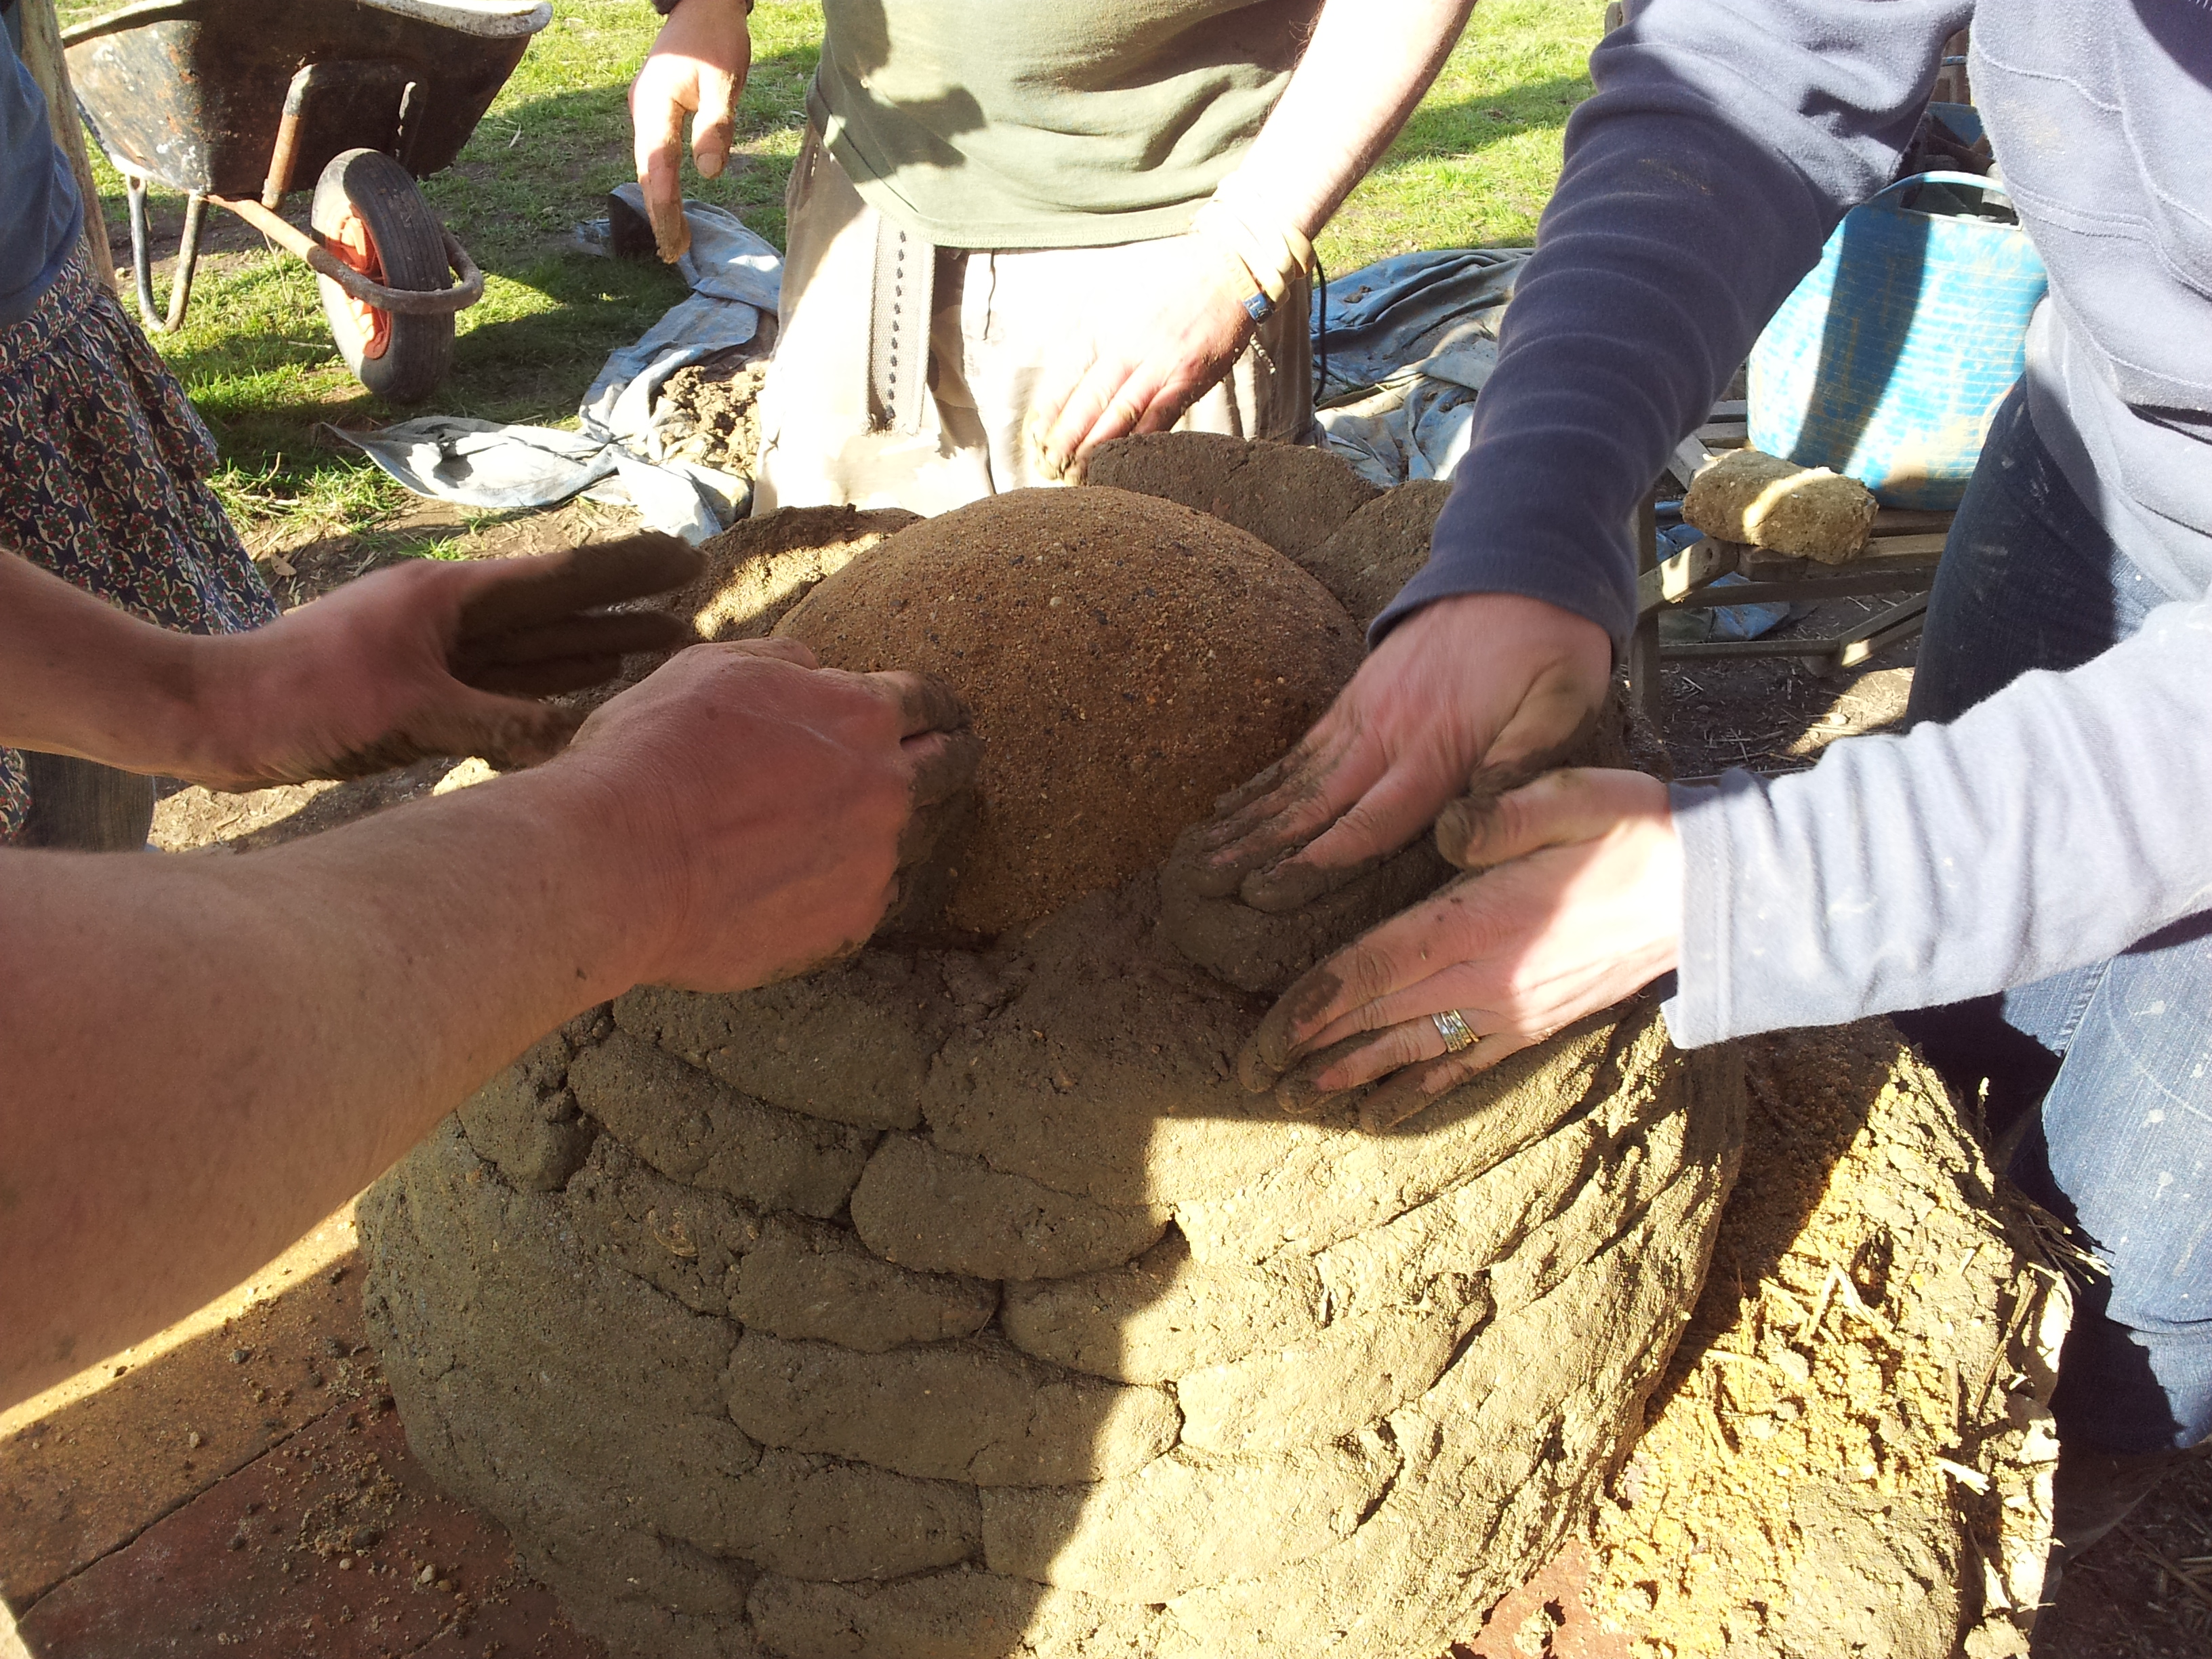
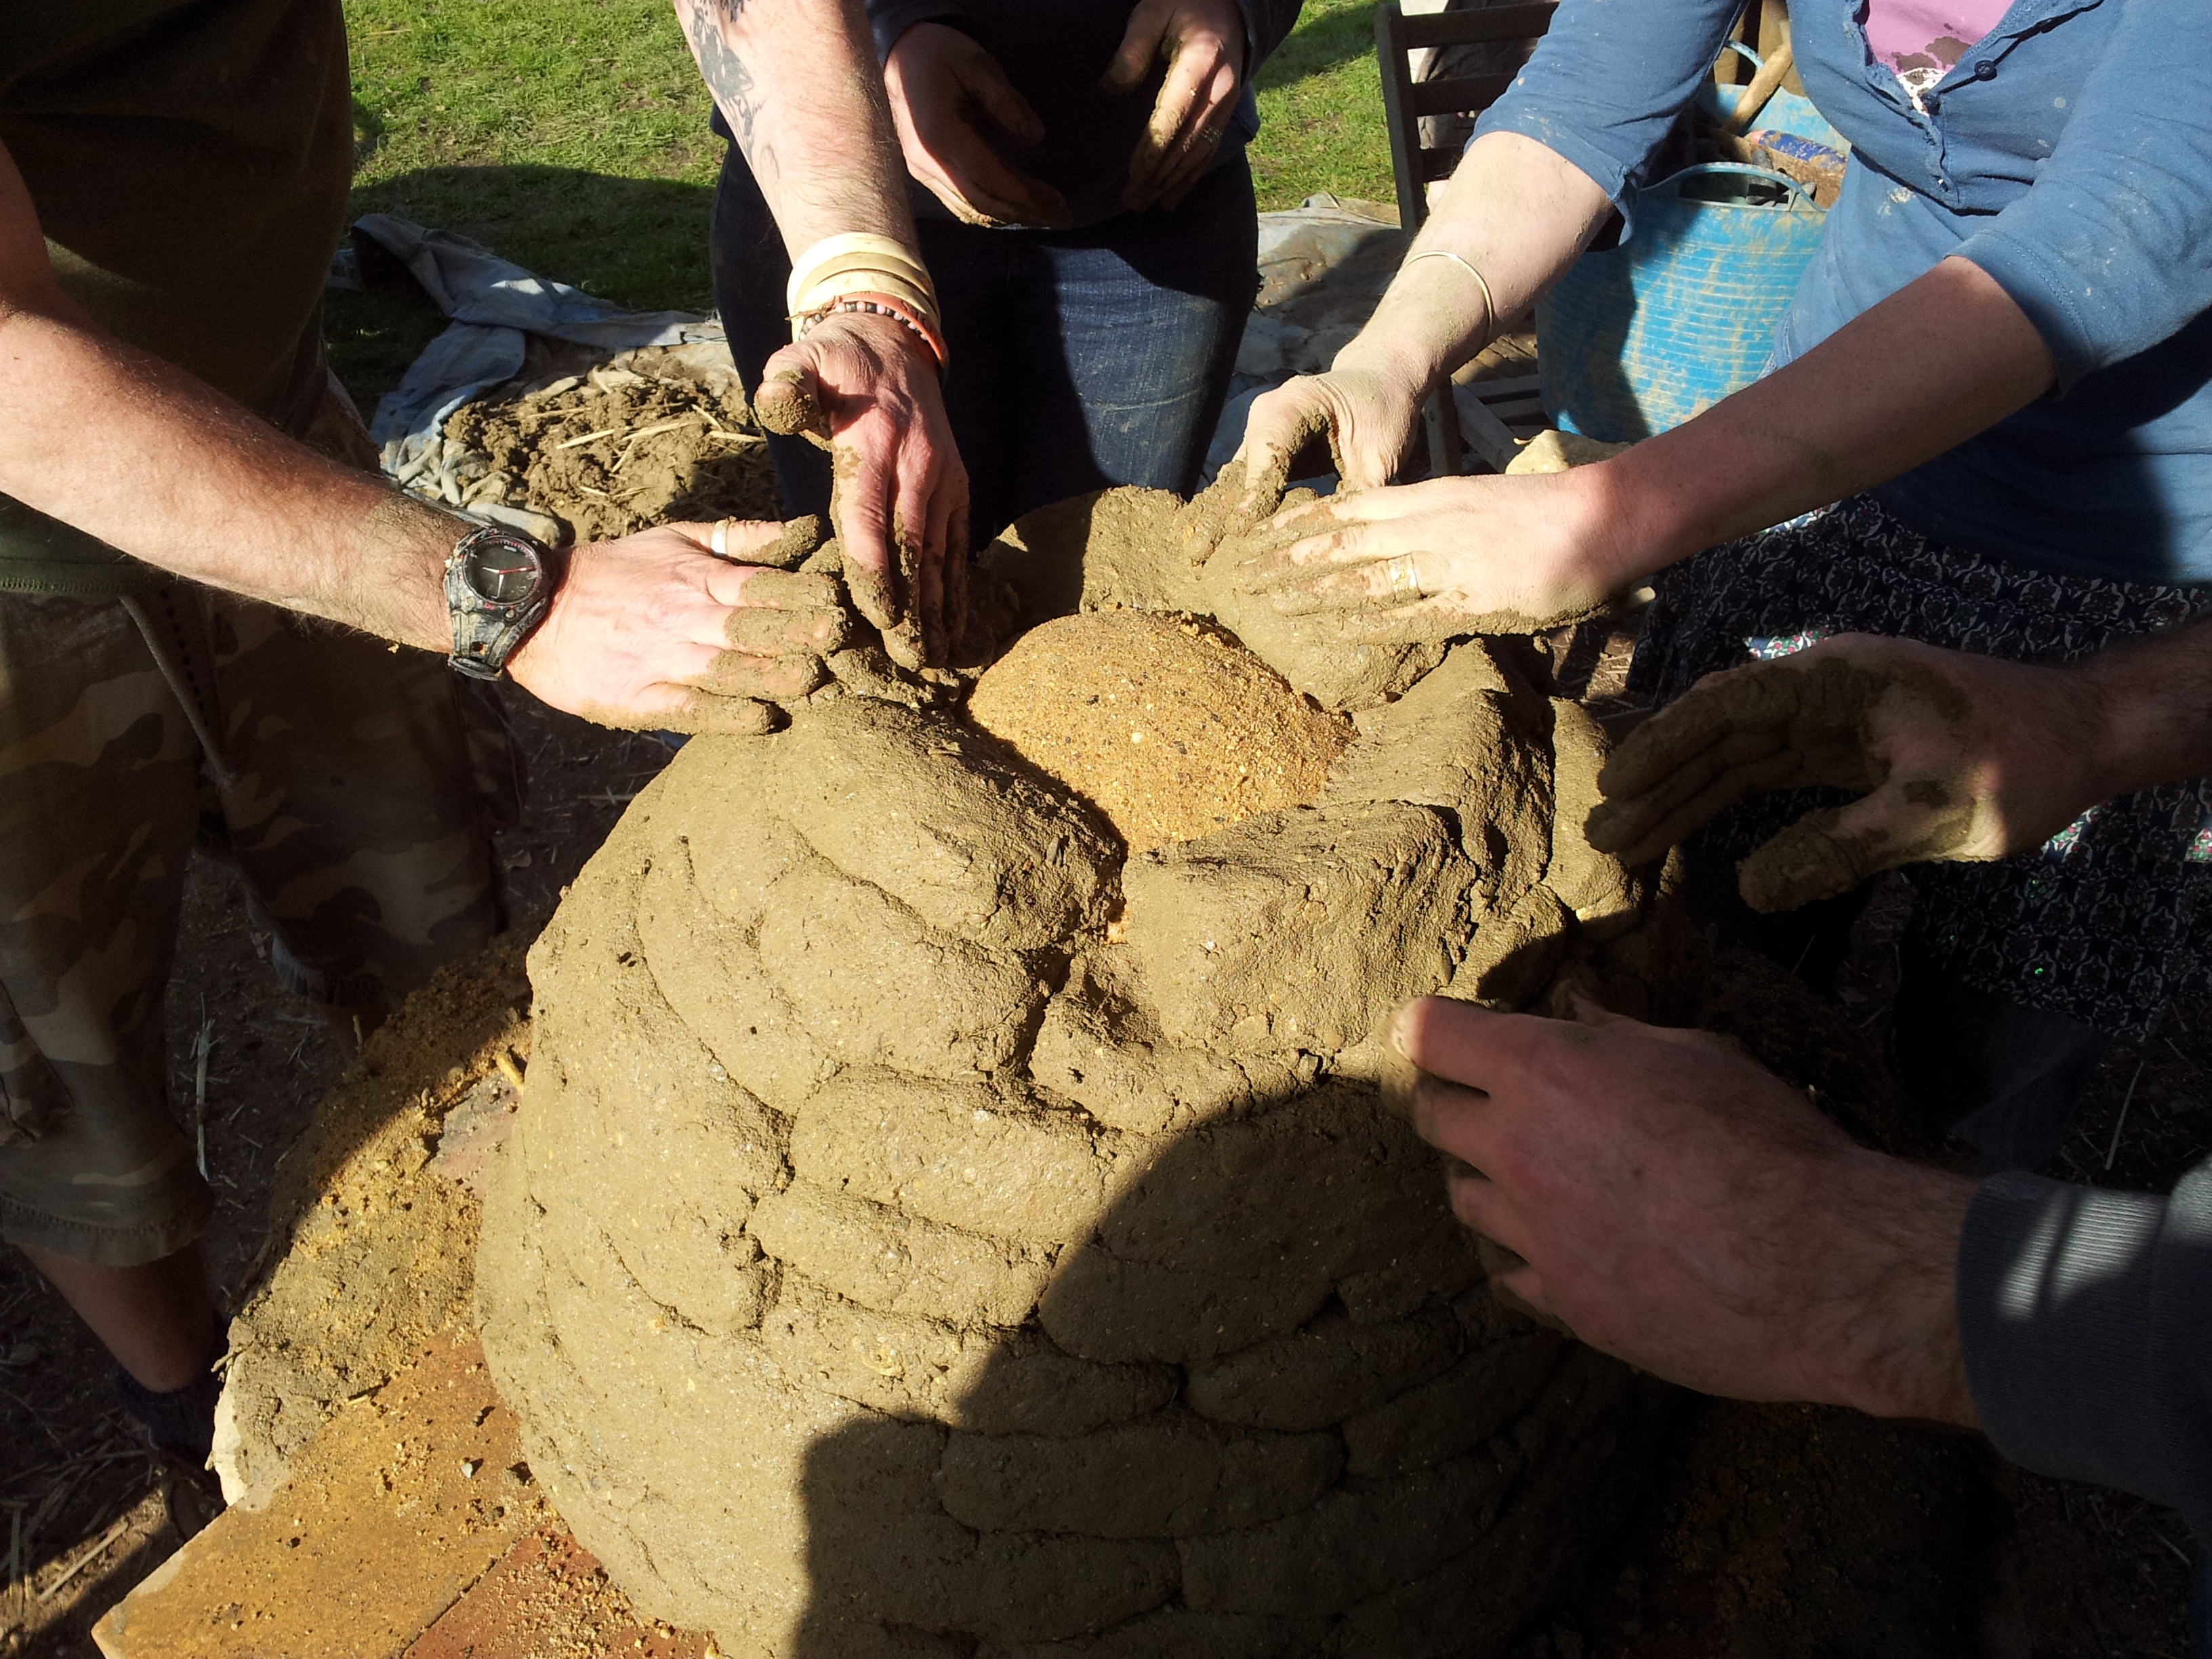
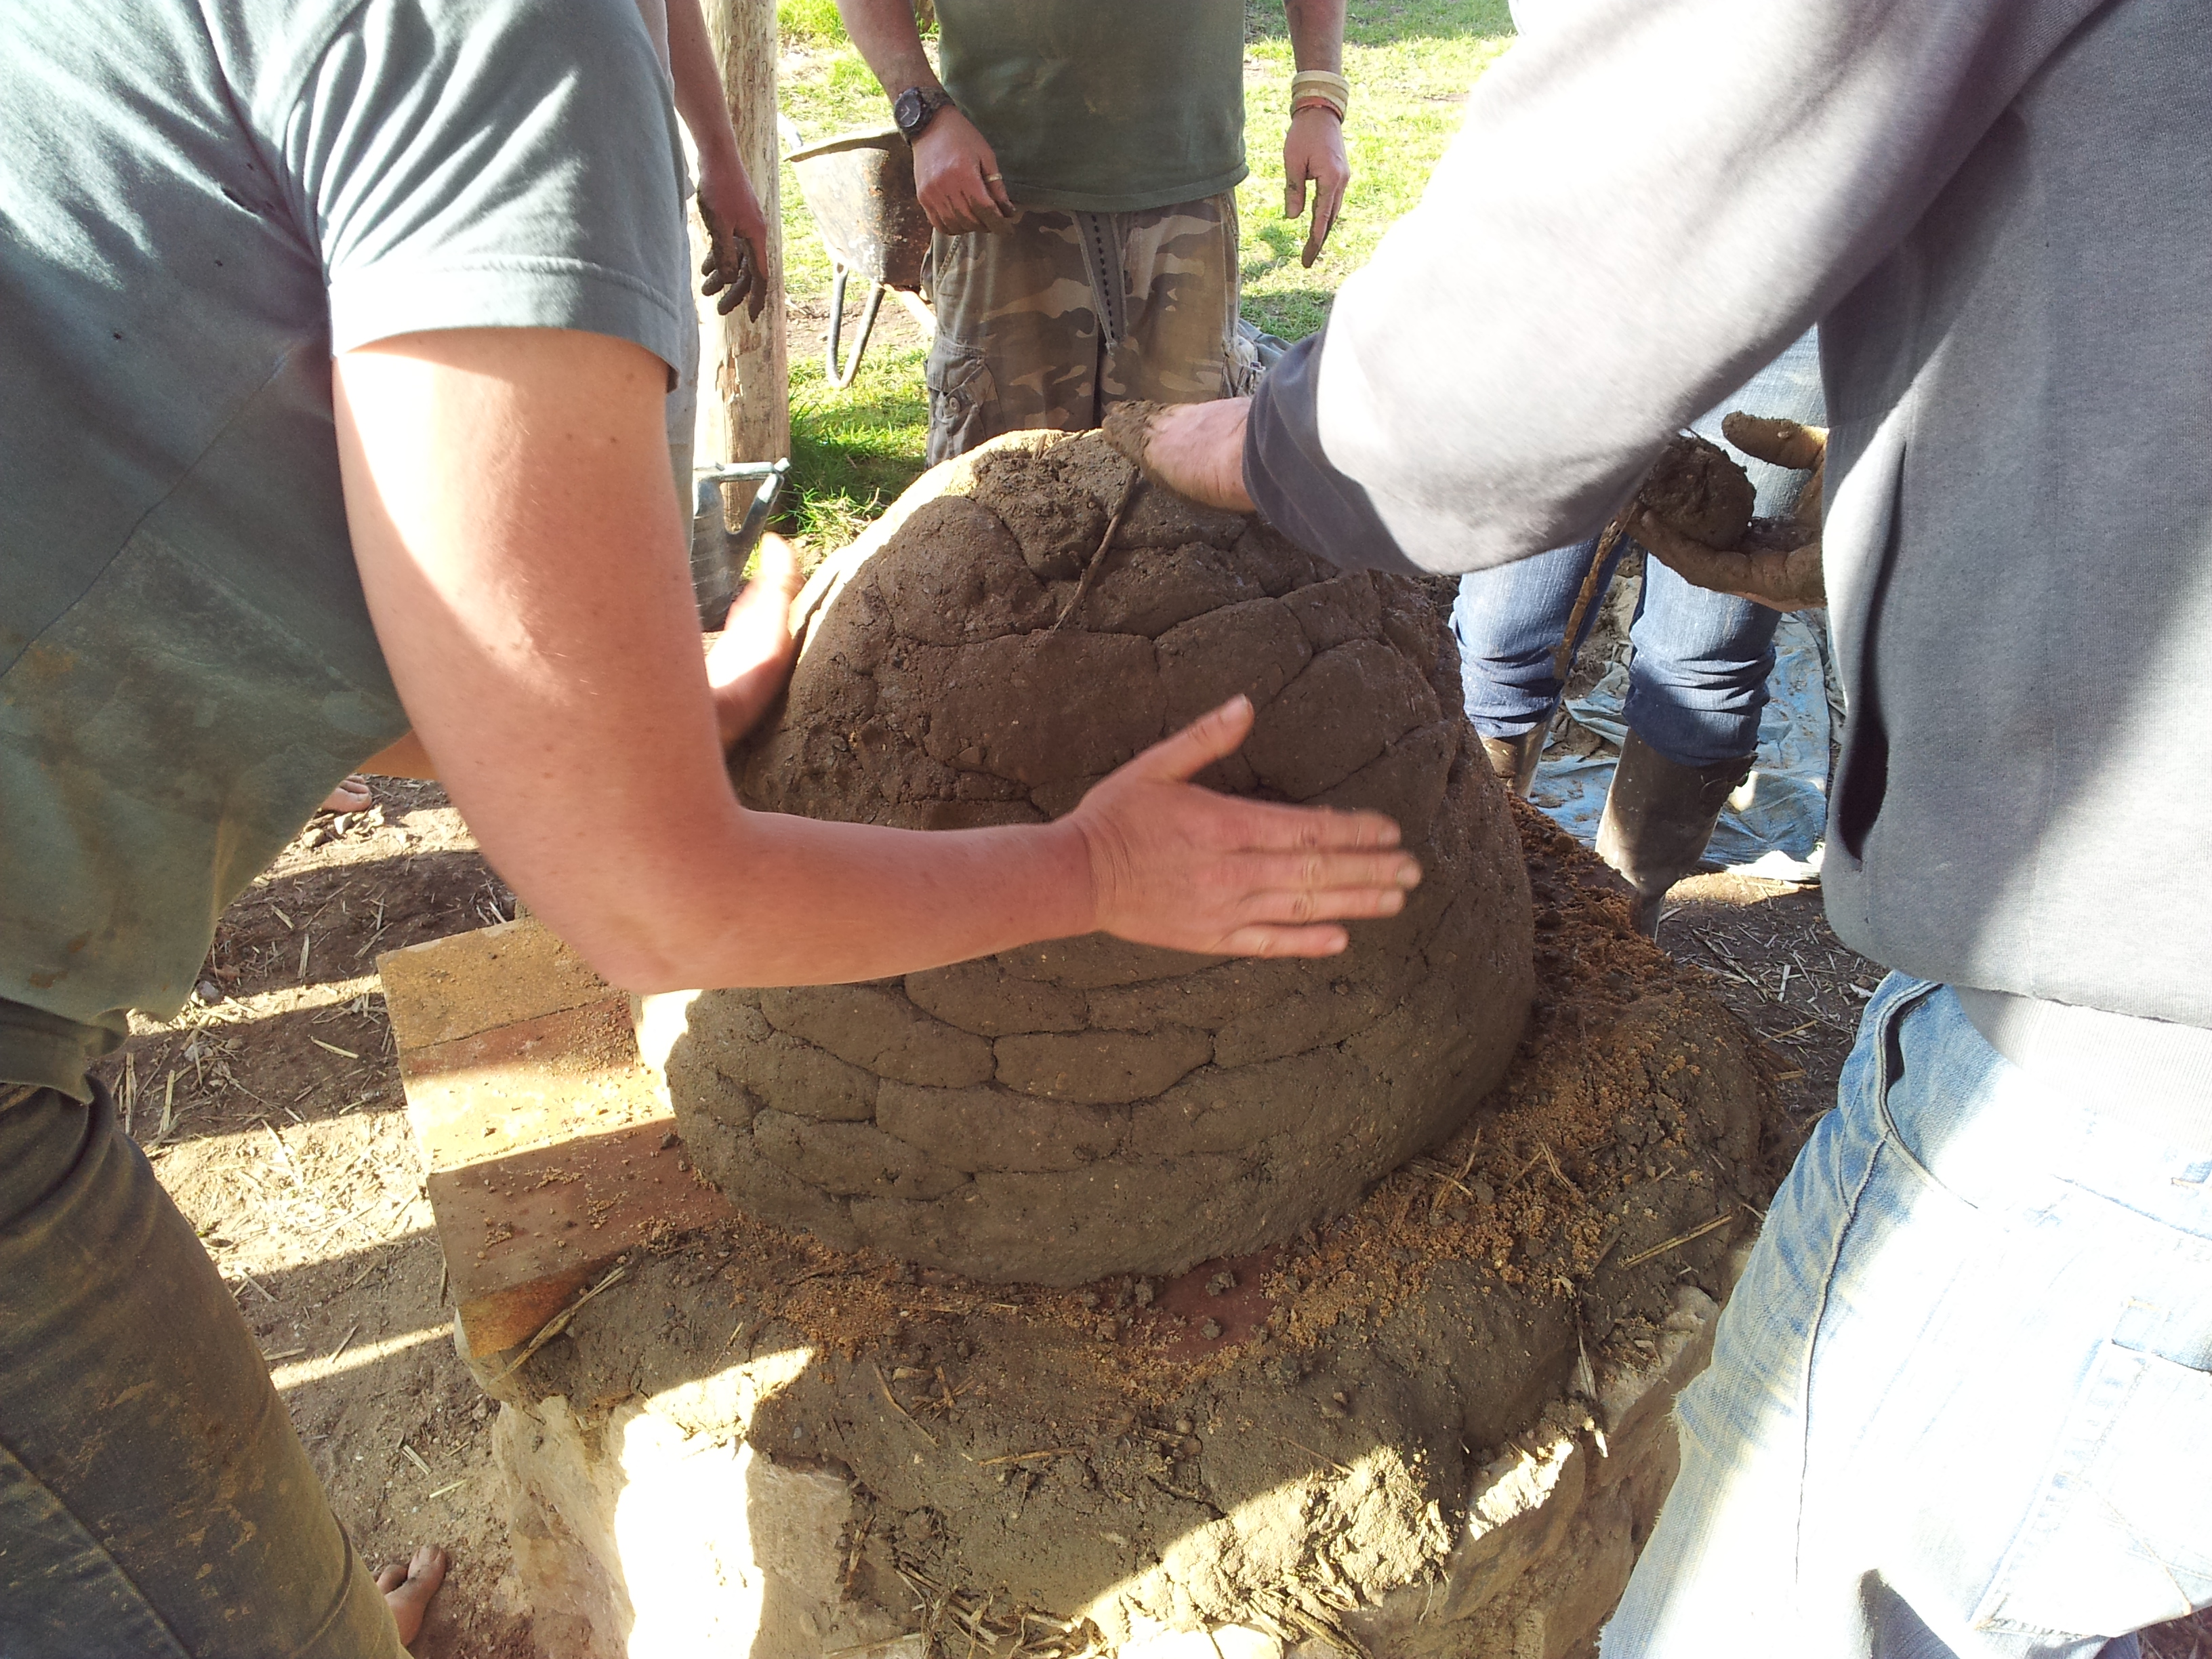
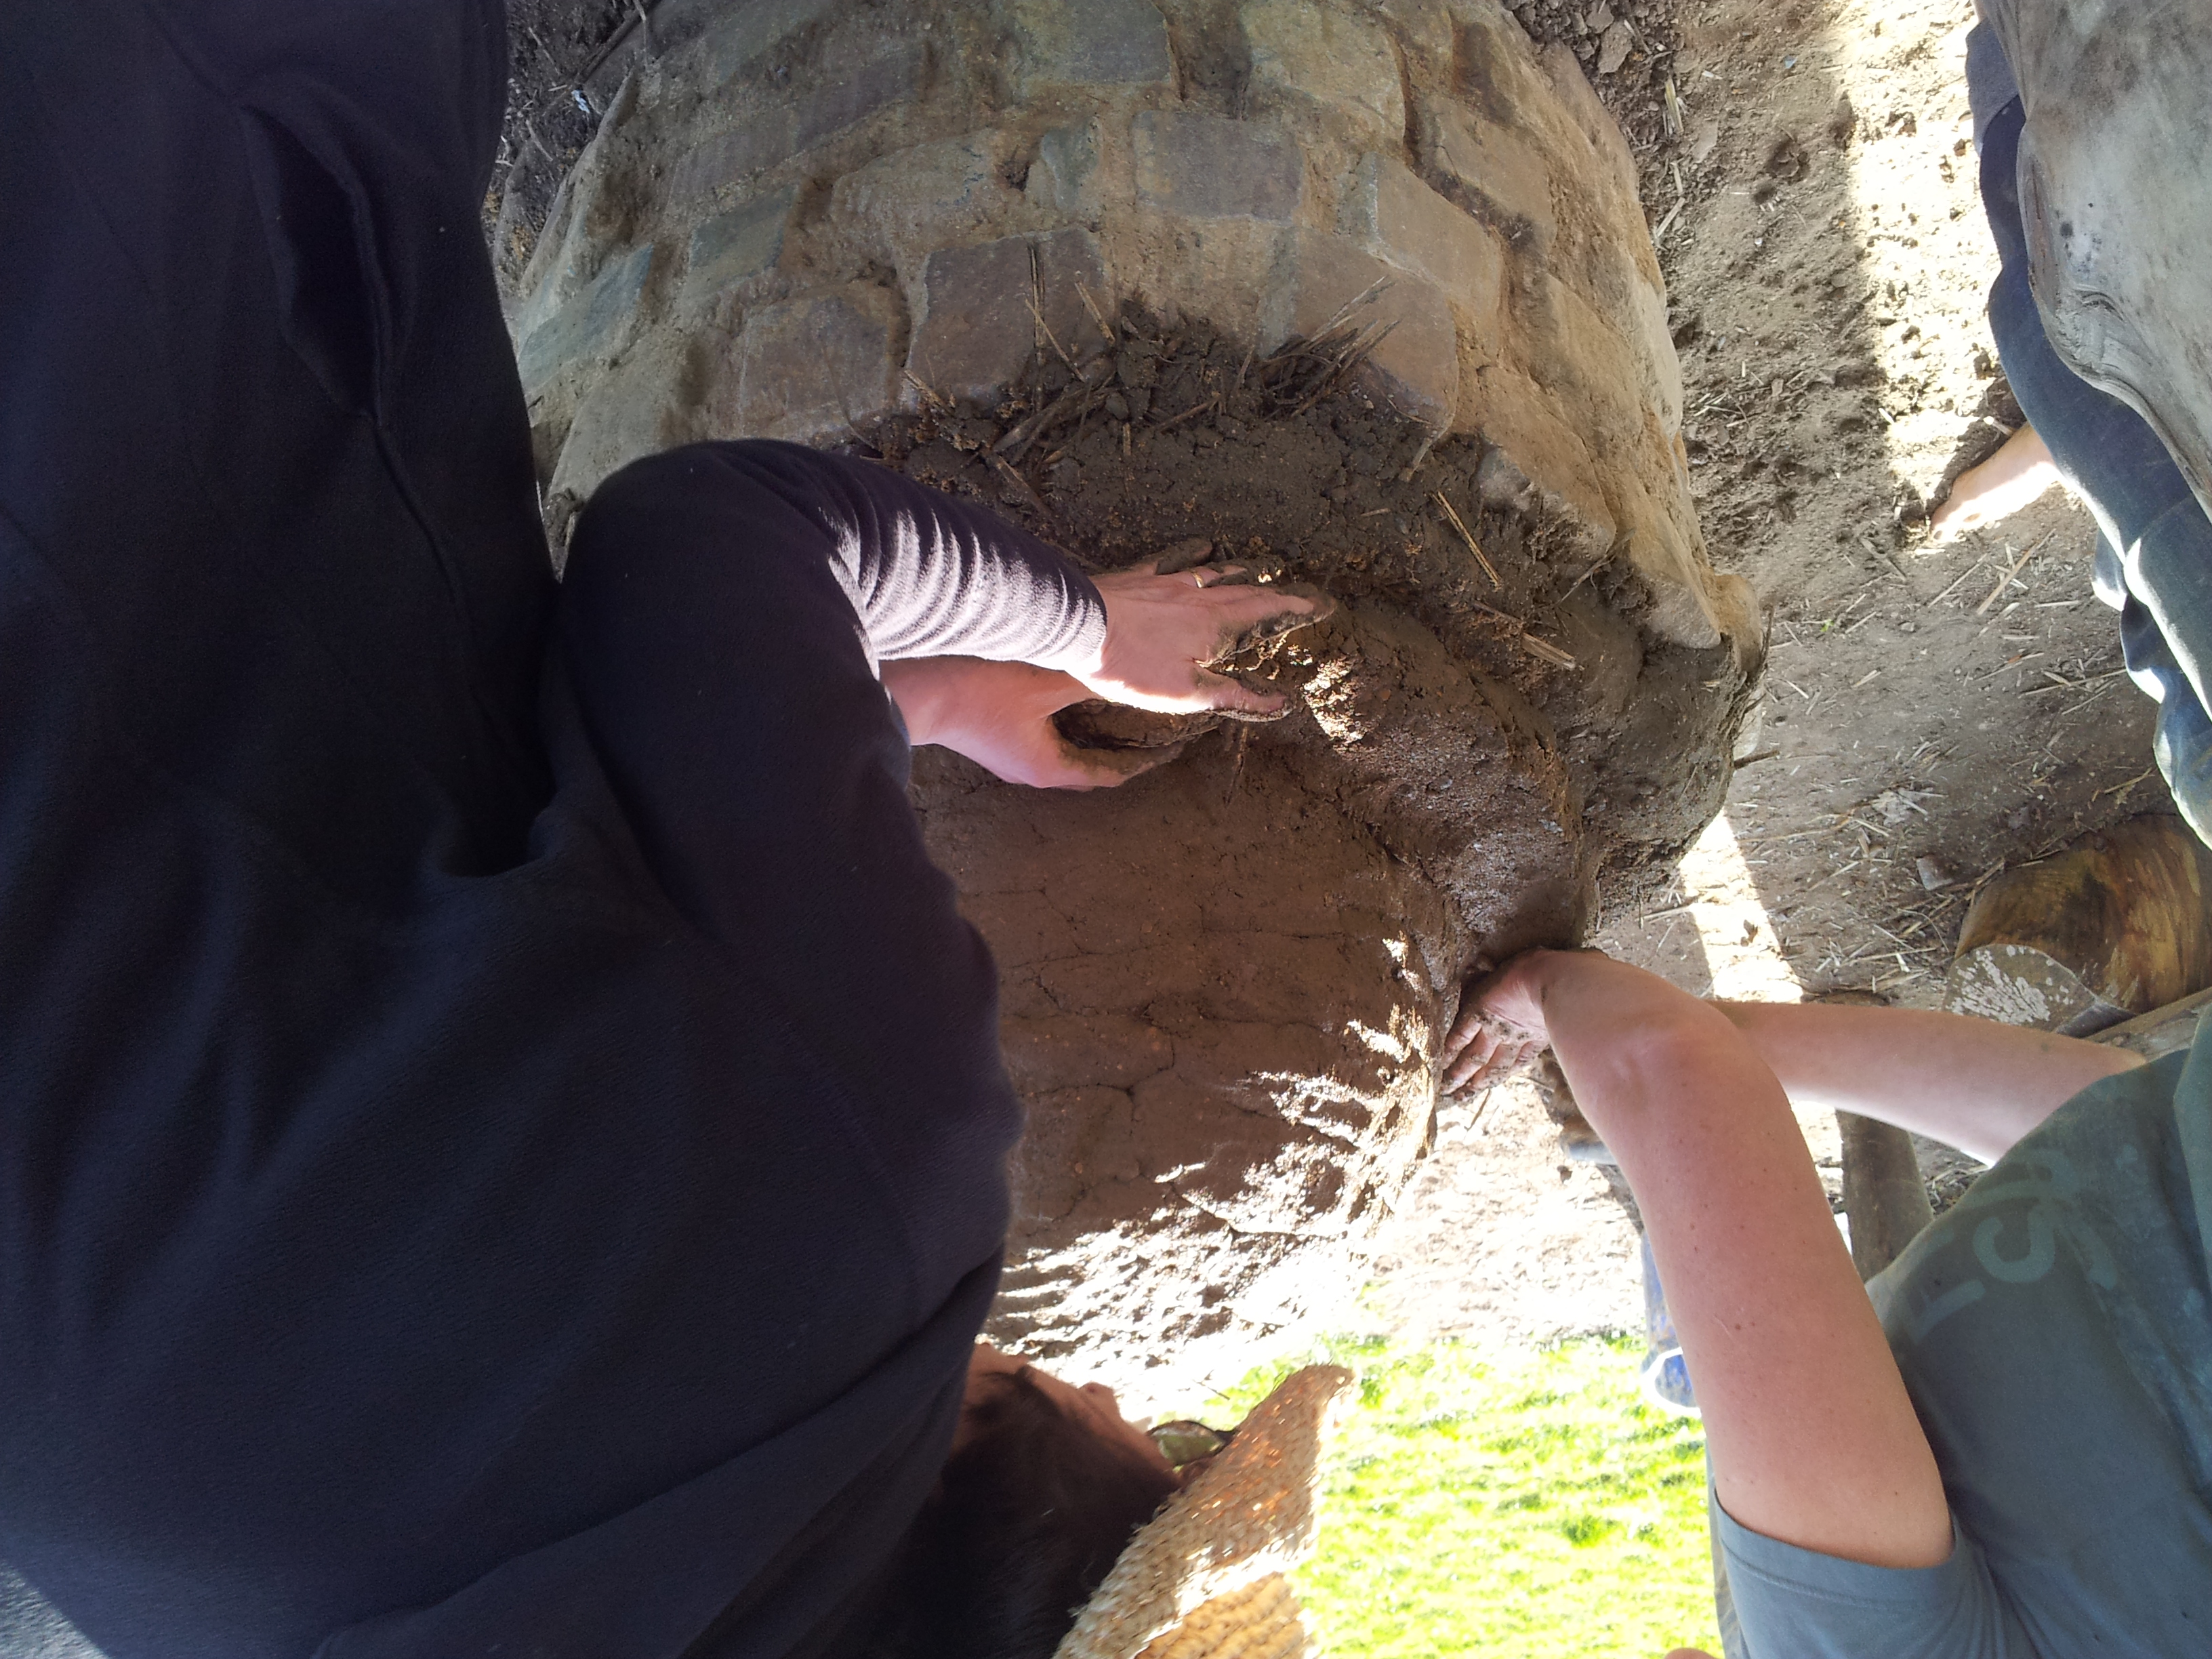
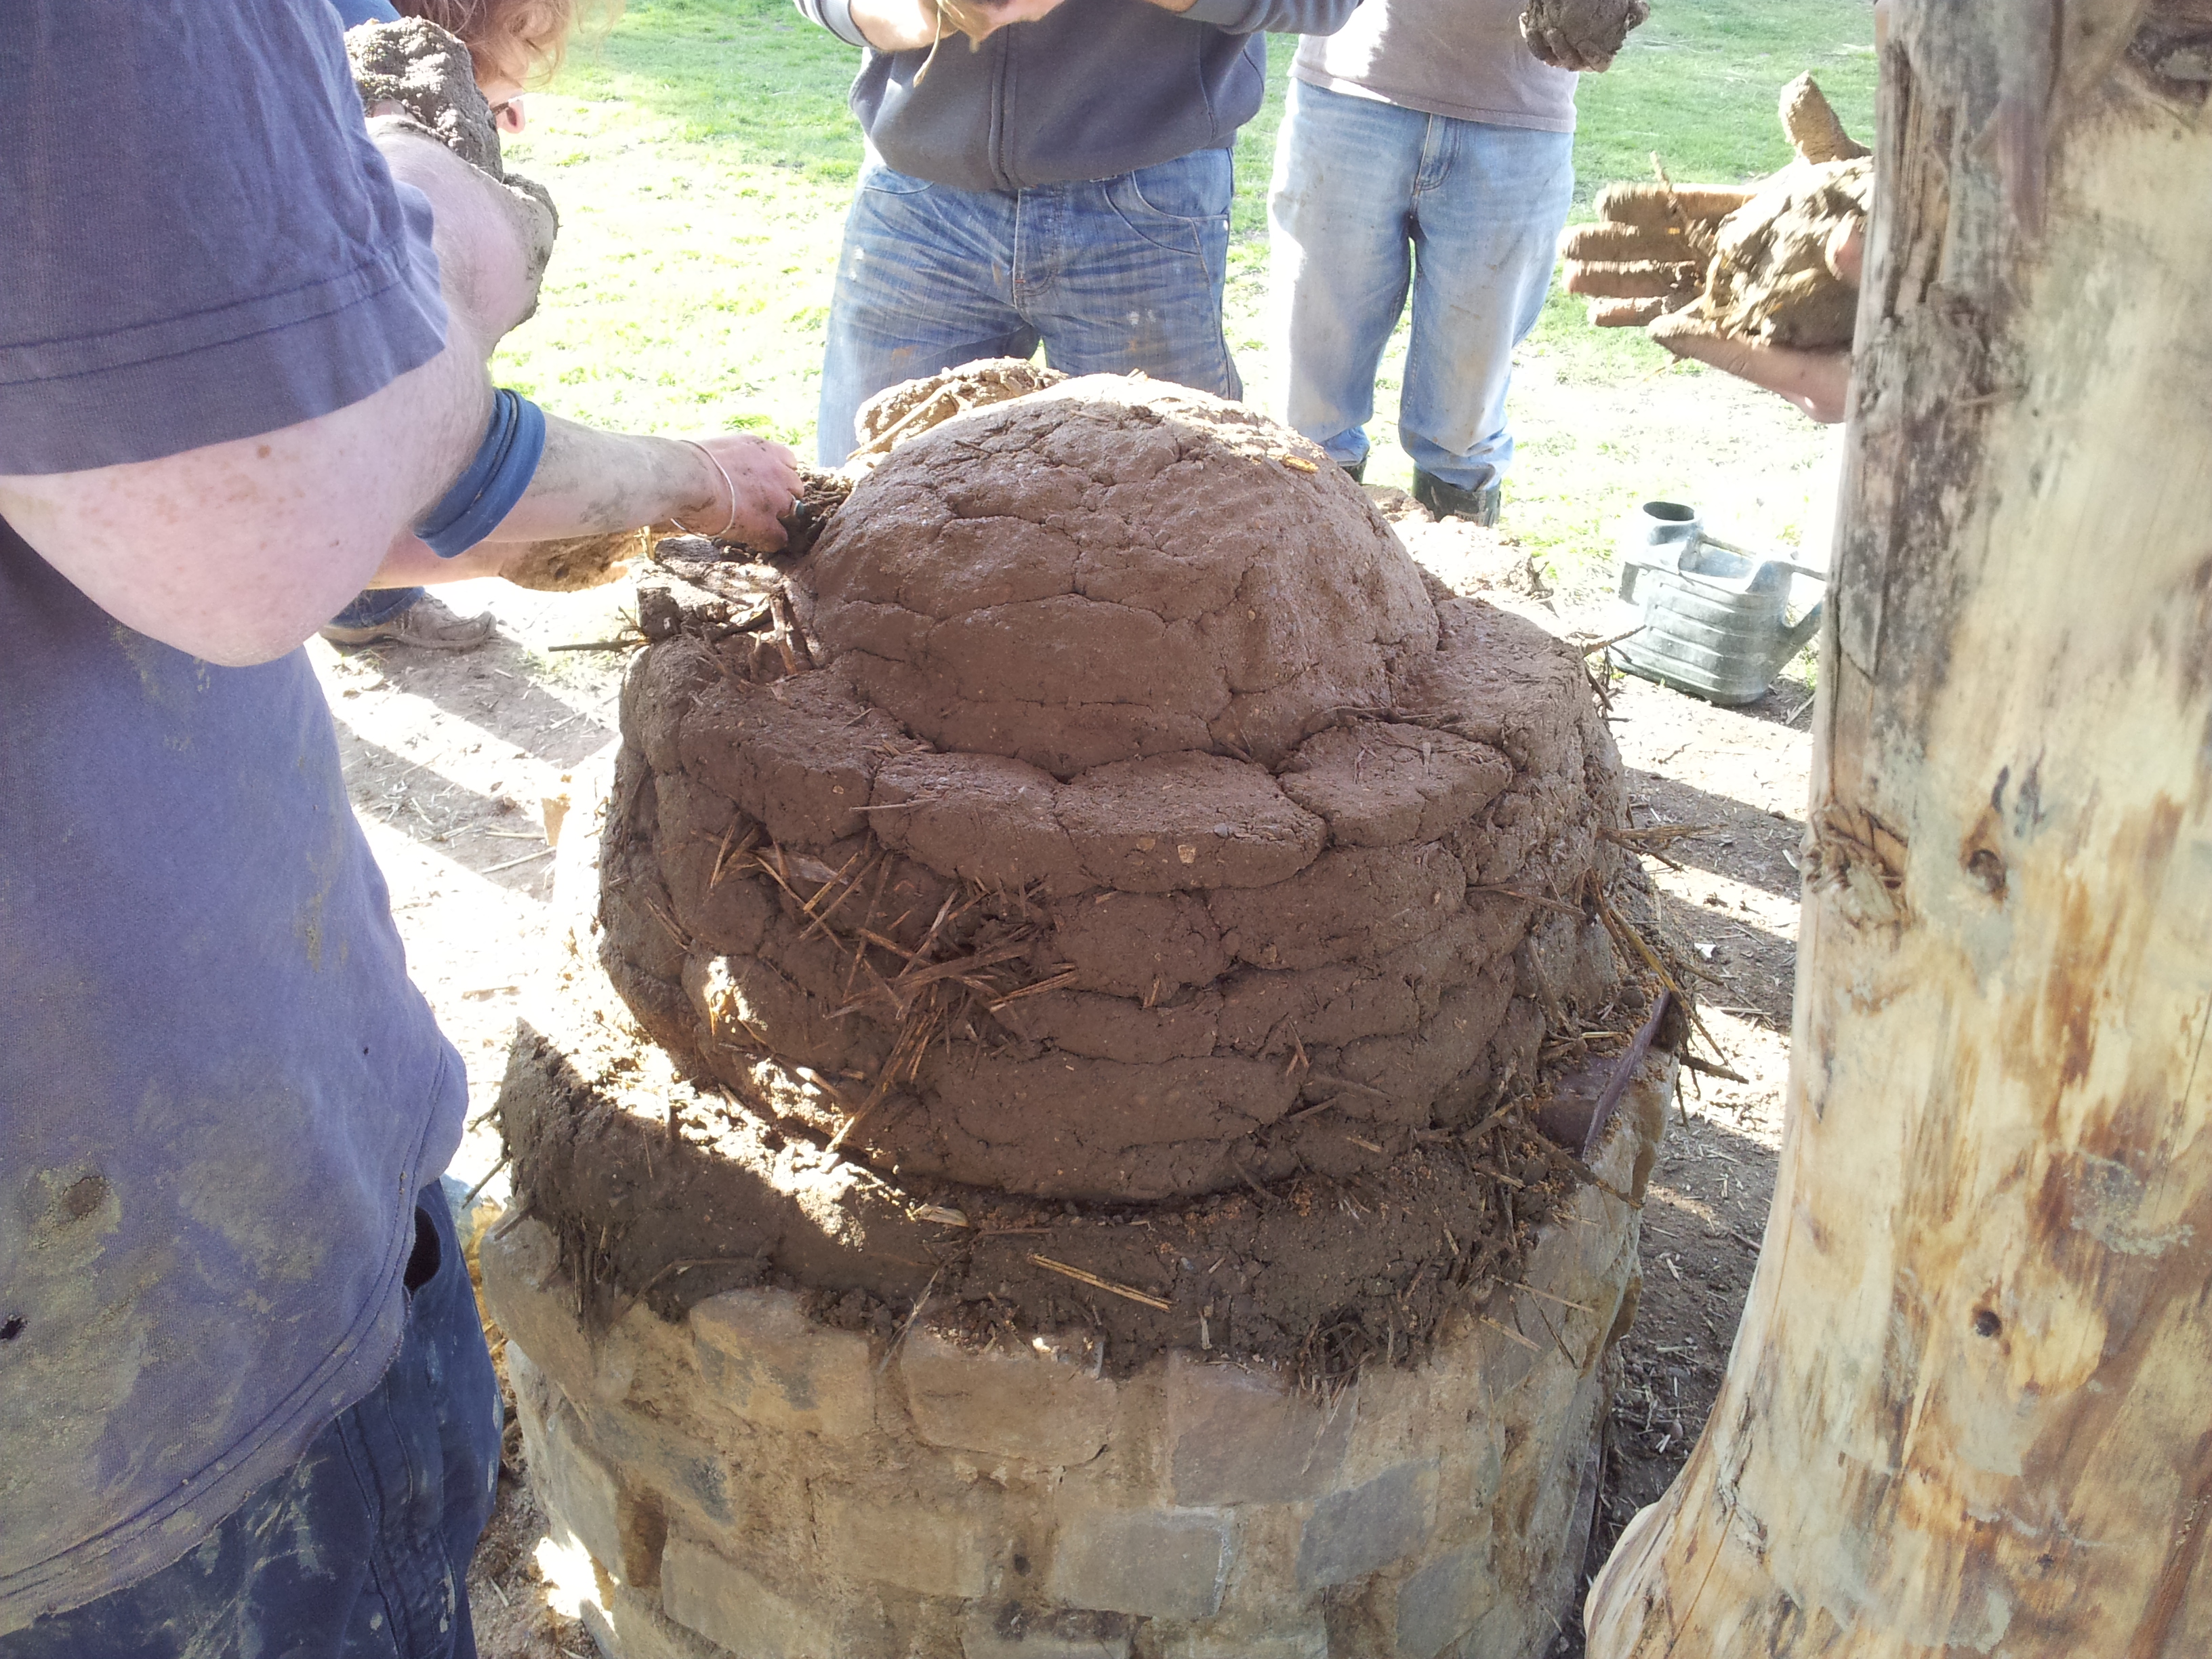
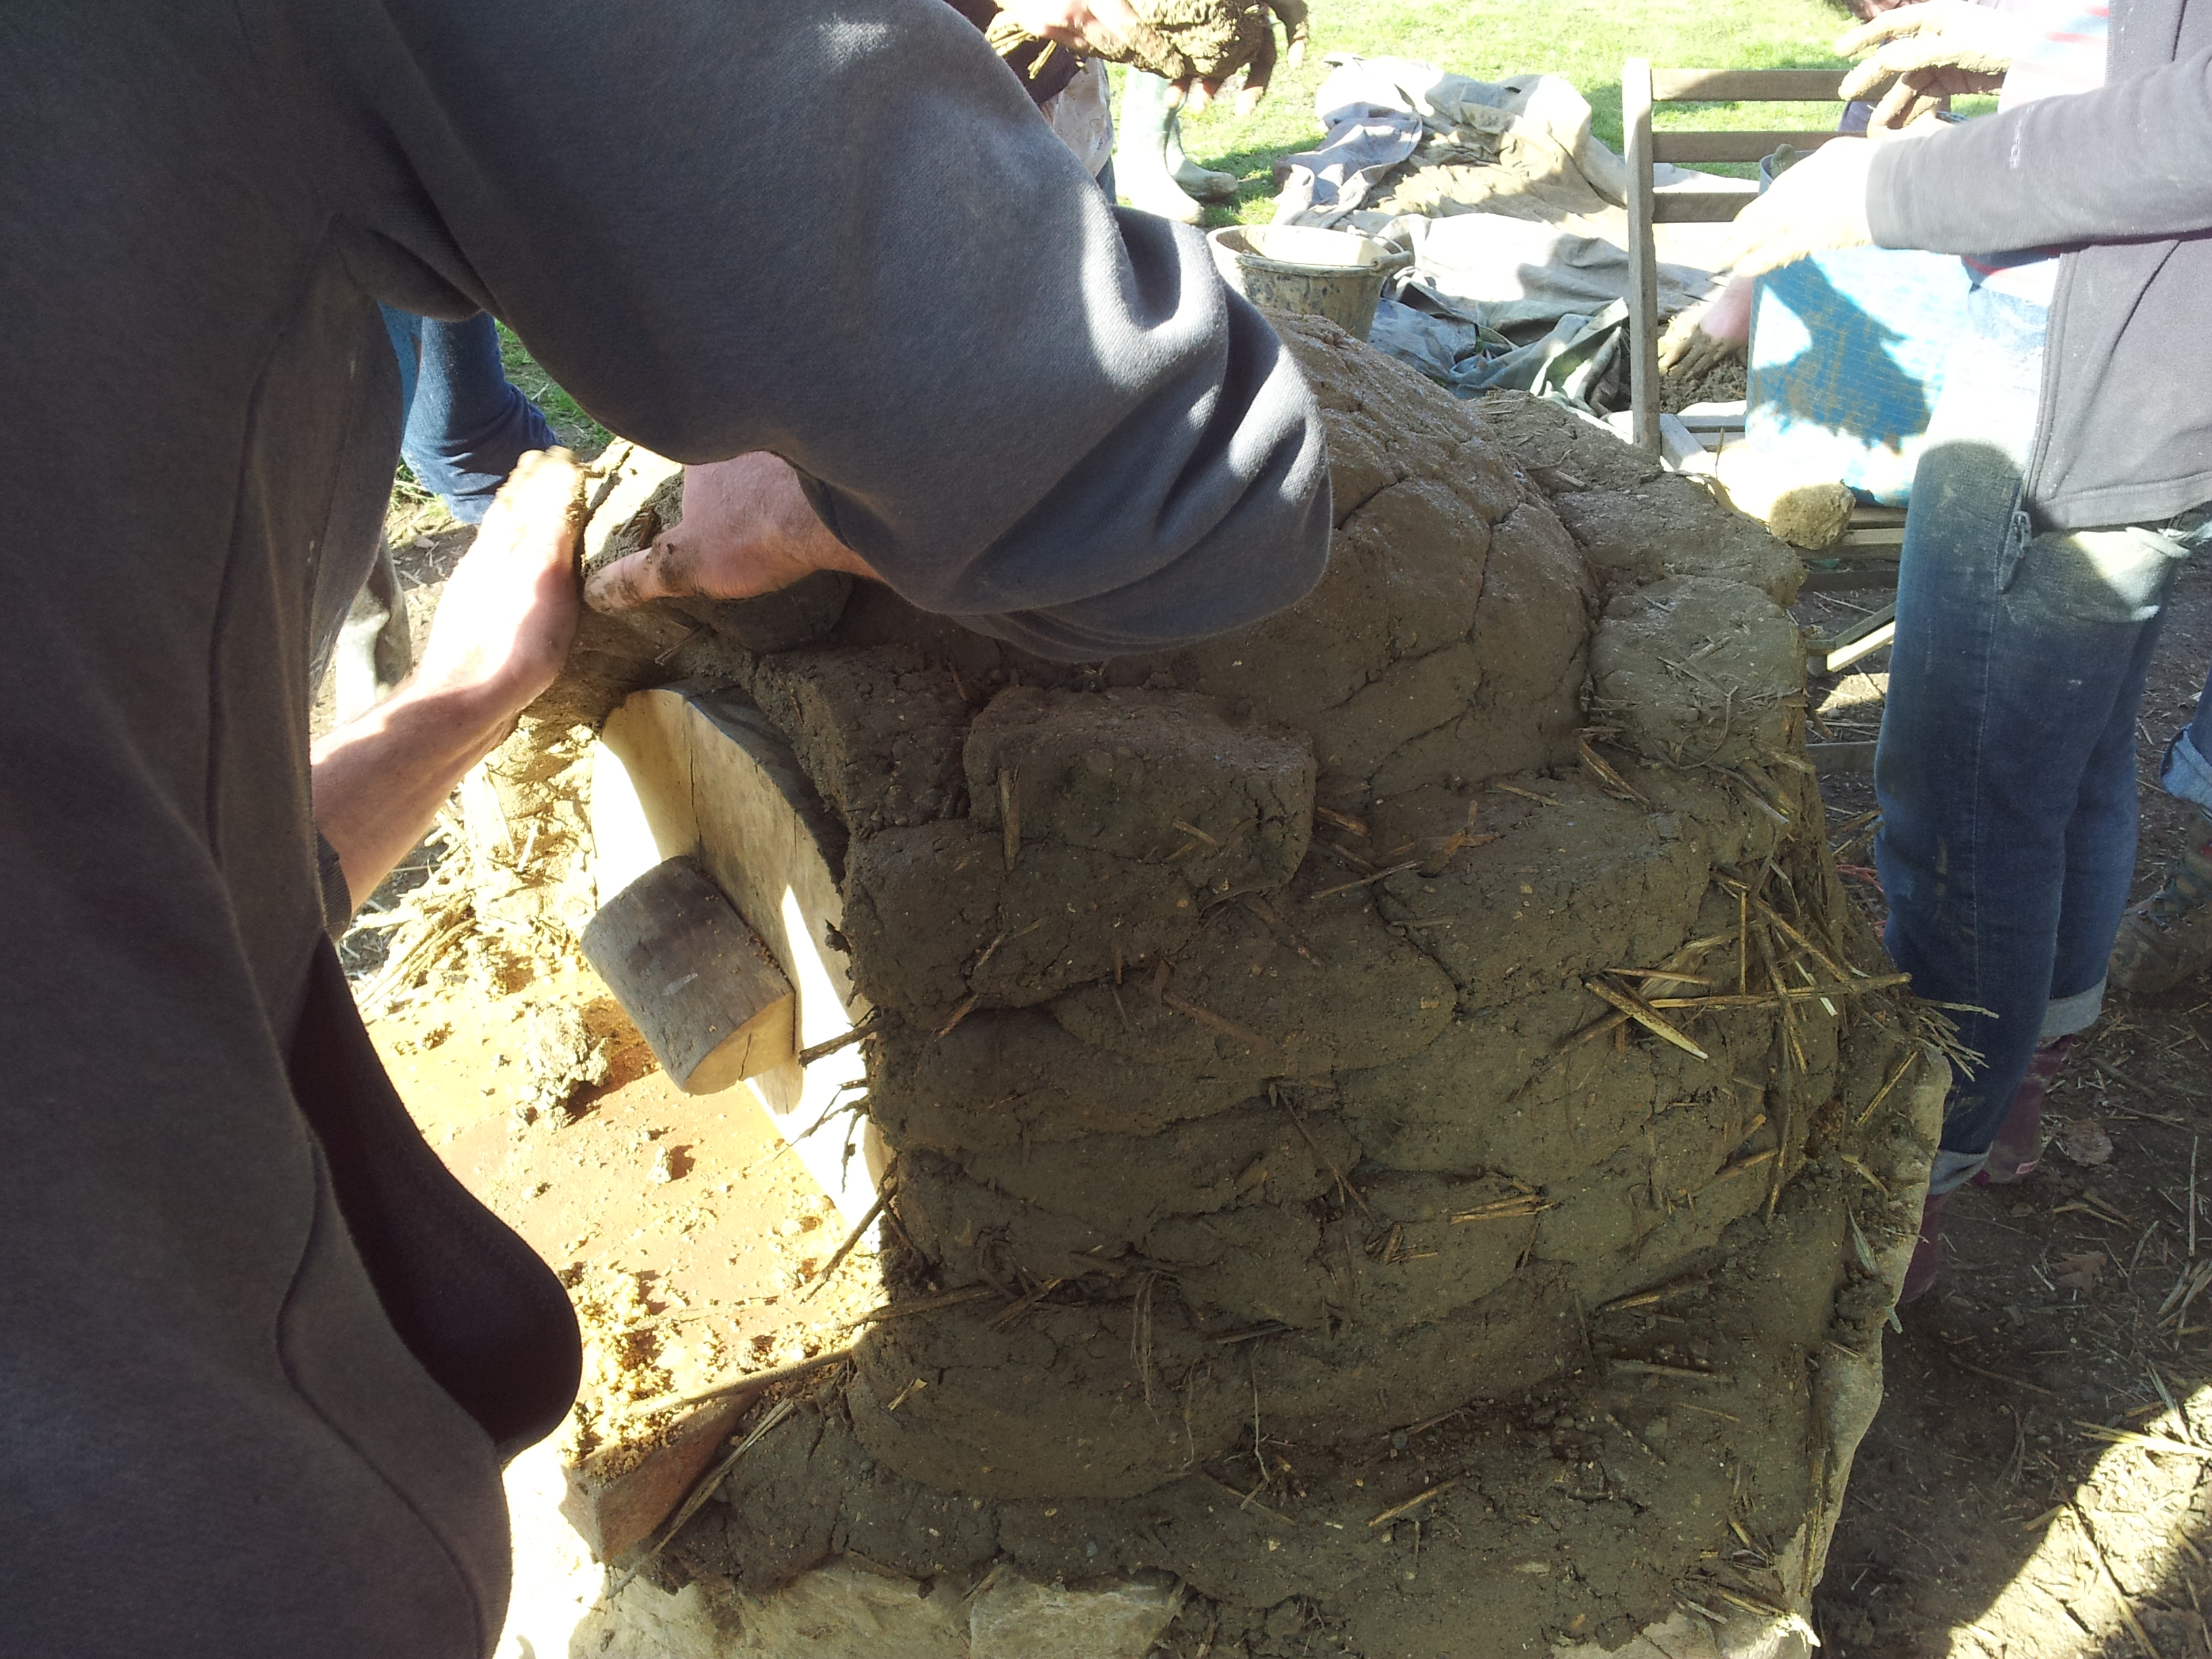
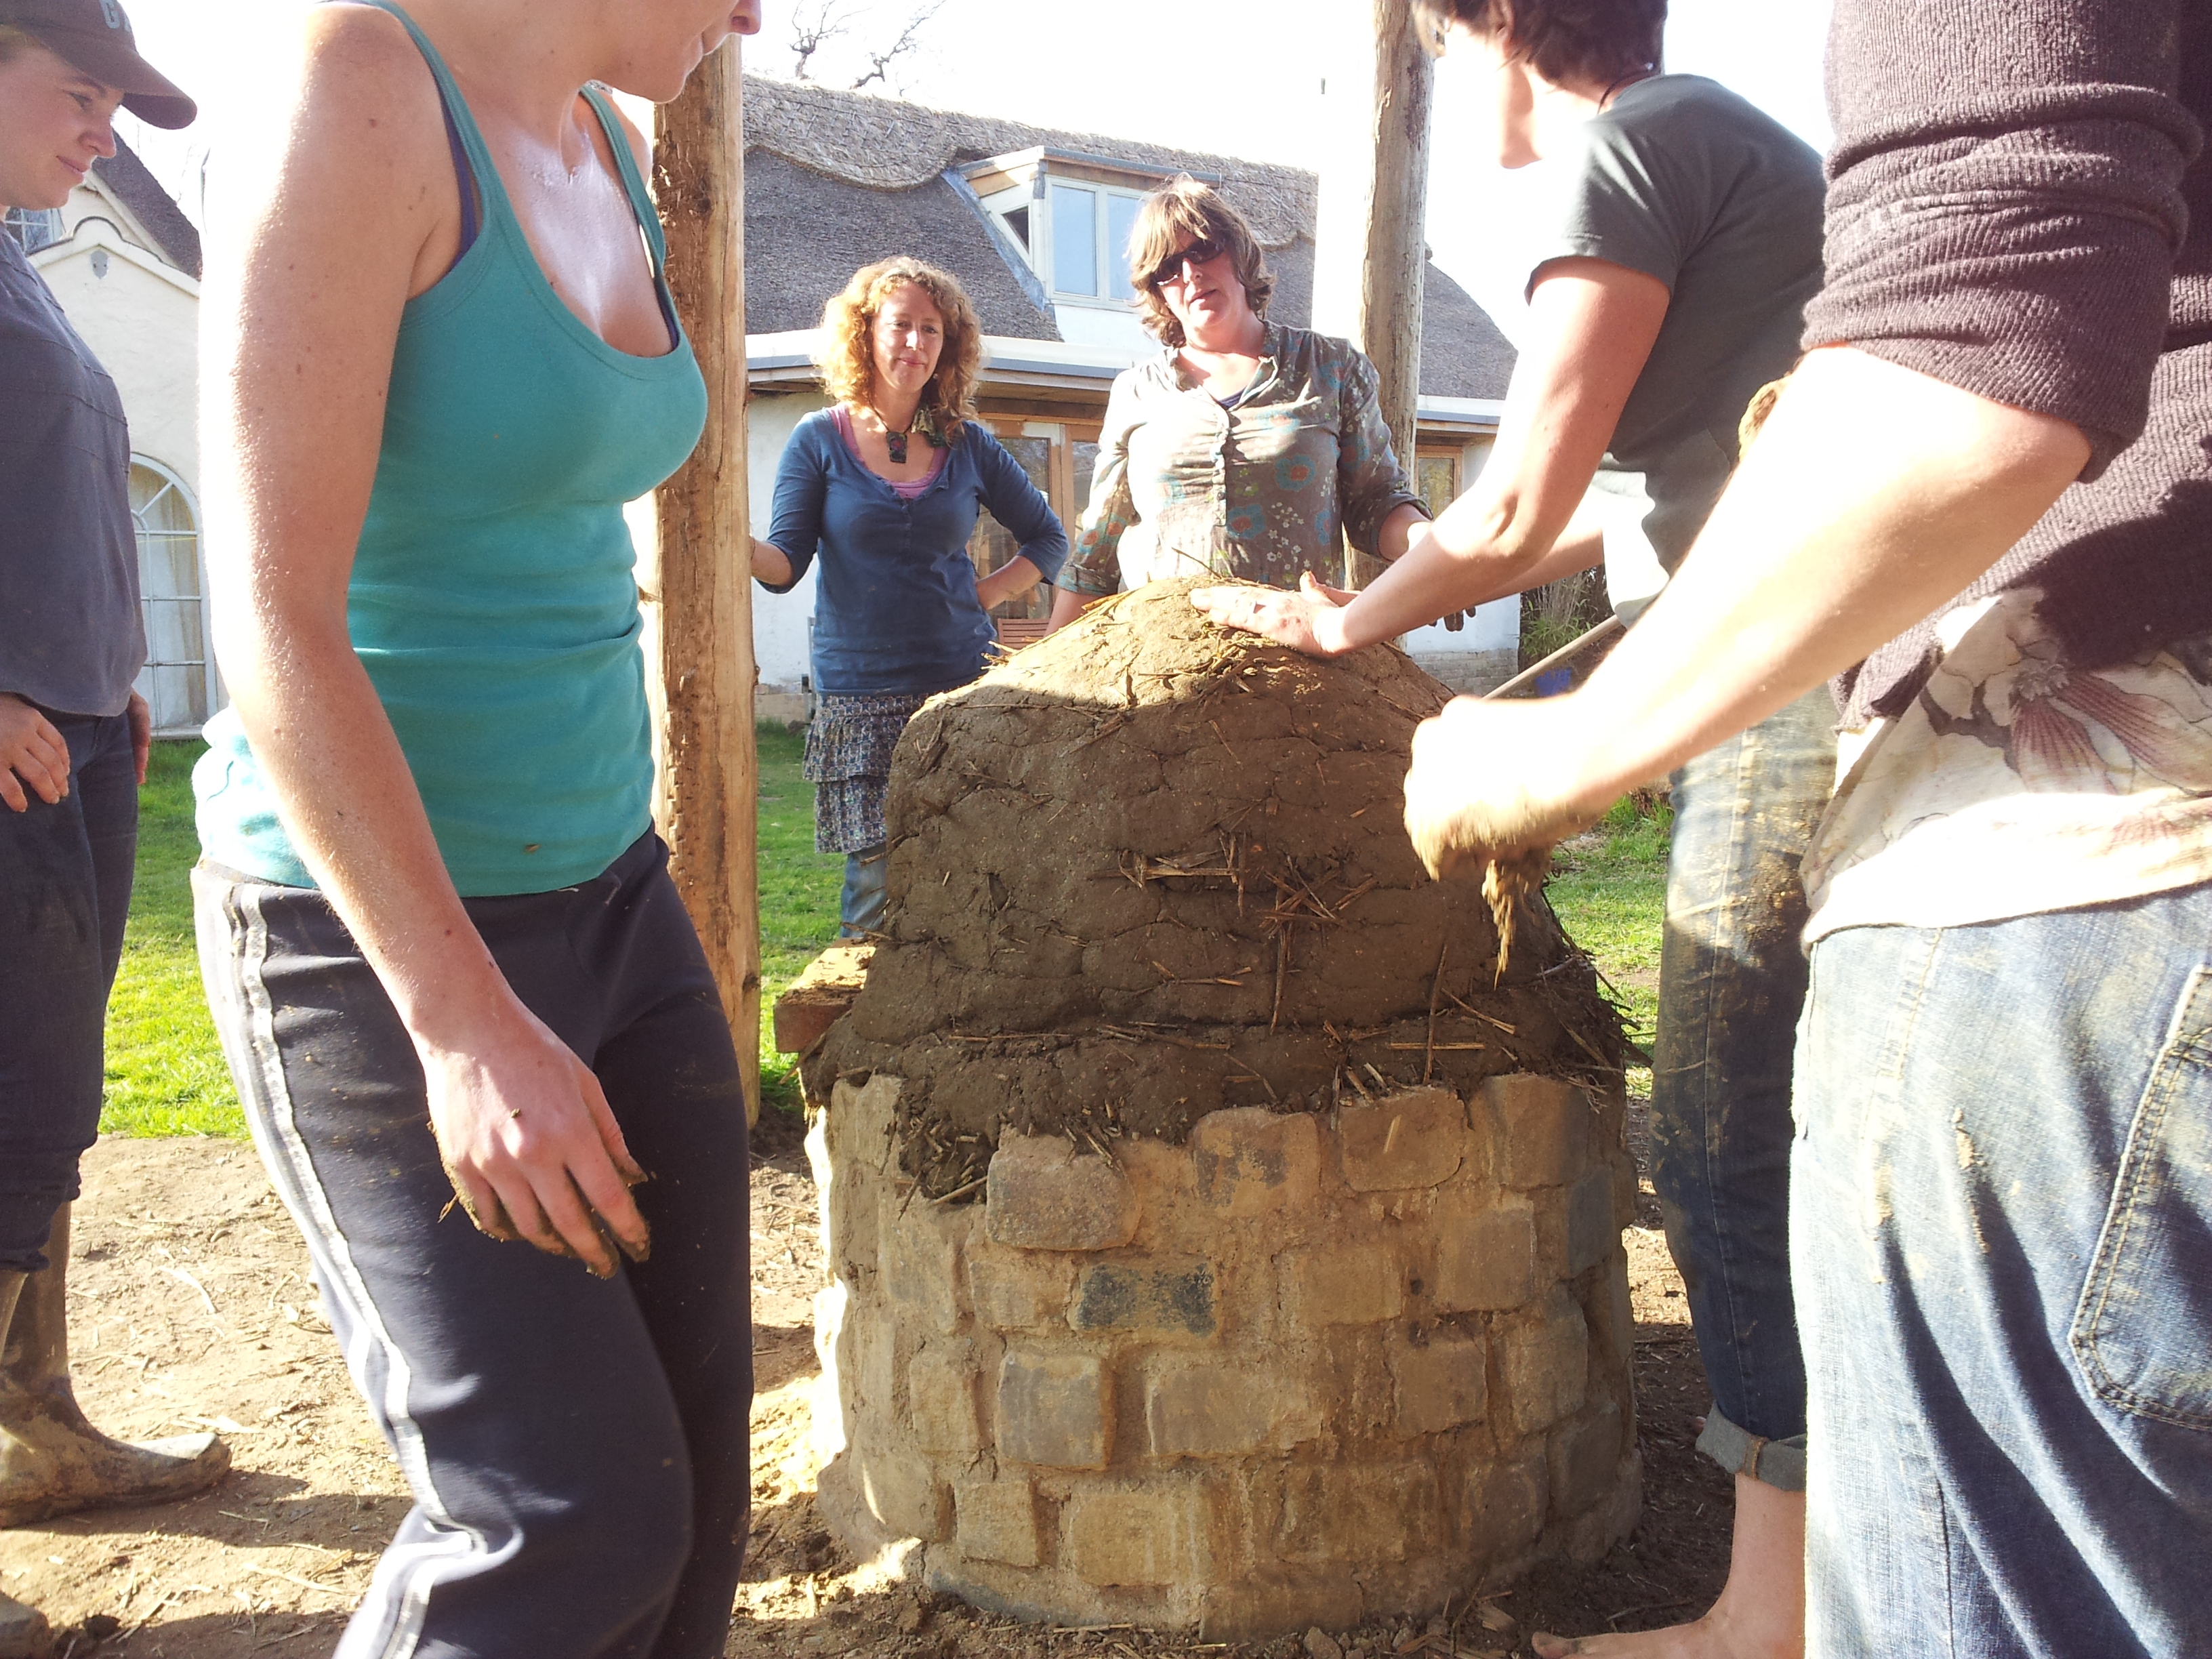
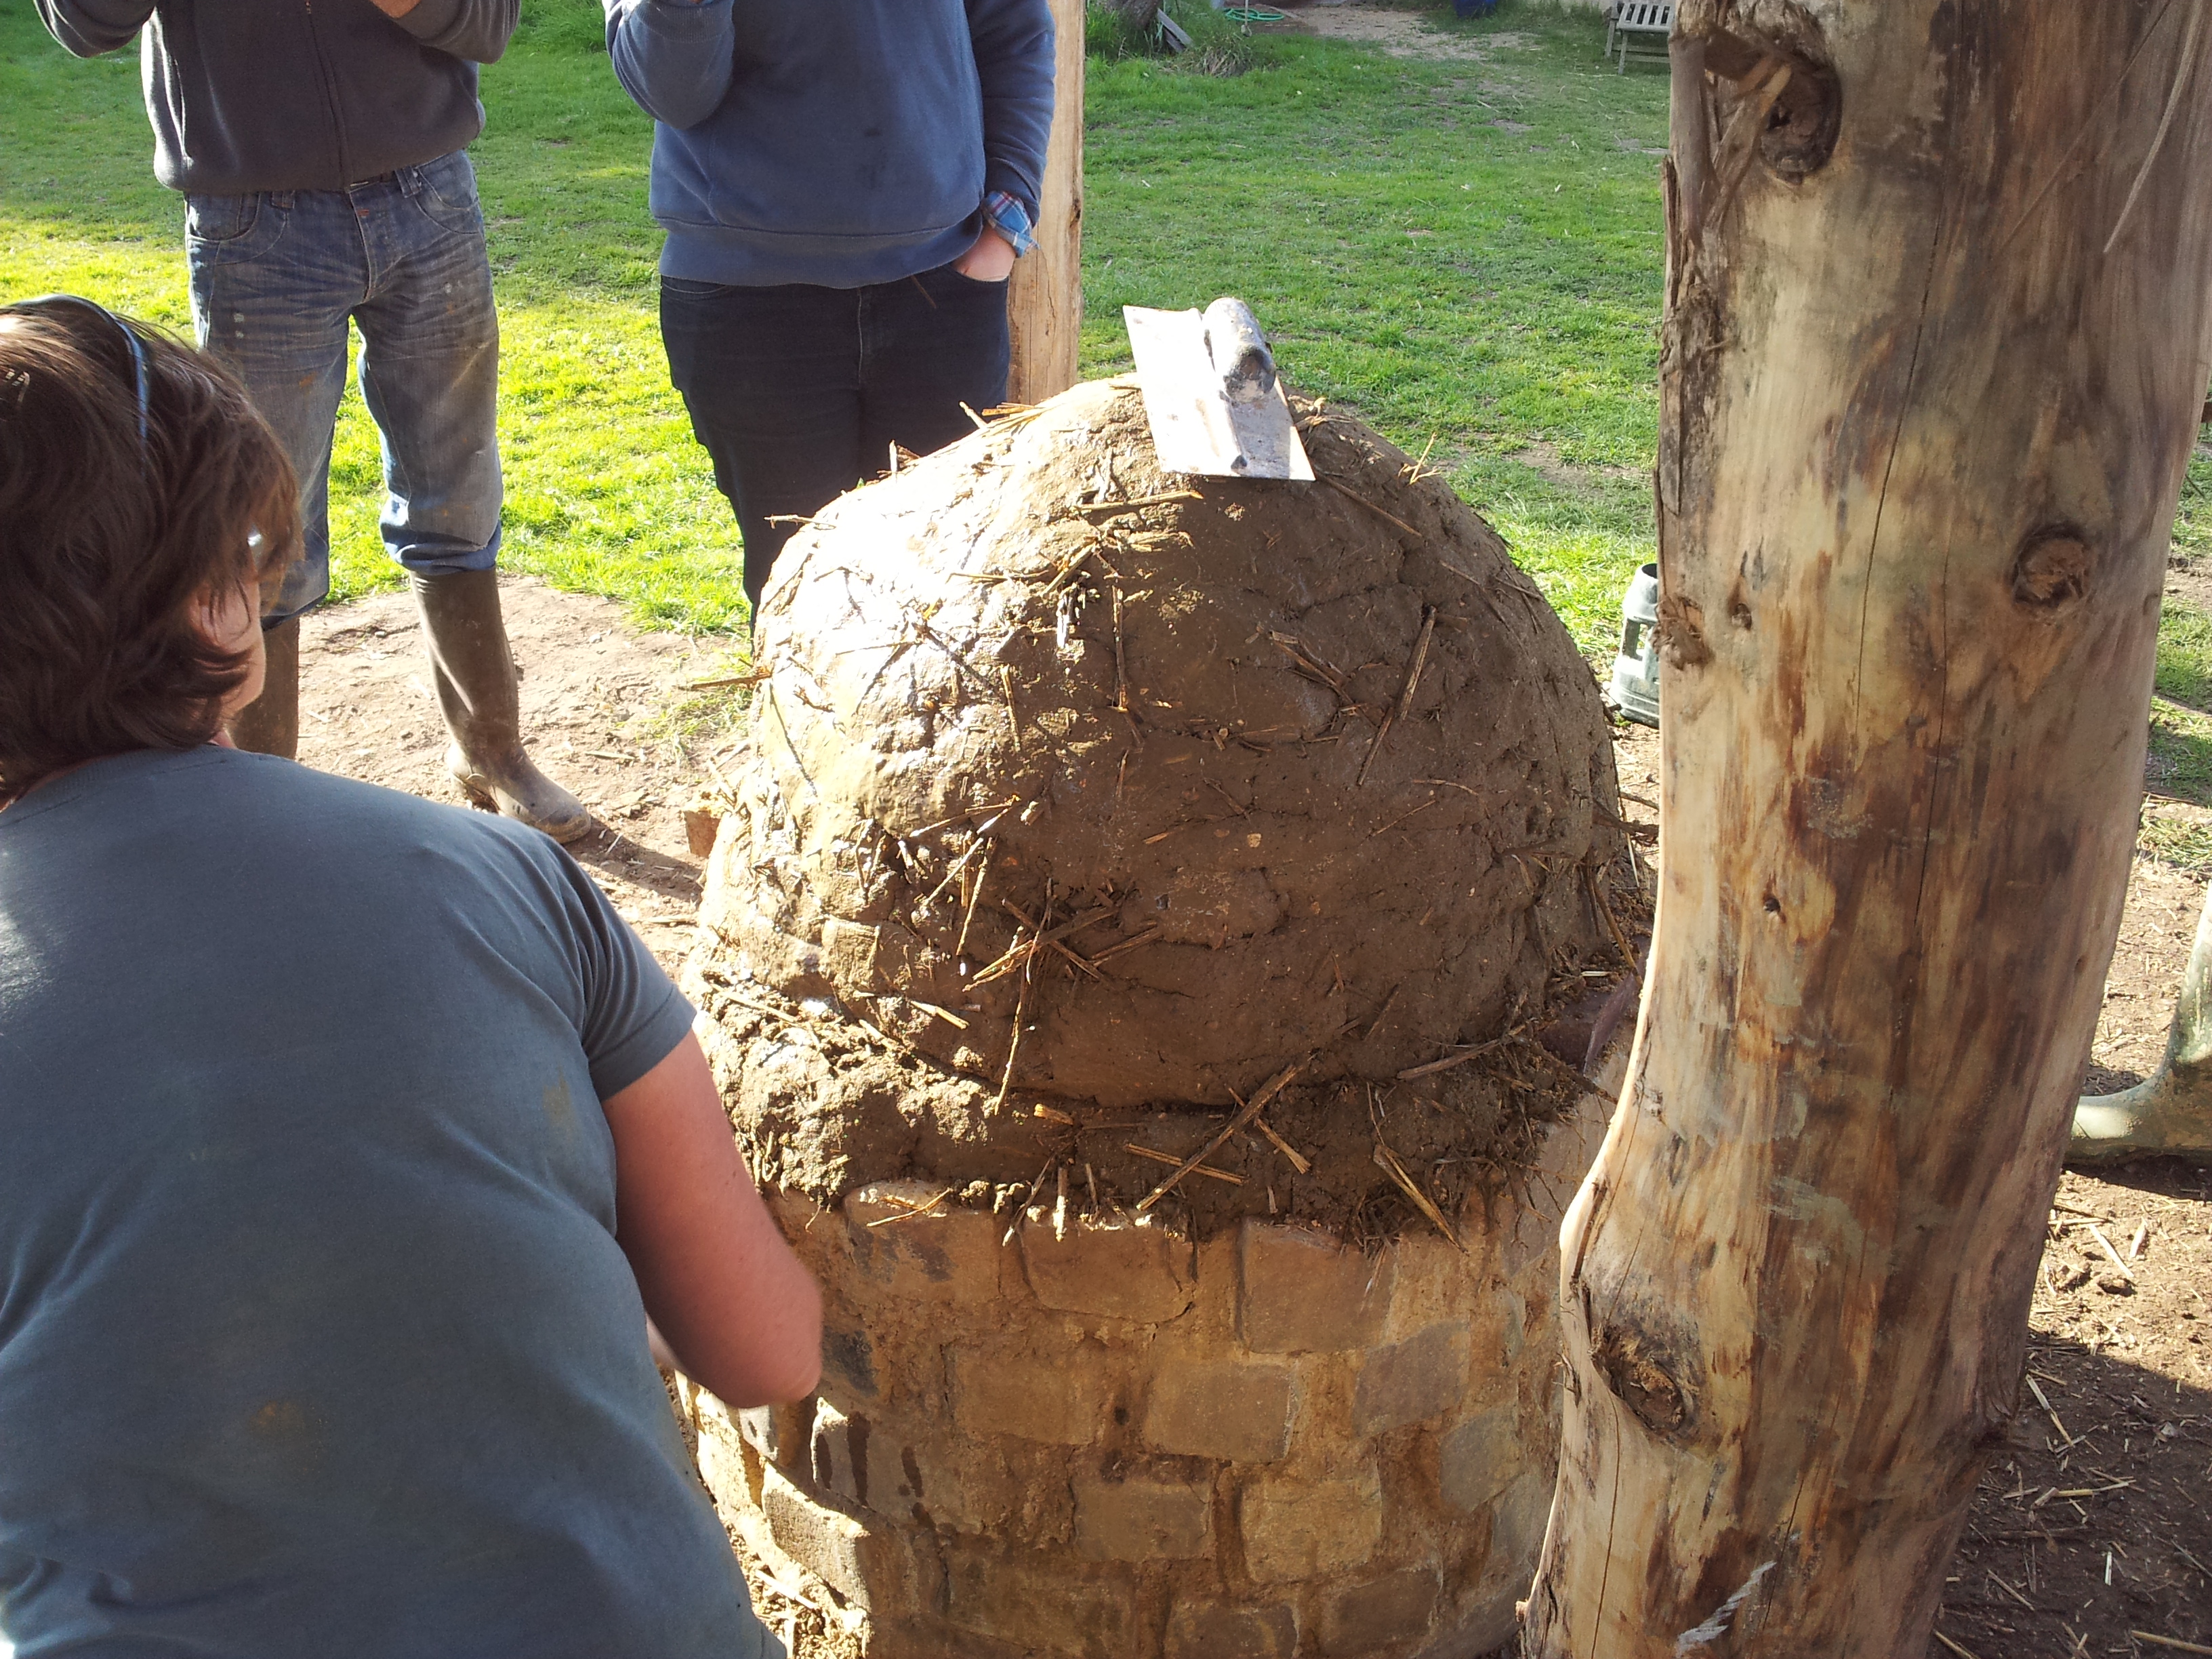
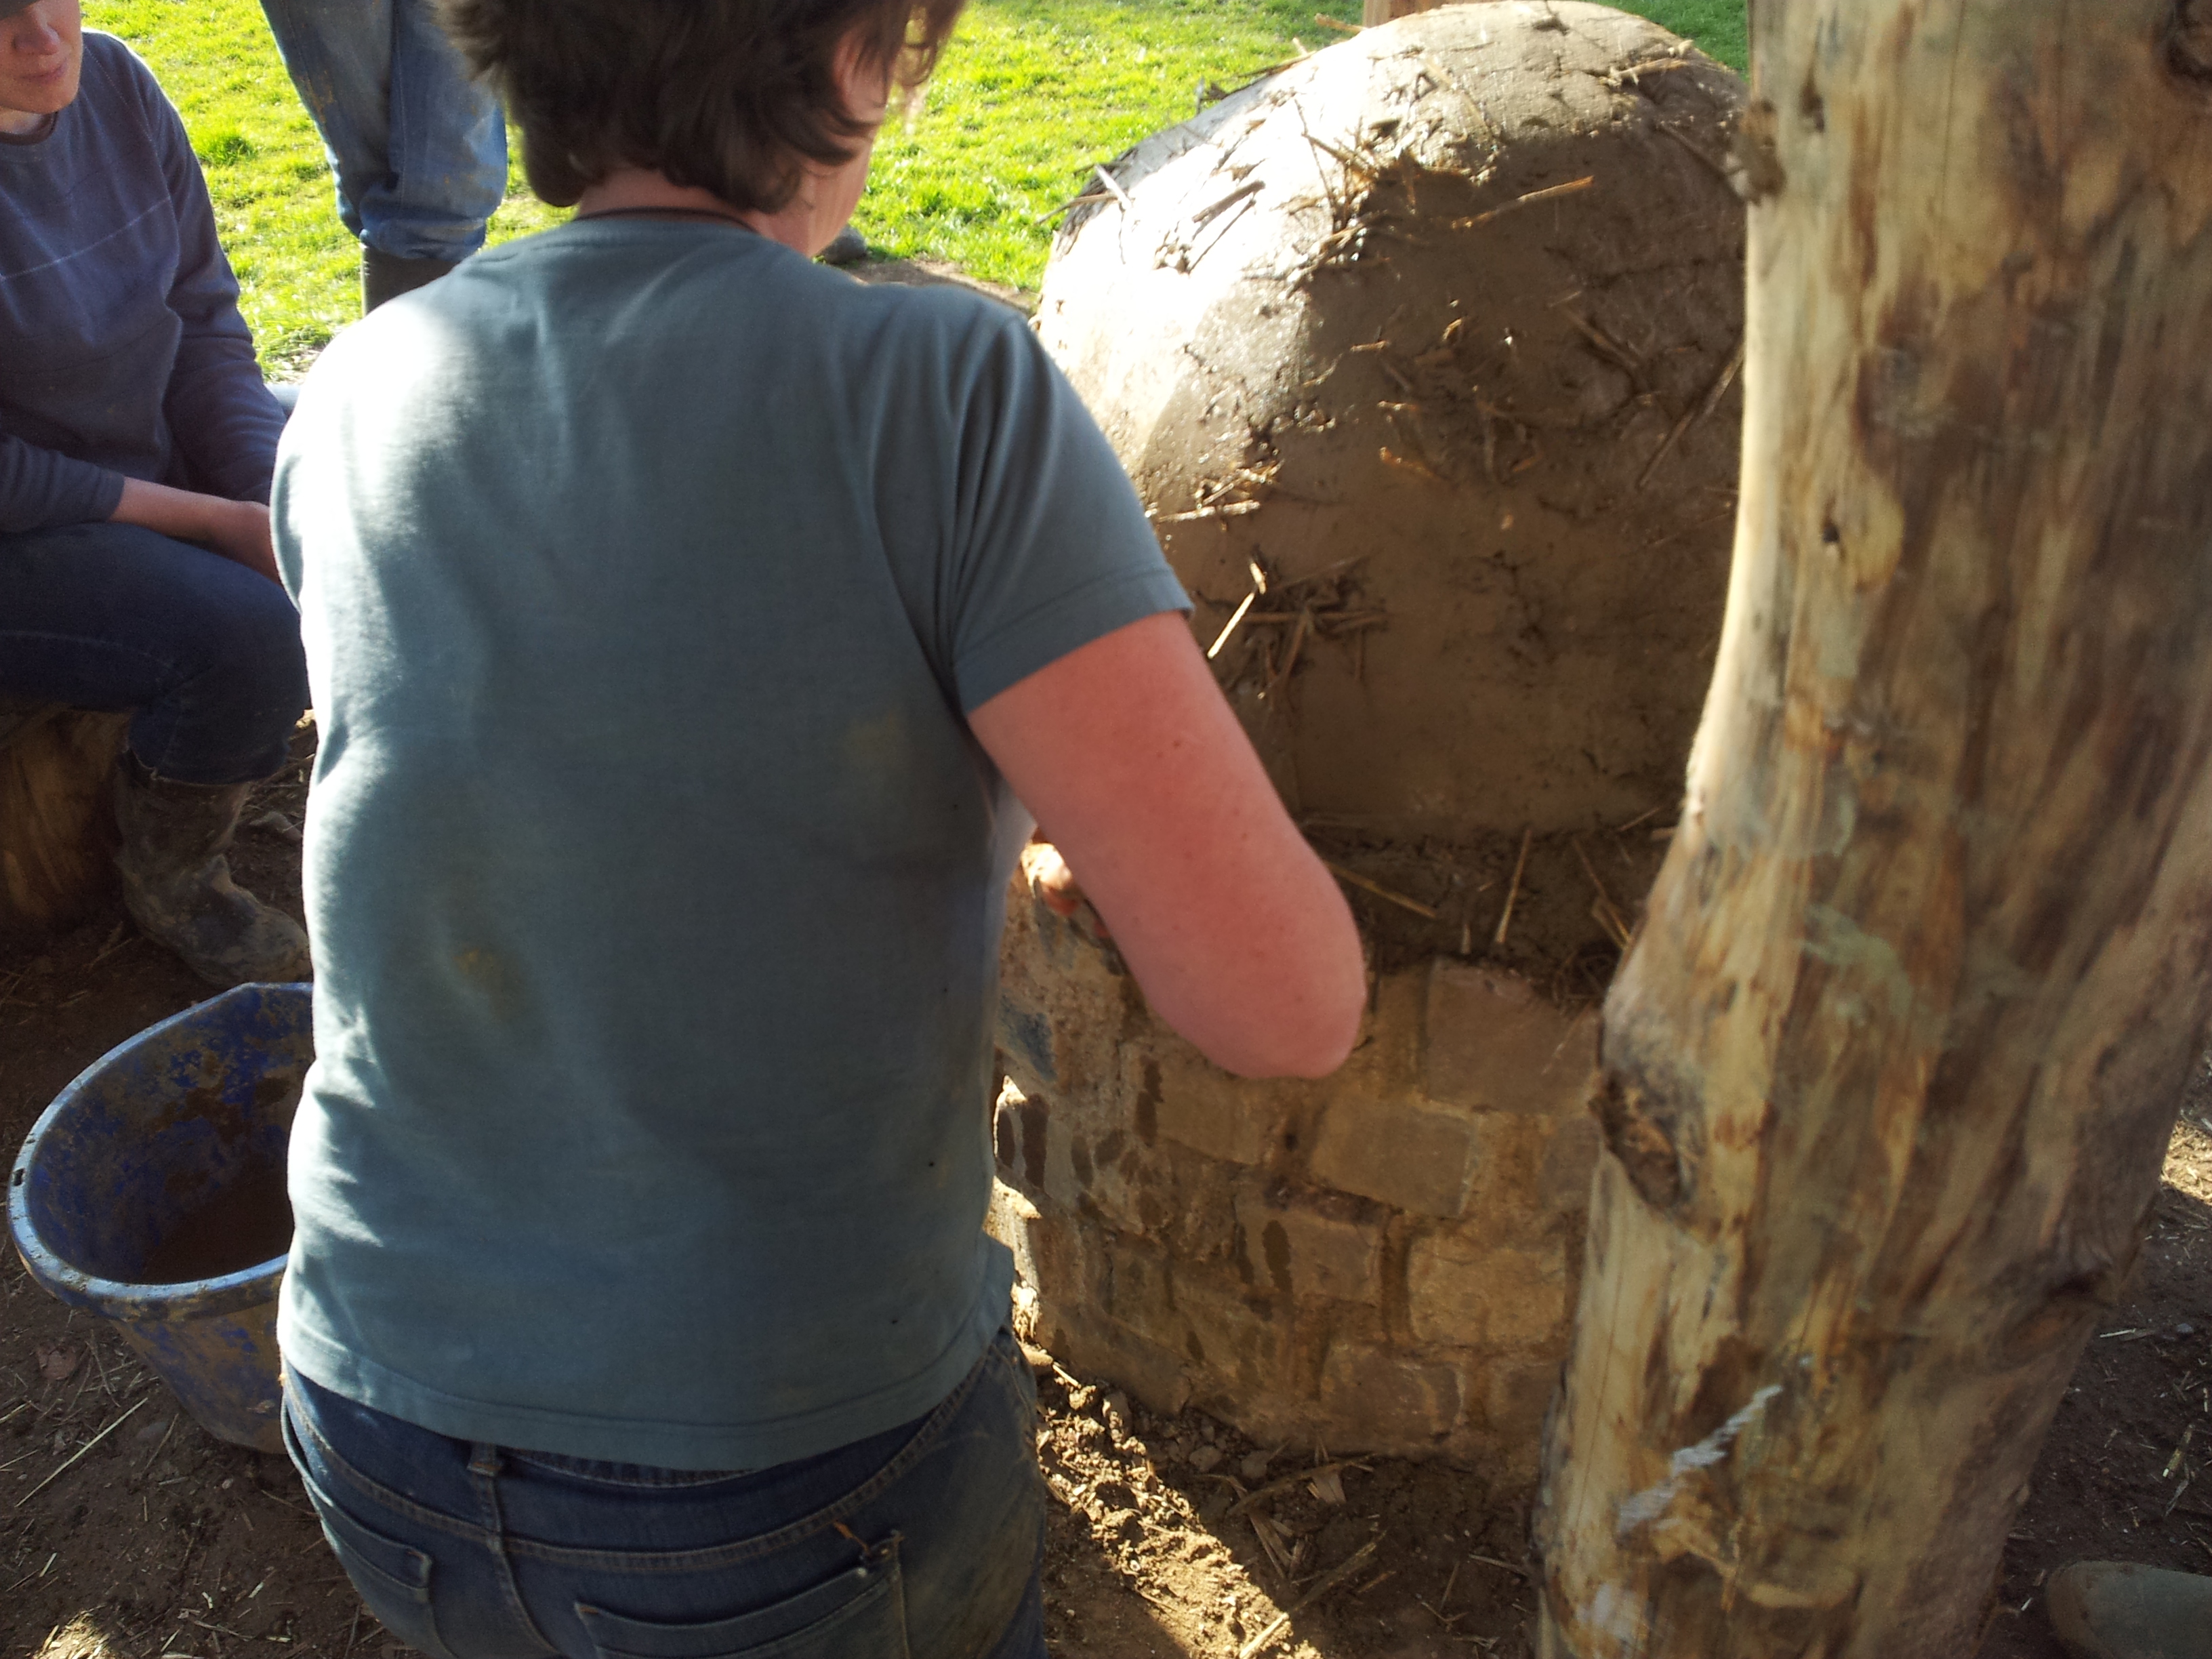
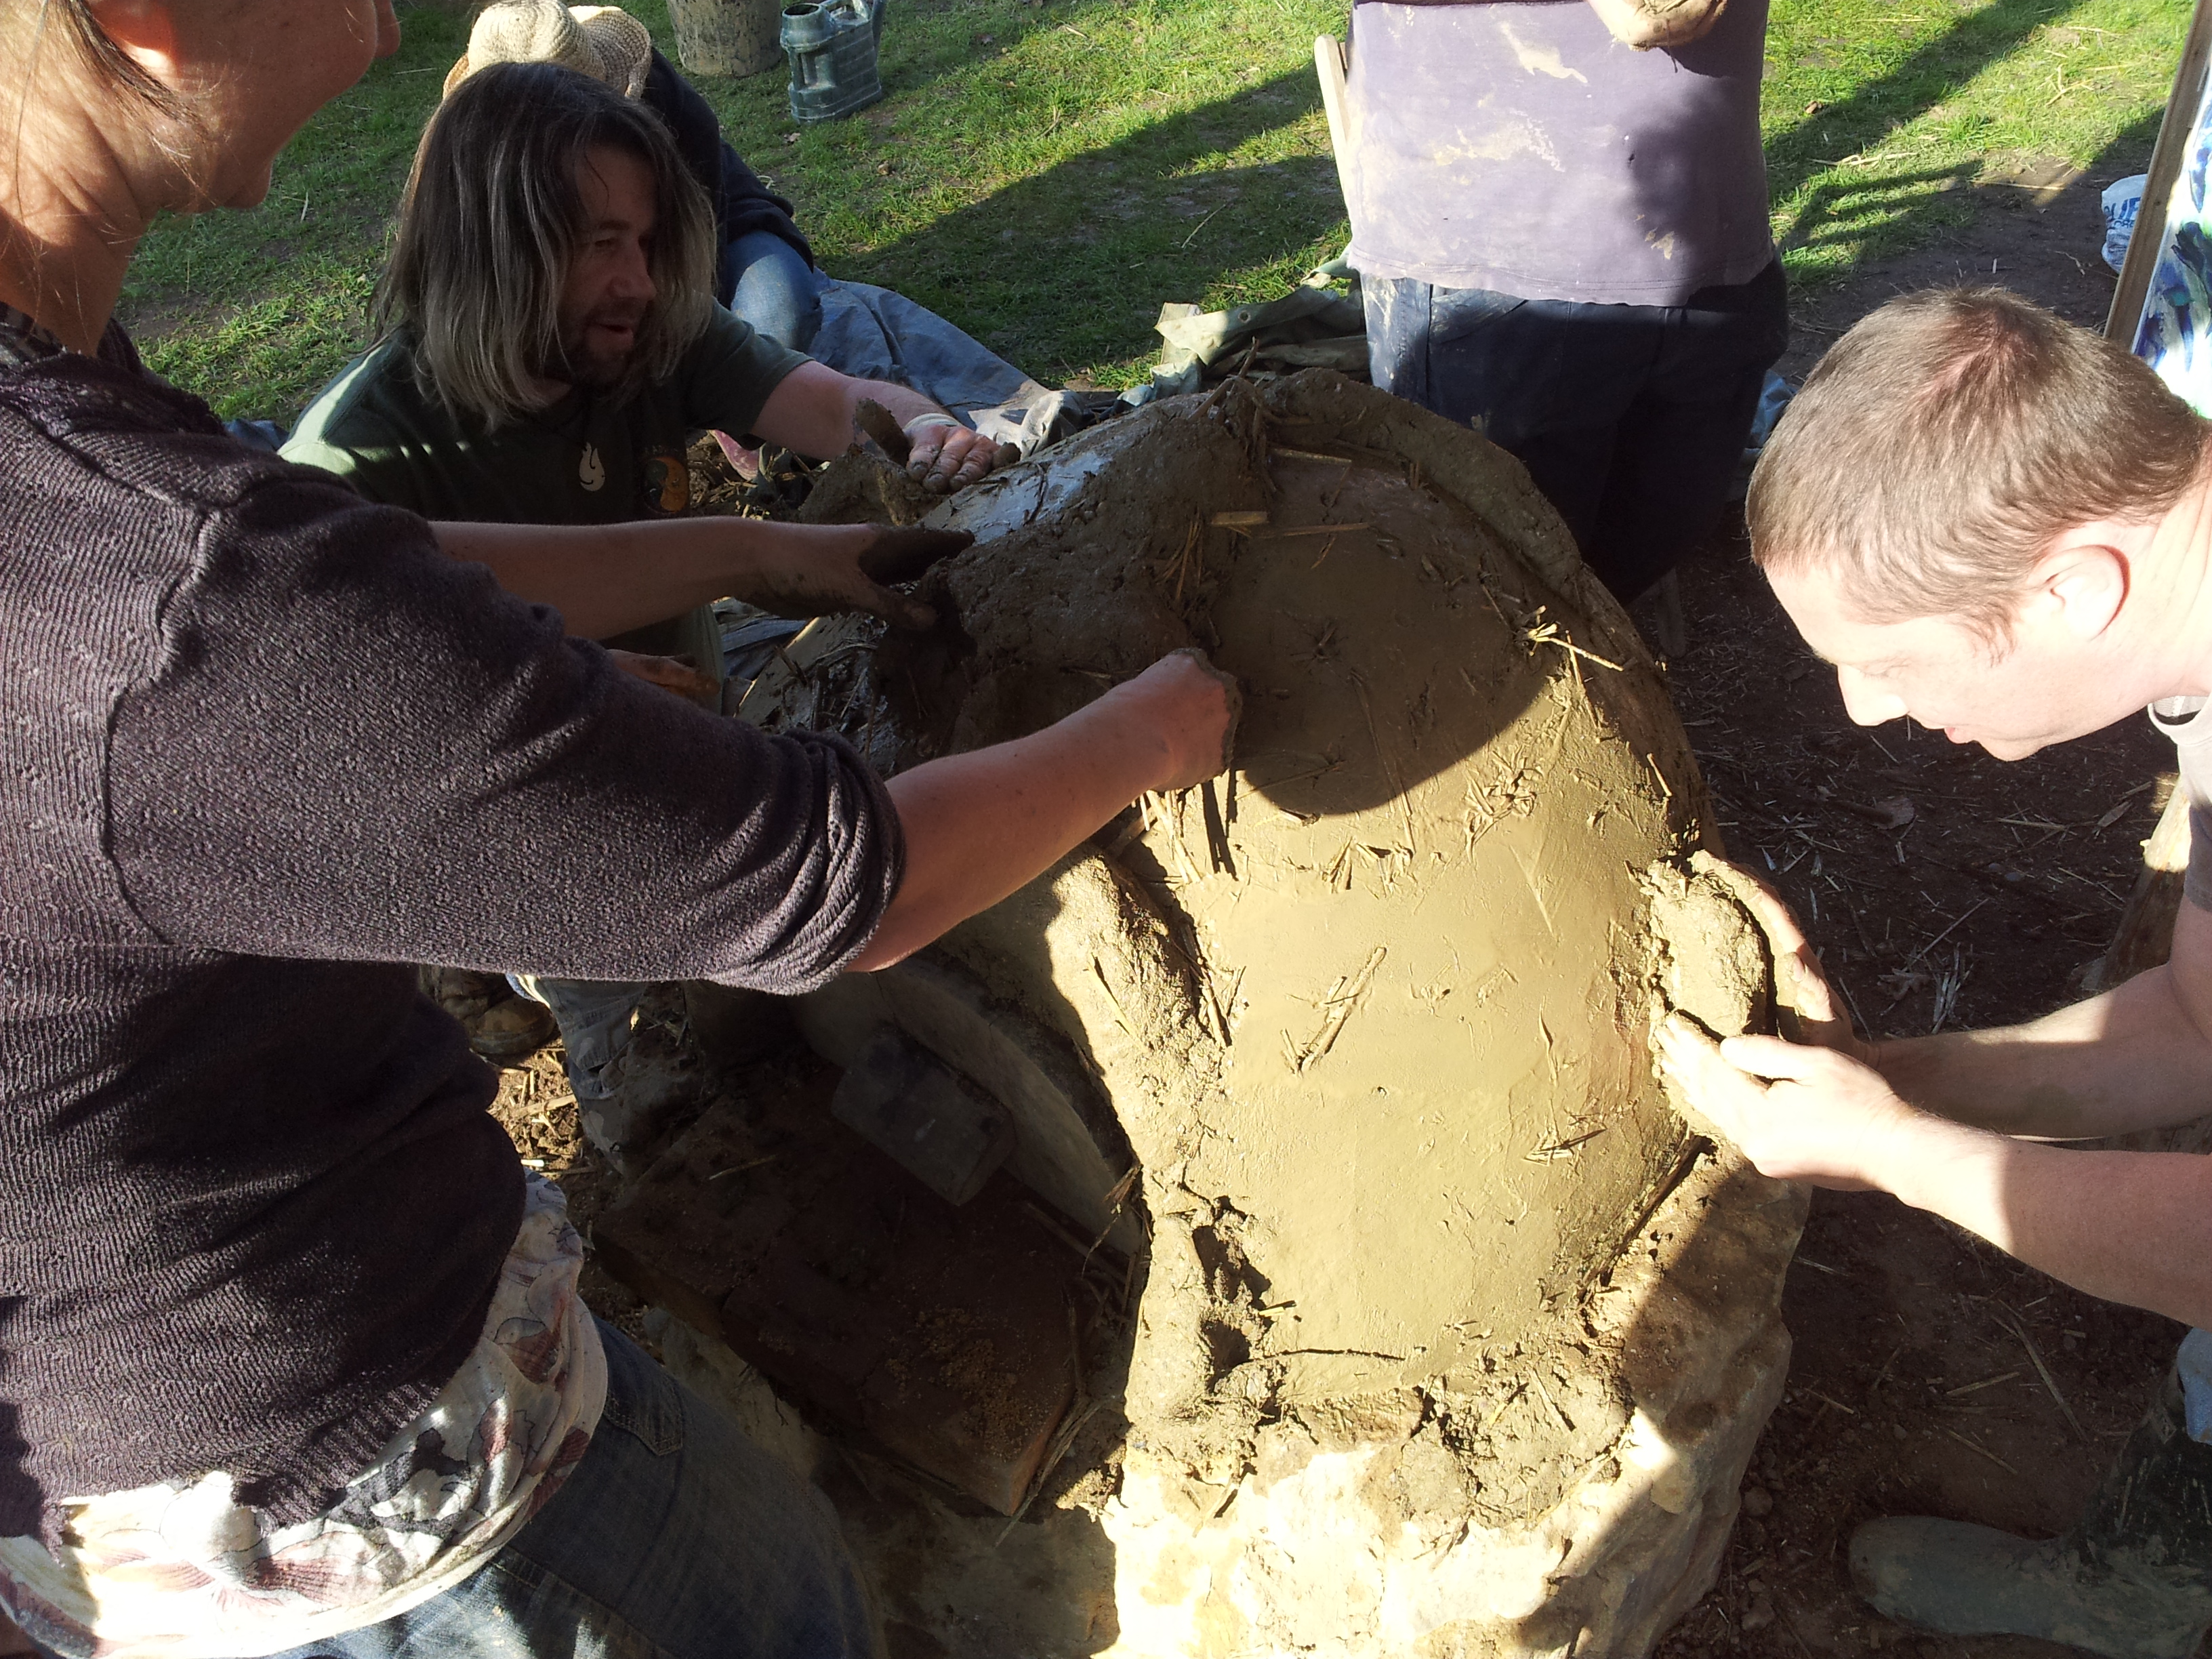
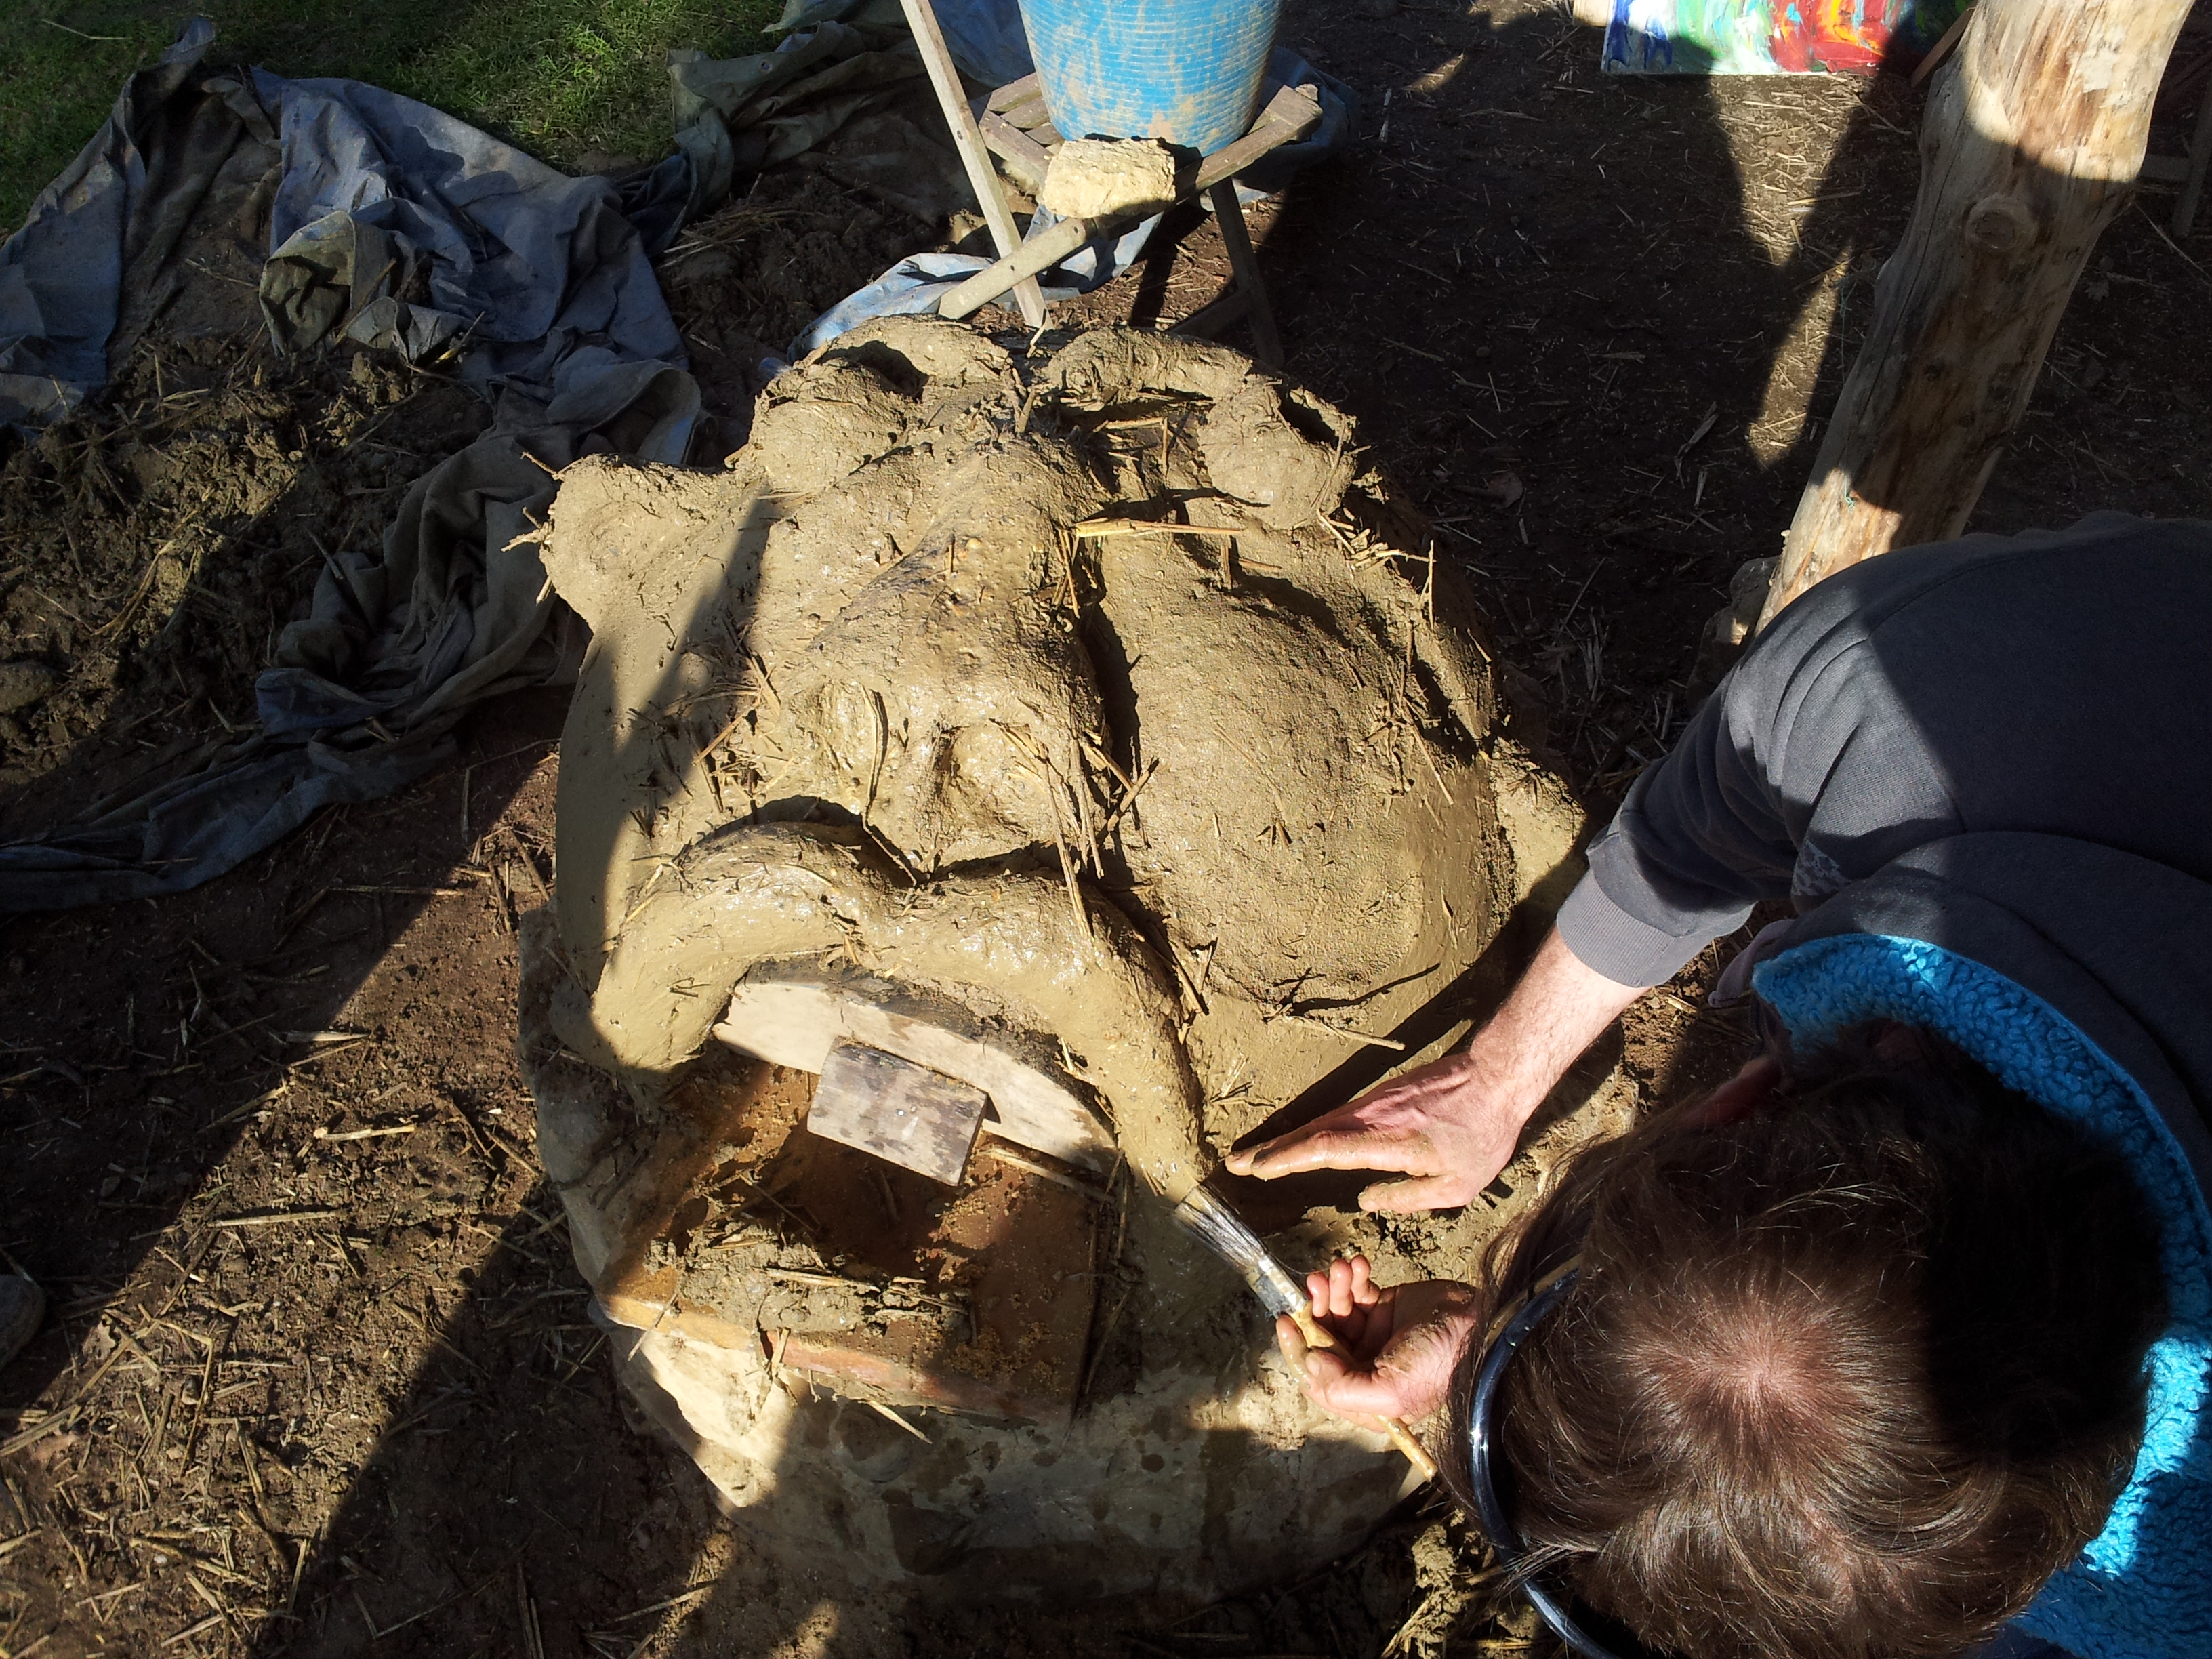
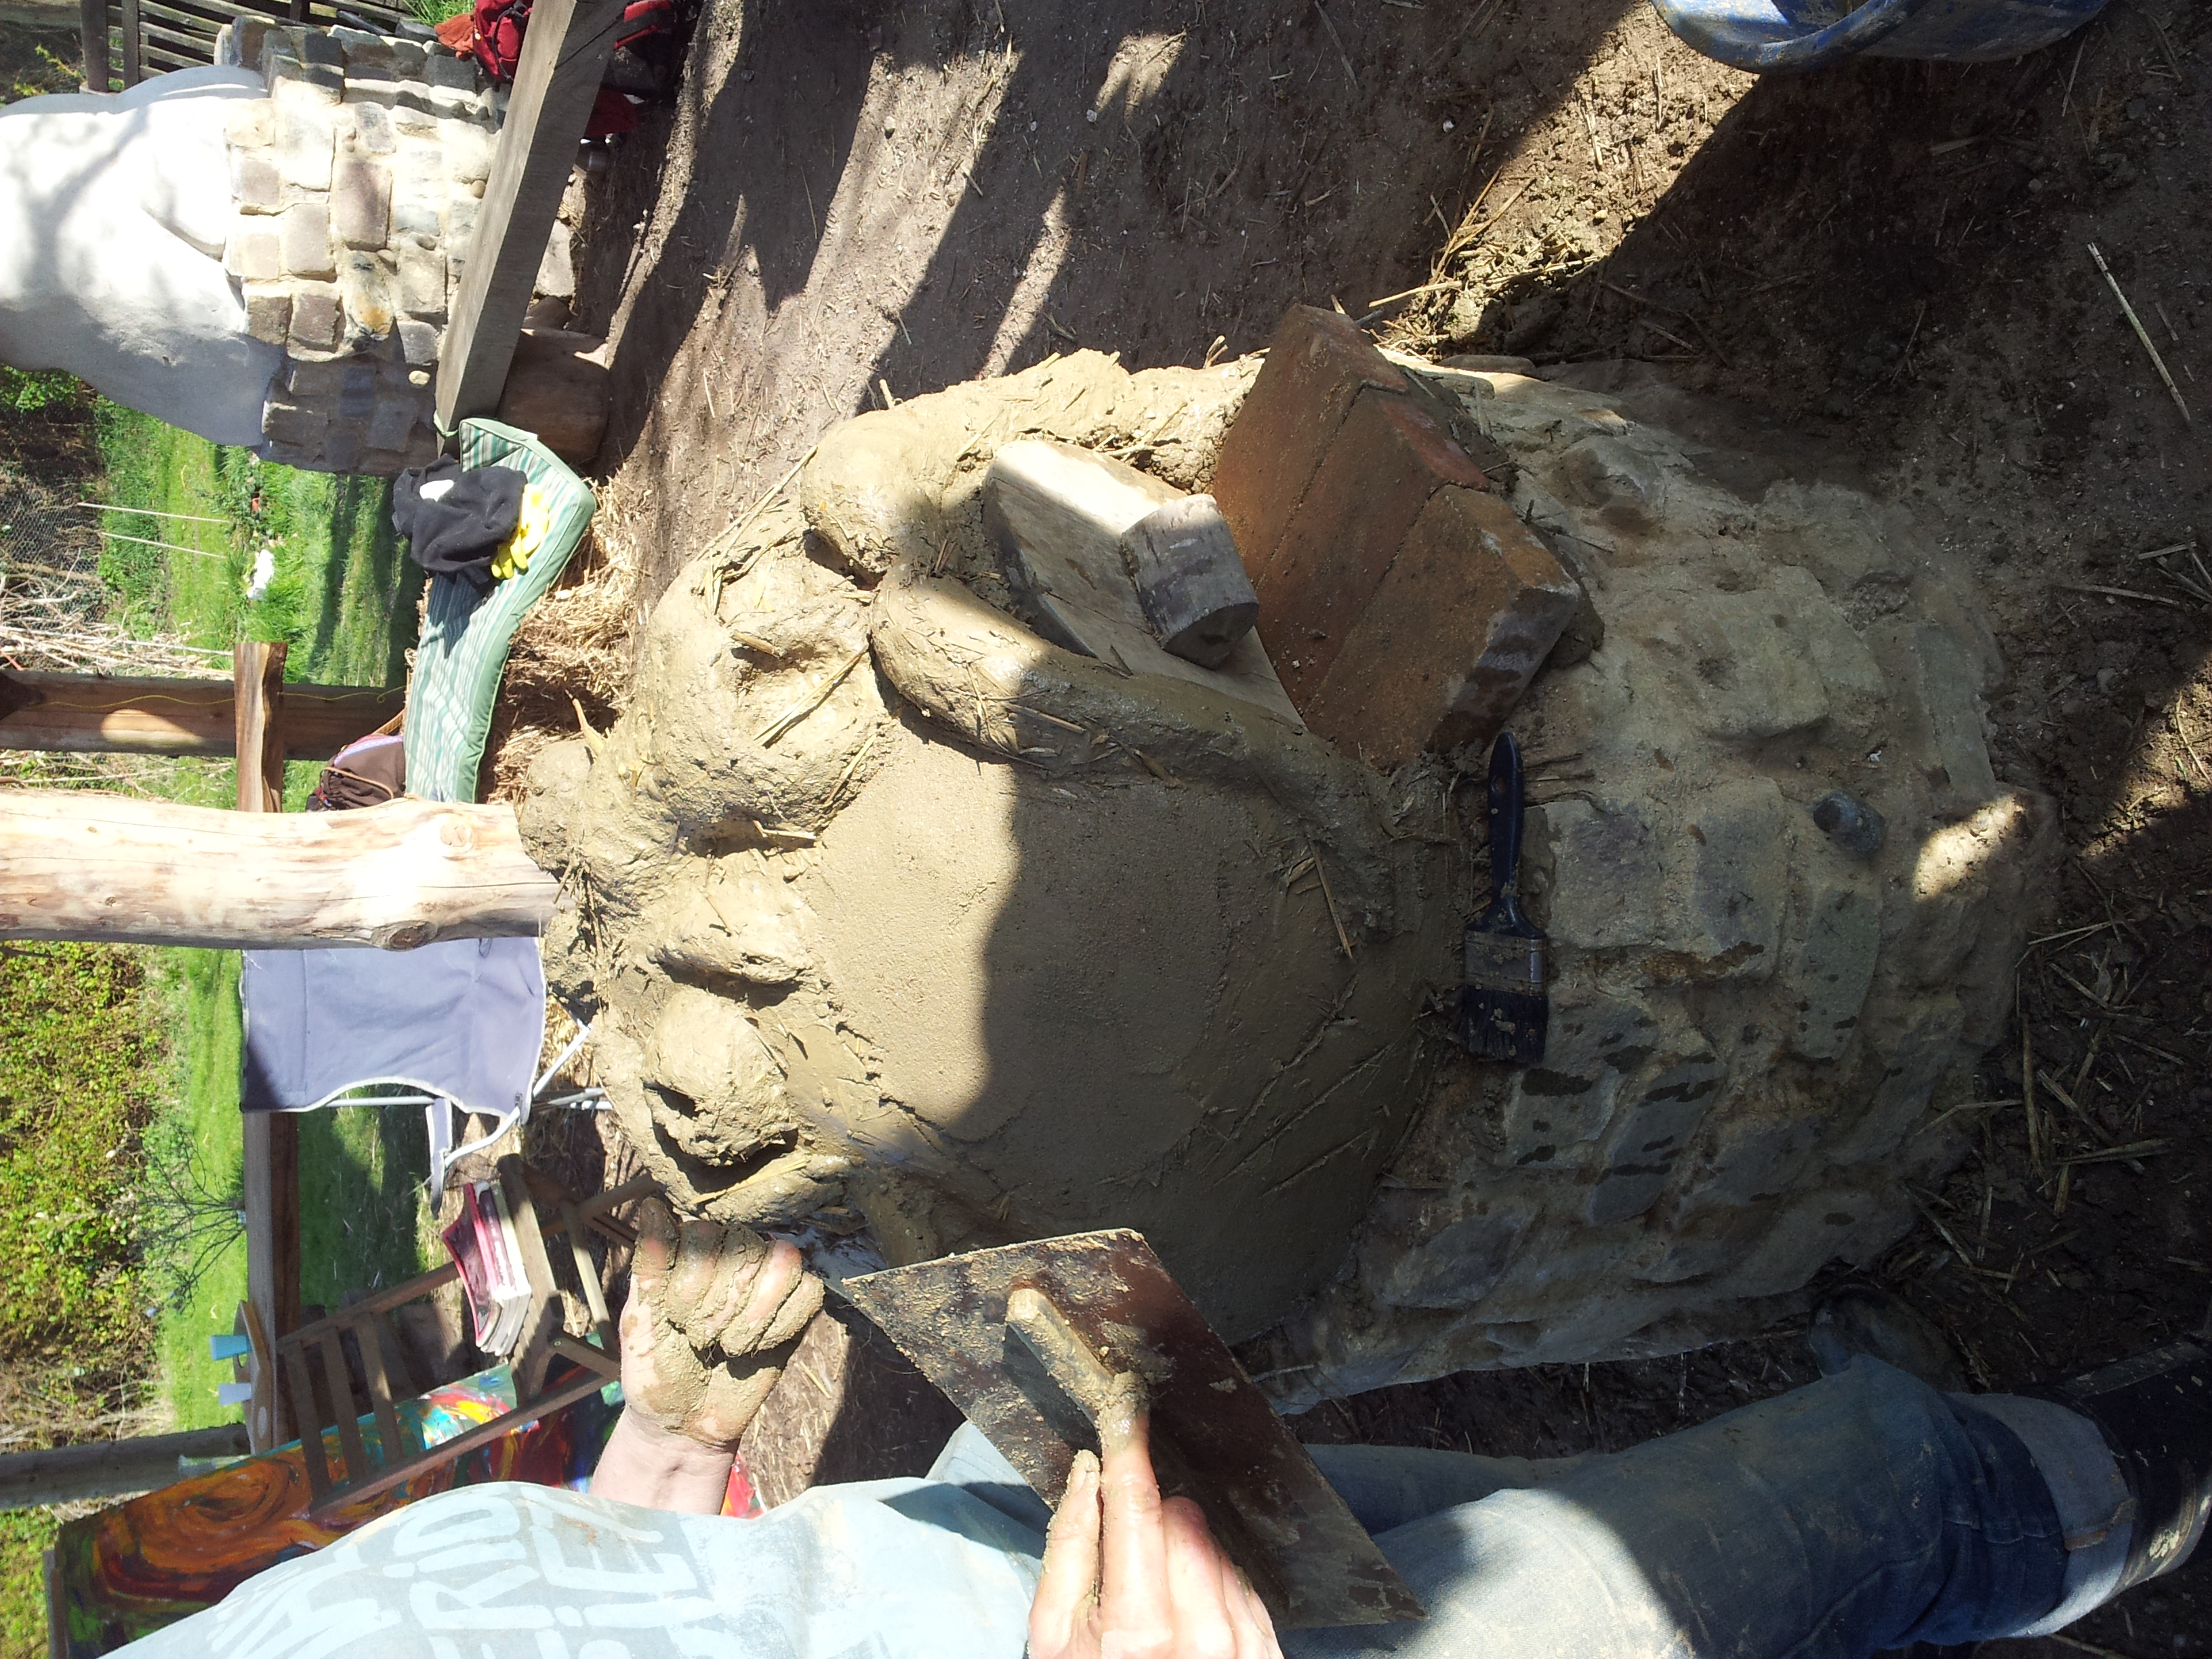
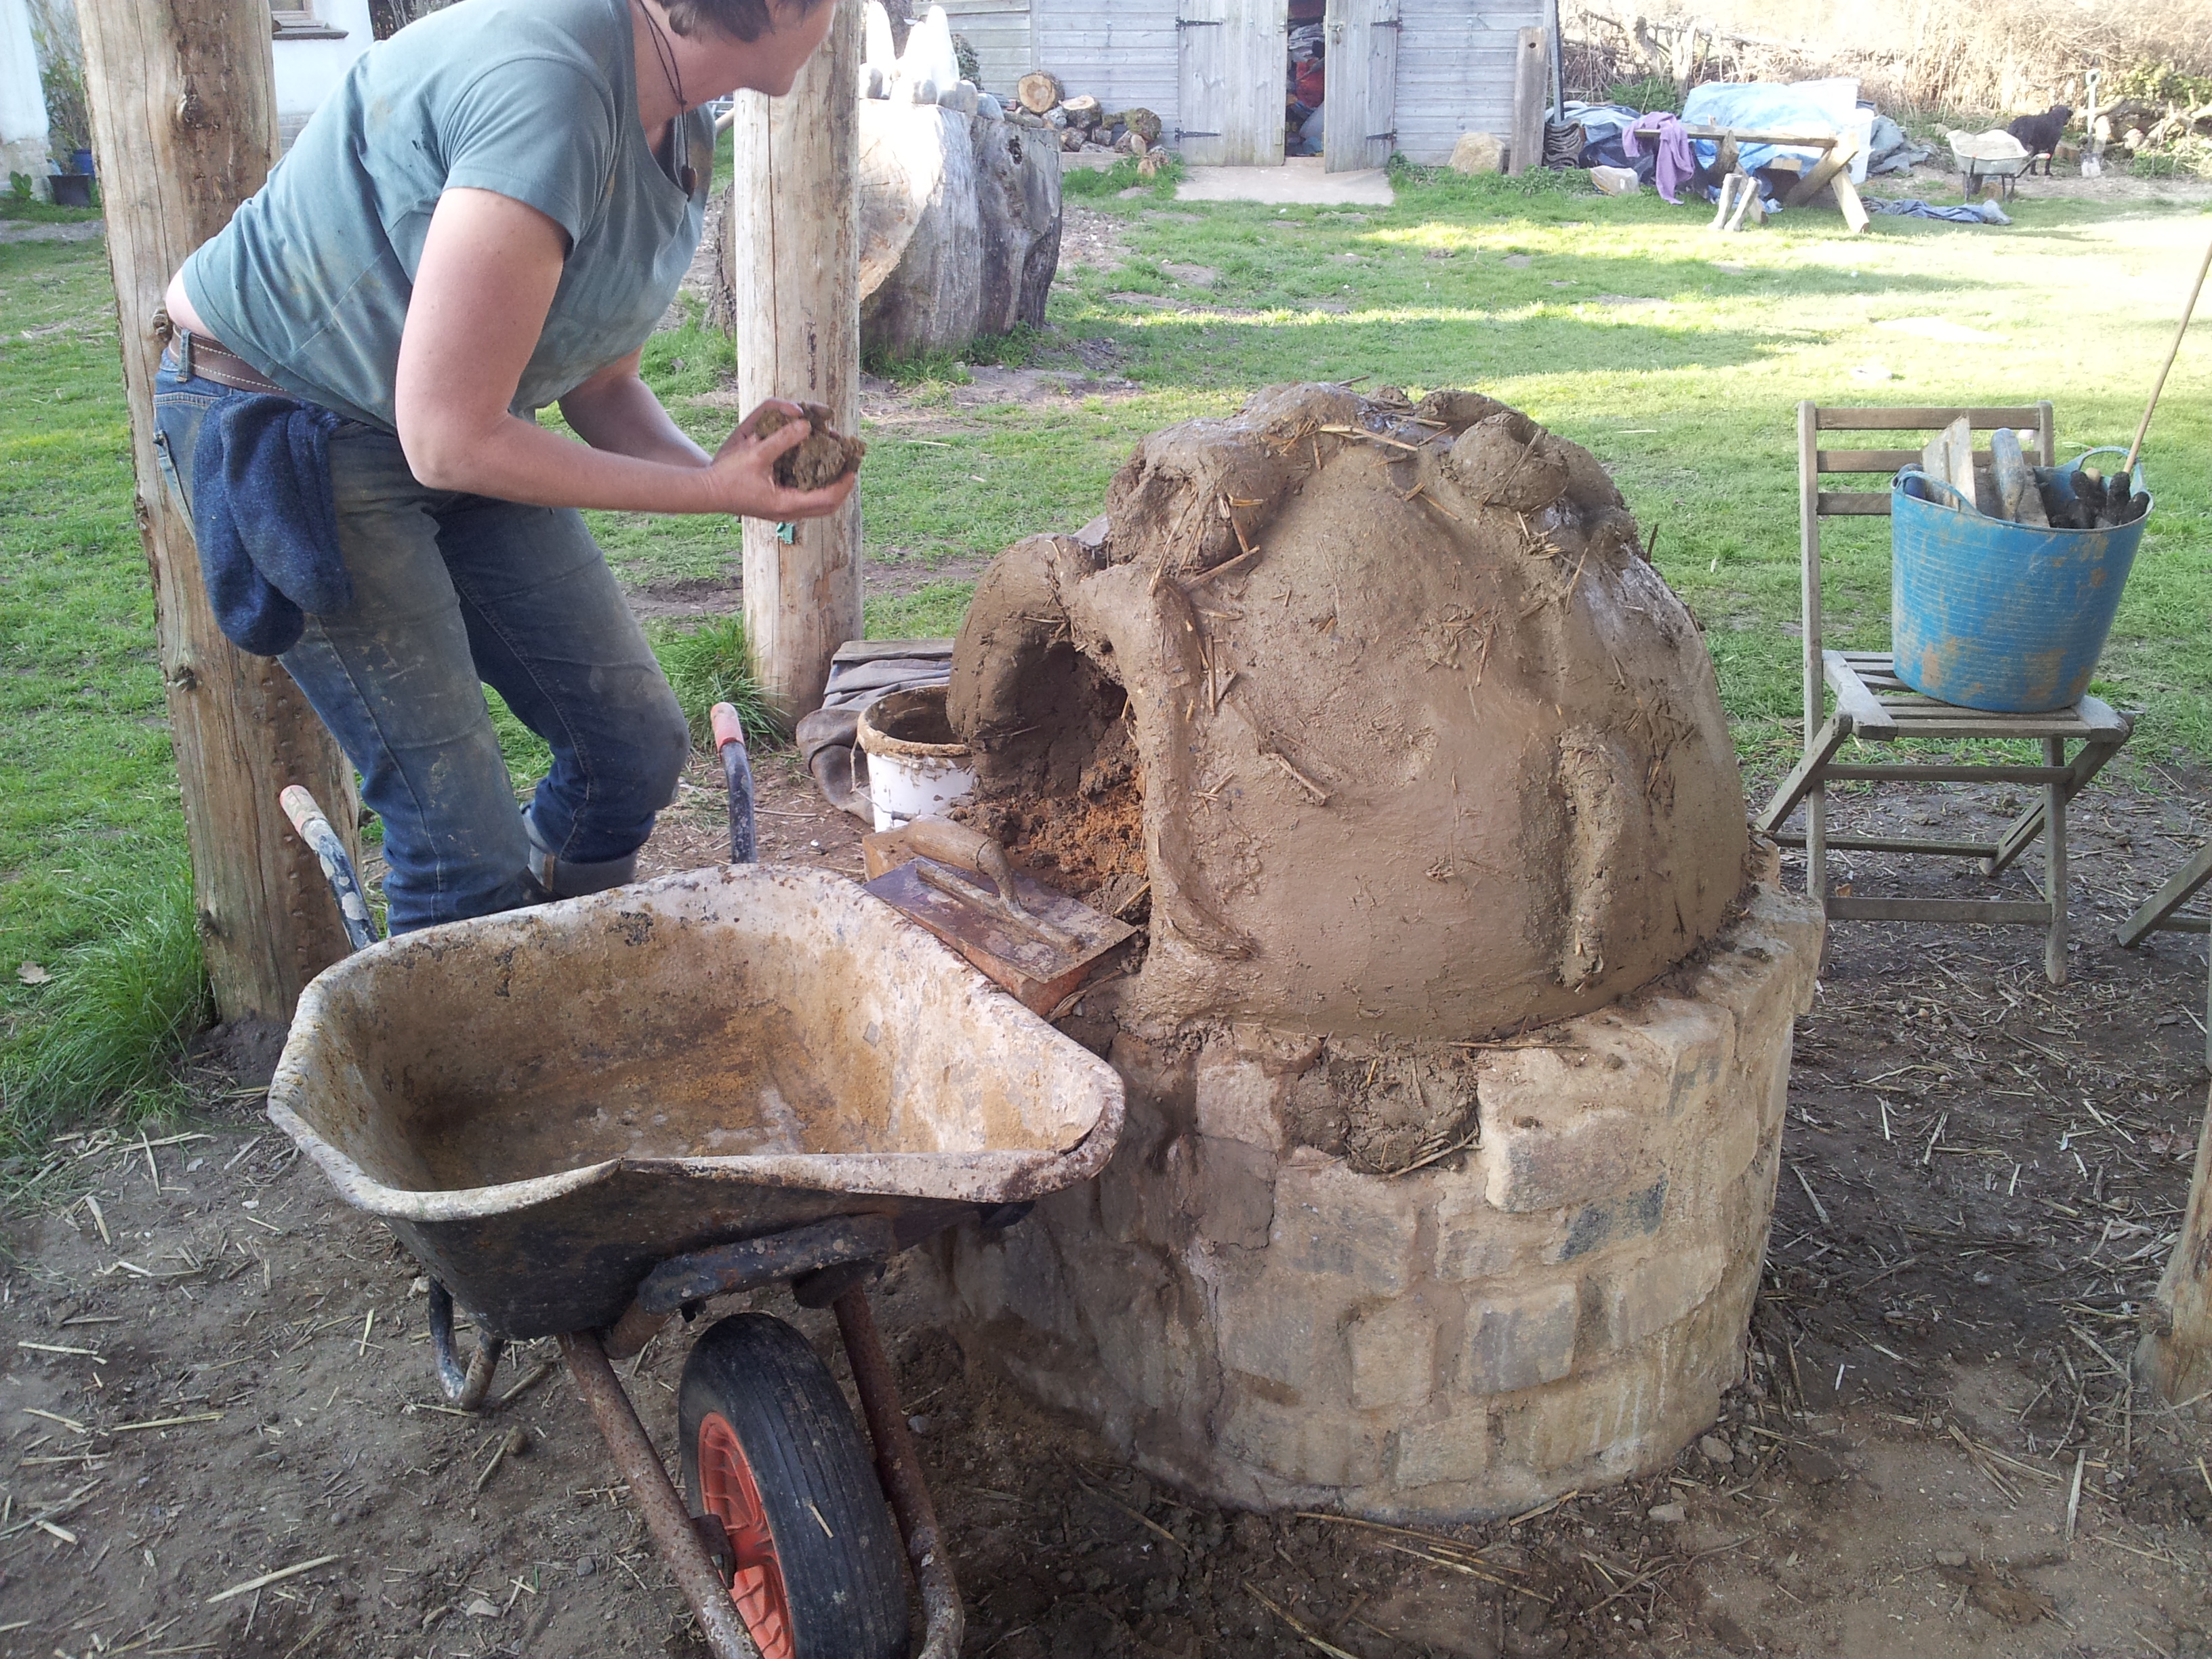
On this you build a dome of wet sand which is smoothed off with a wet trowel.\u00a0 Next using hand sized bricky blobs of the straw-free cob you build around the mound, smooshing layers together as you go.
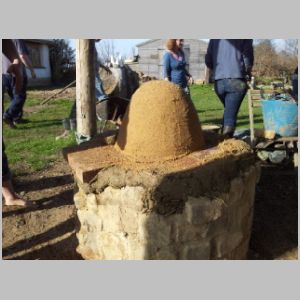

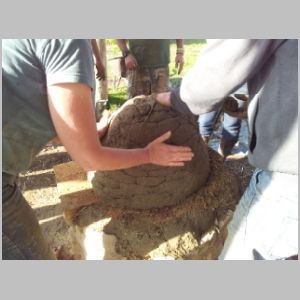
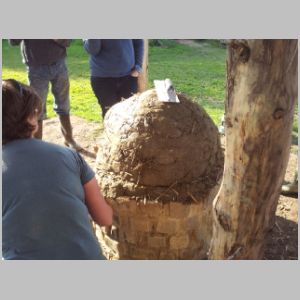
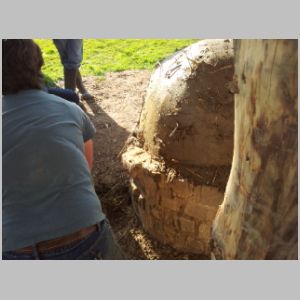
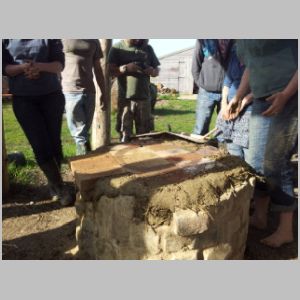
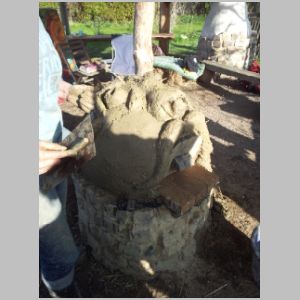
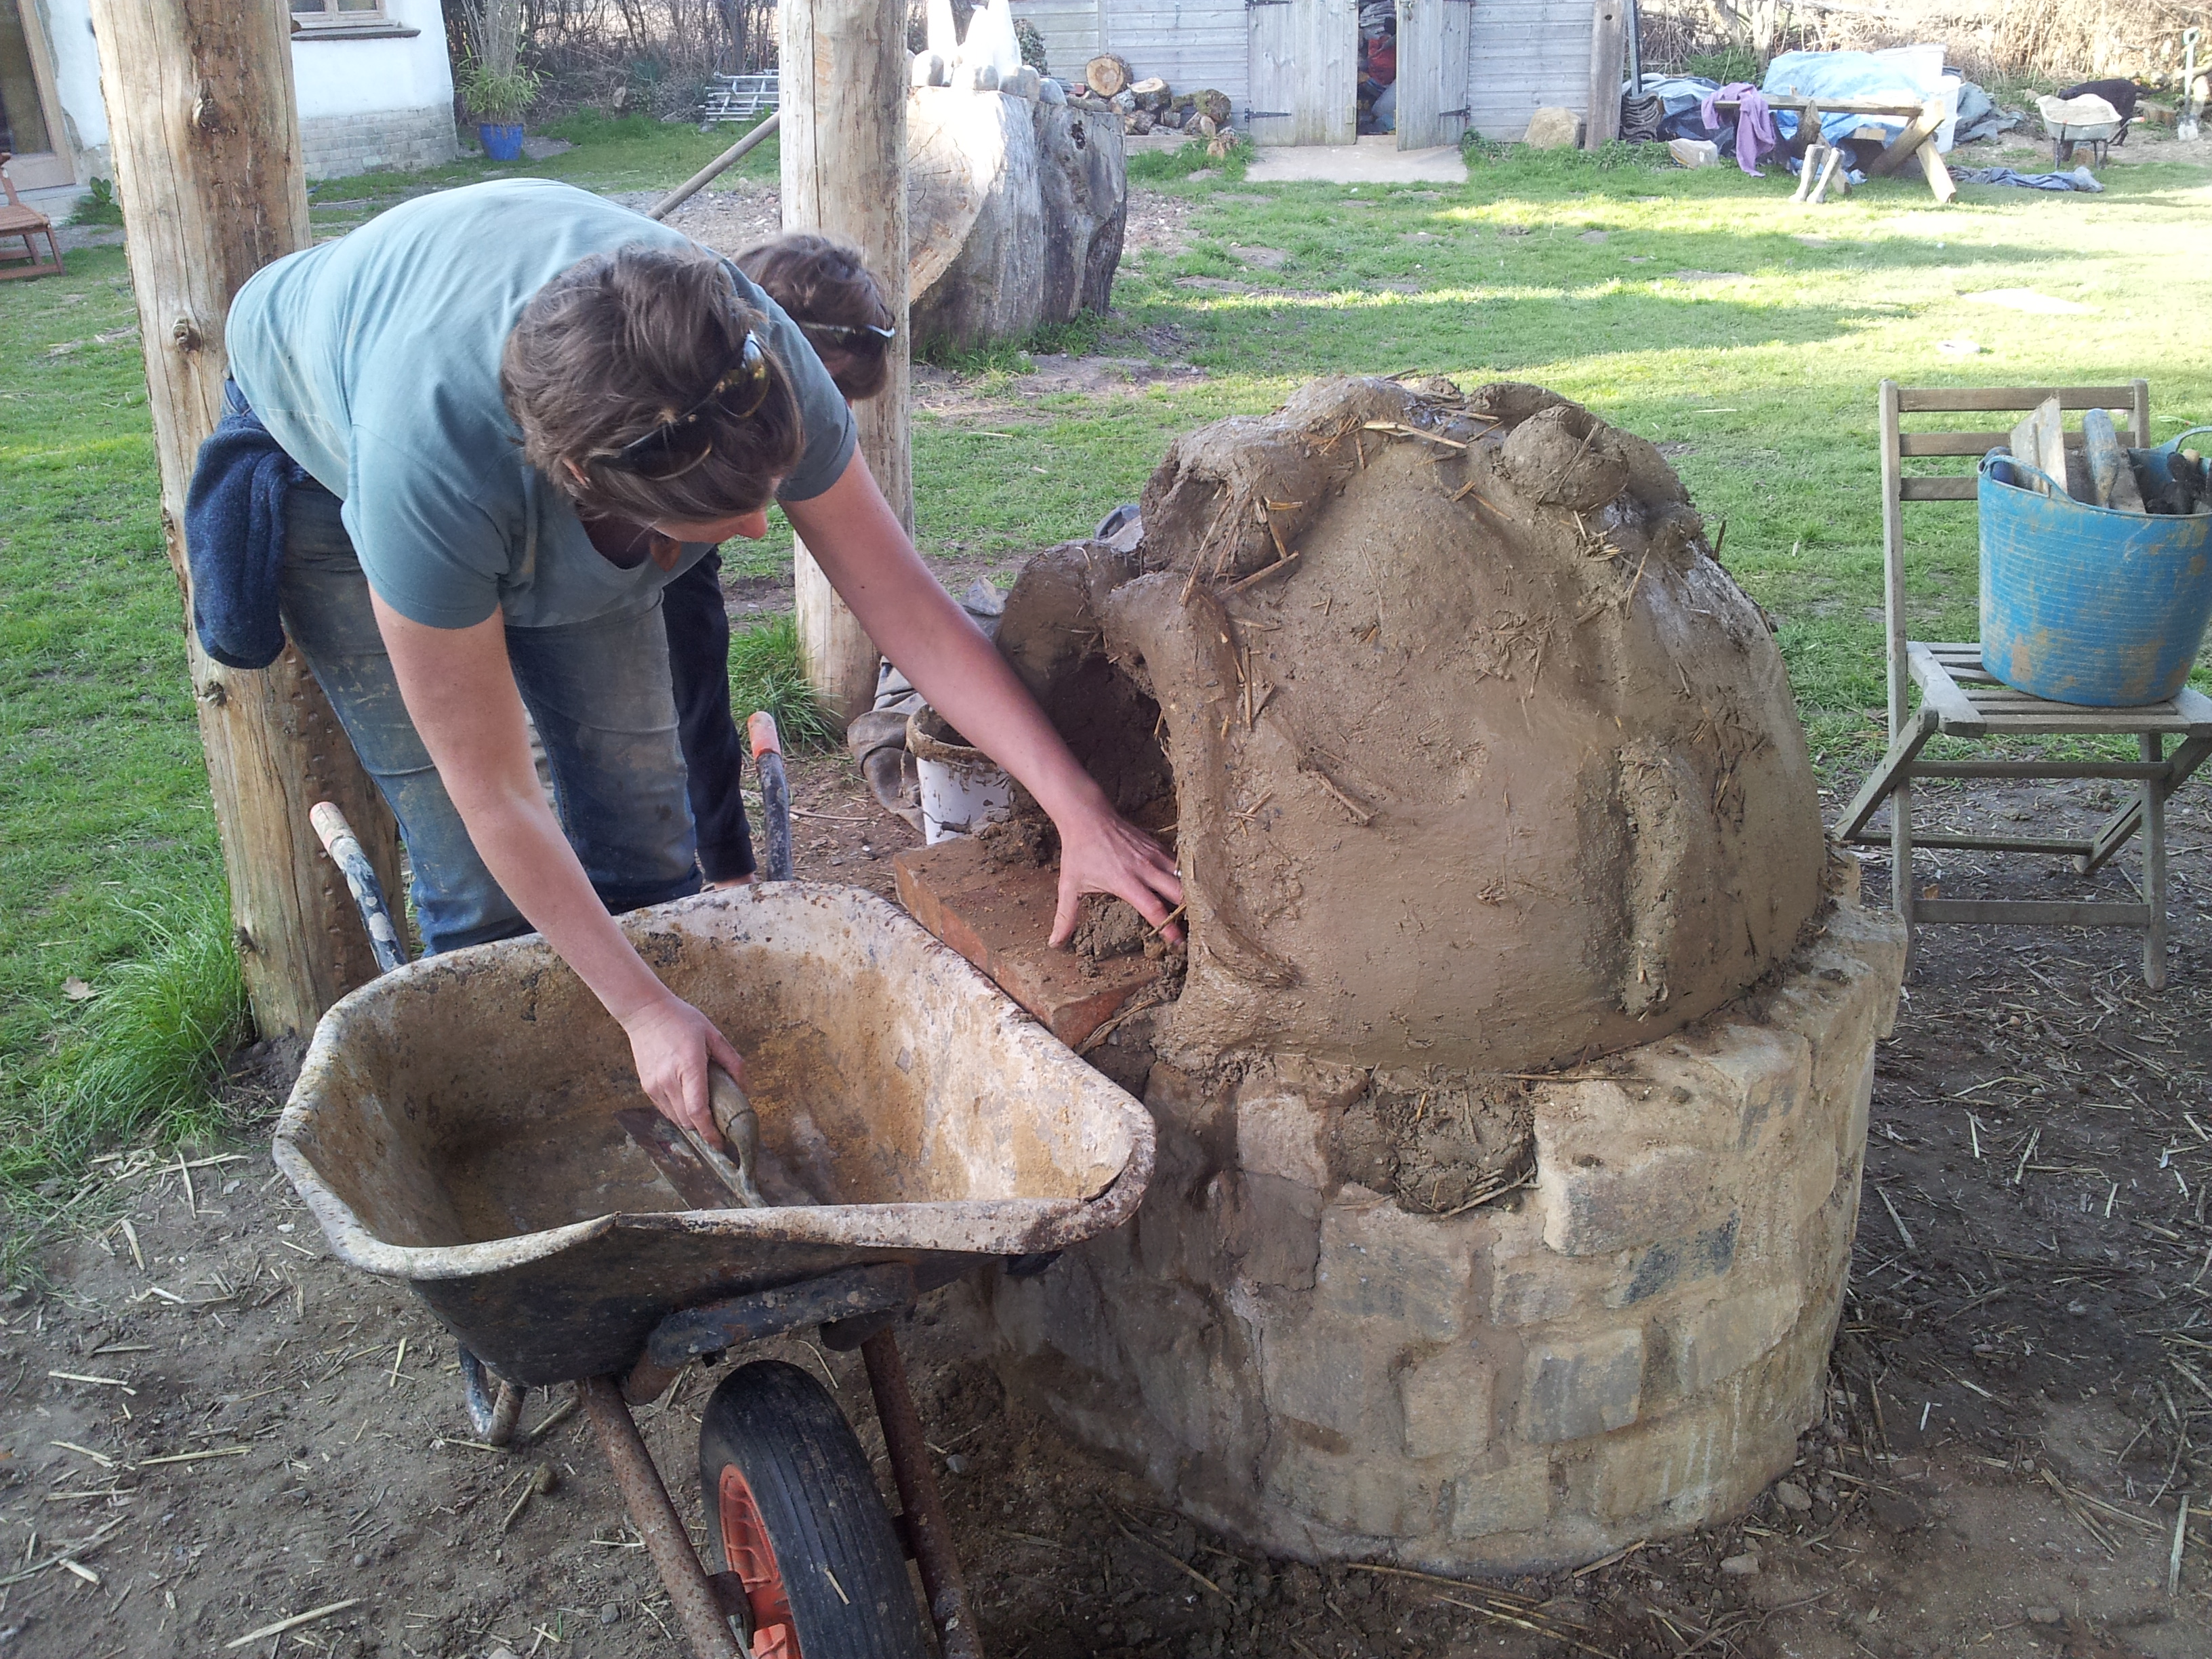
Once covered, cut out a space for your door.
The door should be a piece of thick hardwood and you should cut a tight fitting hole and leave the door there while you build the next layer.

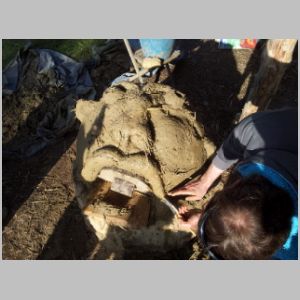
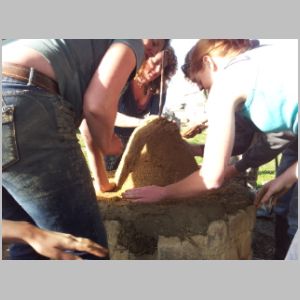
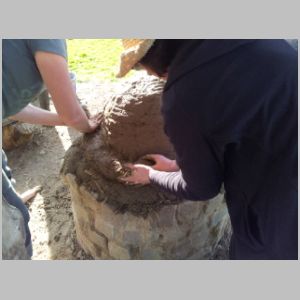
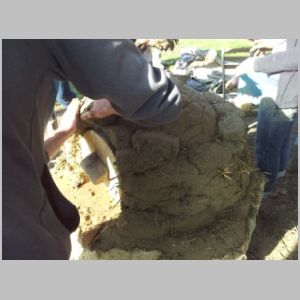
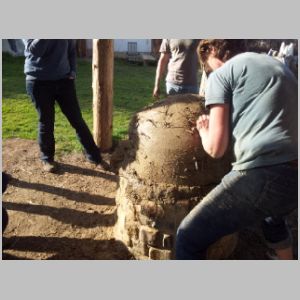
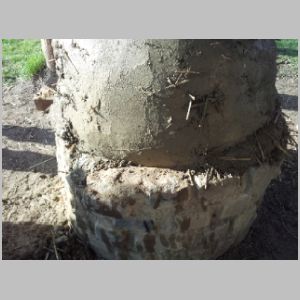
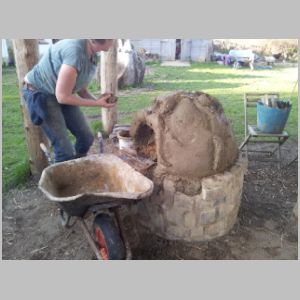
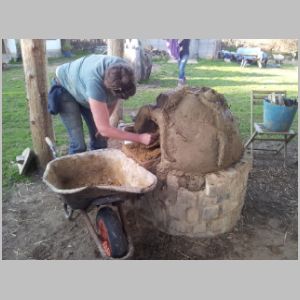
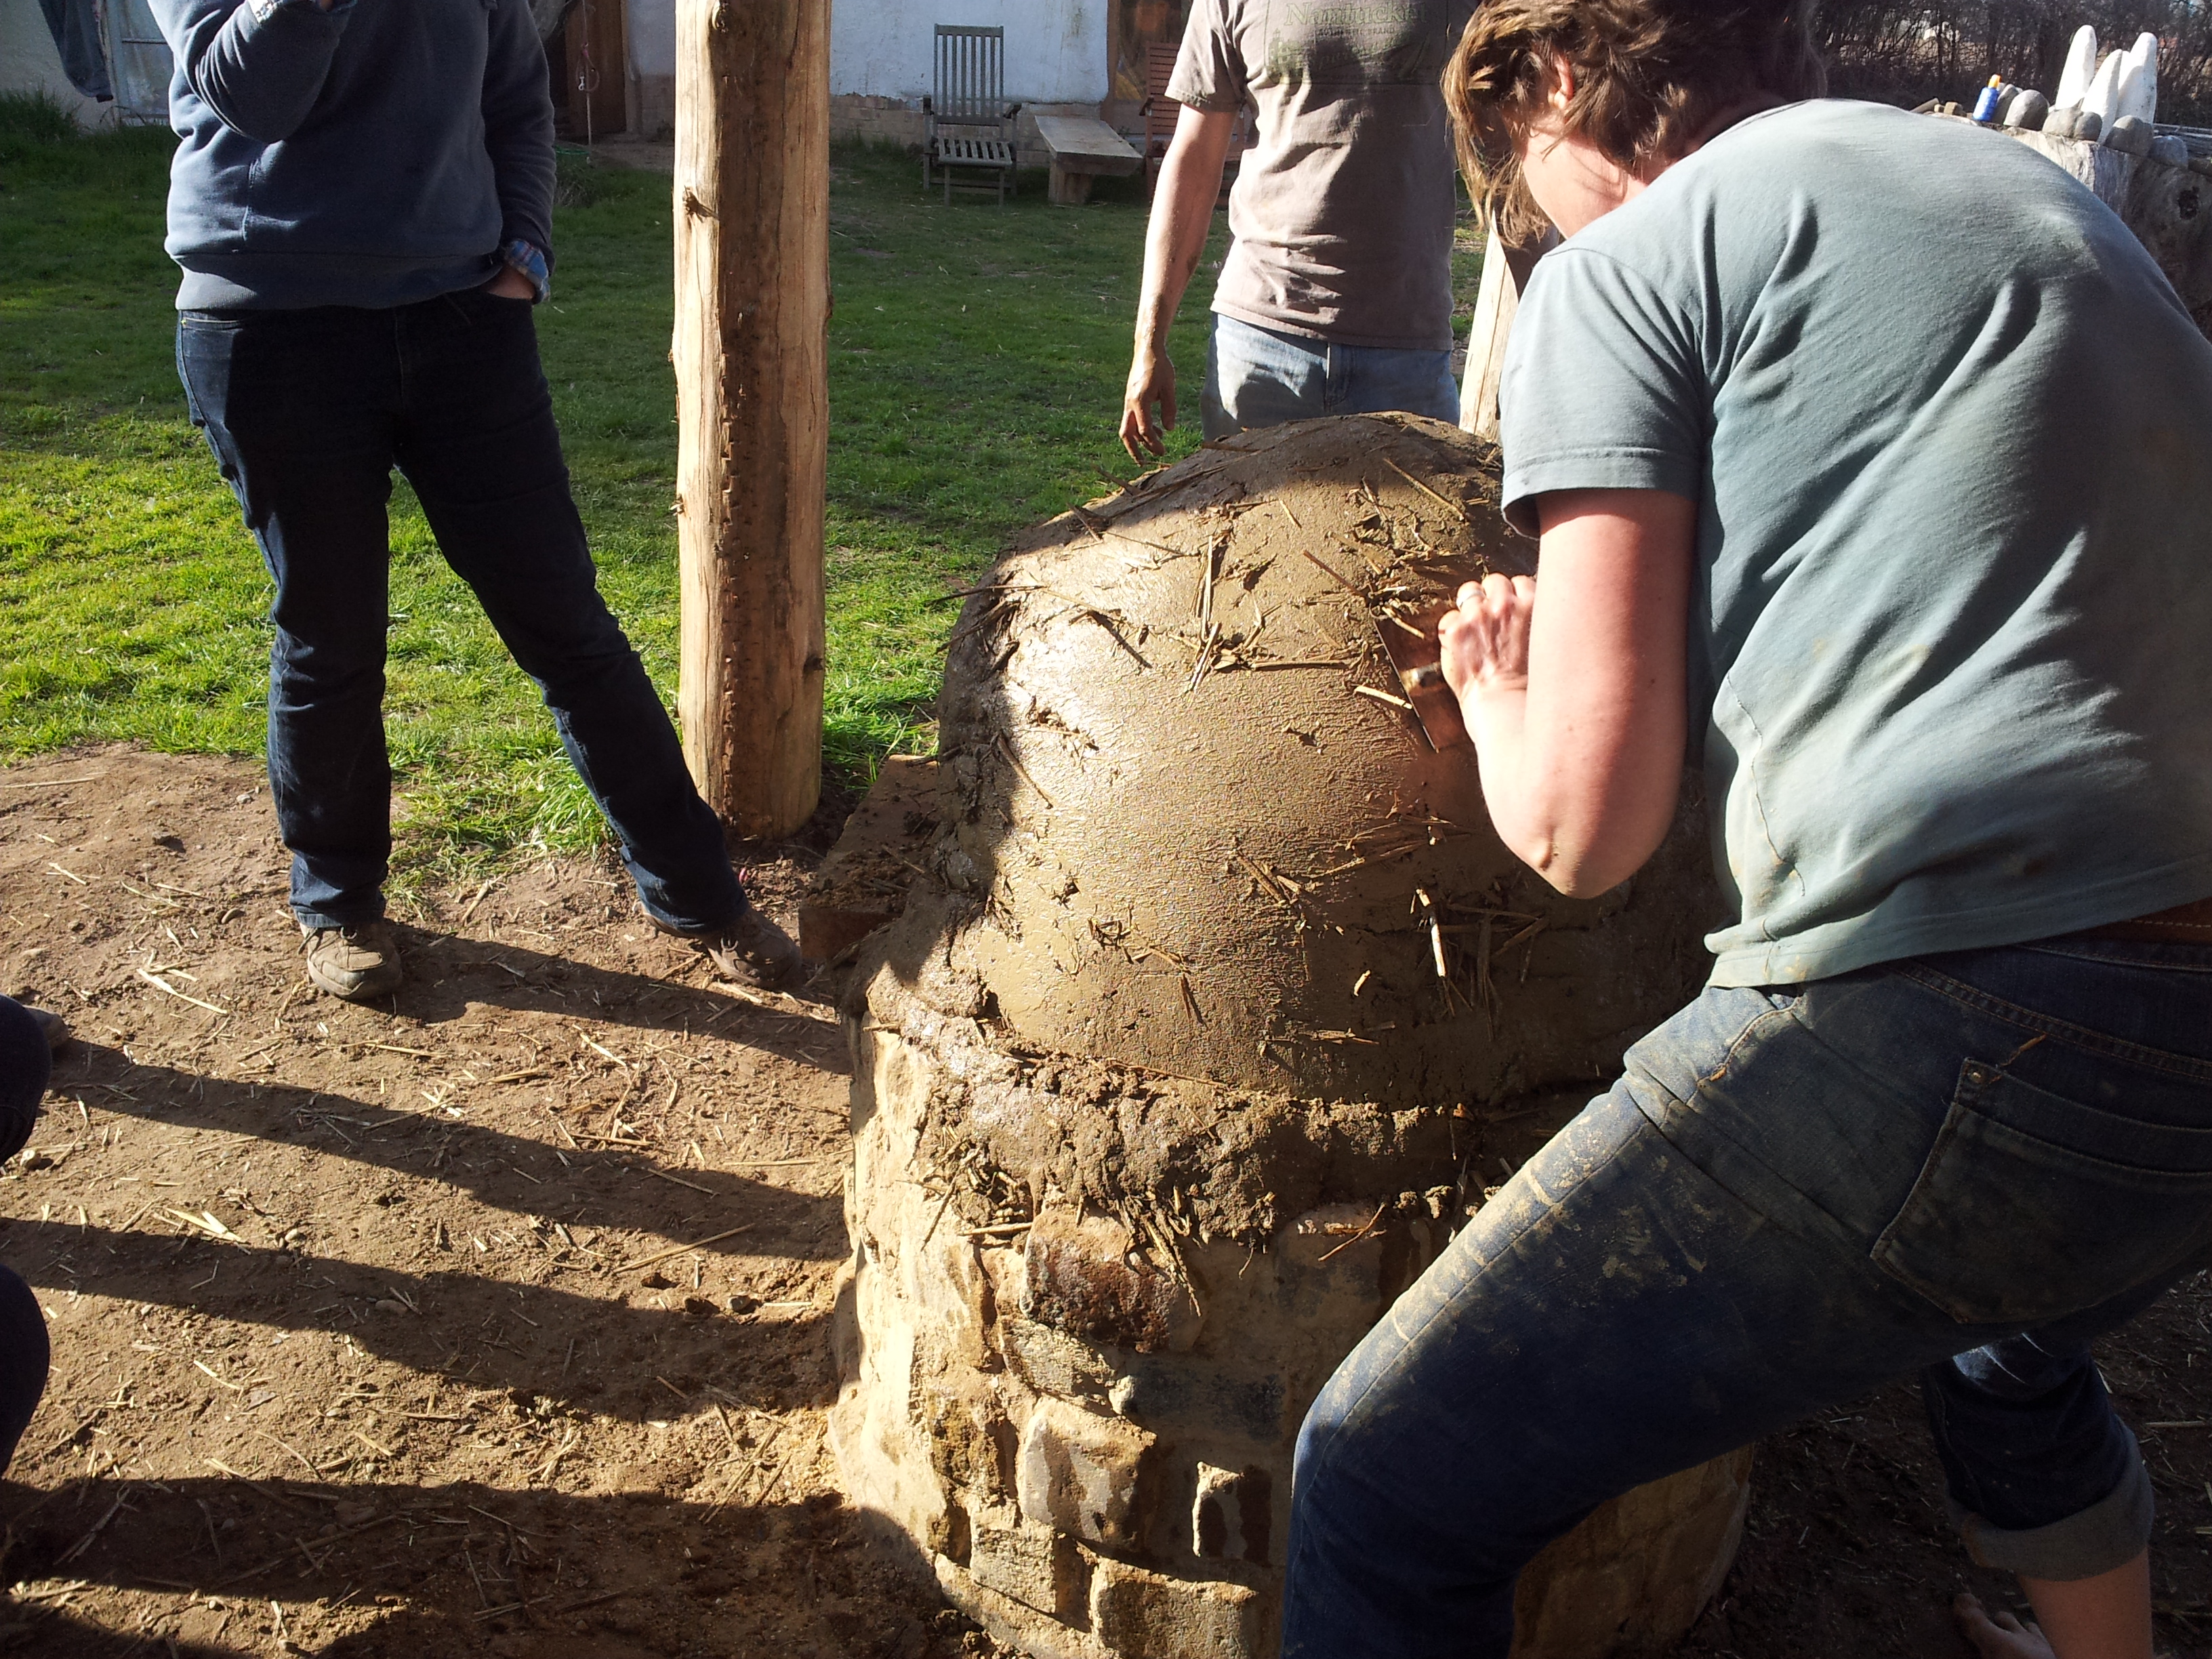
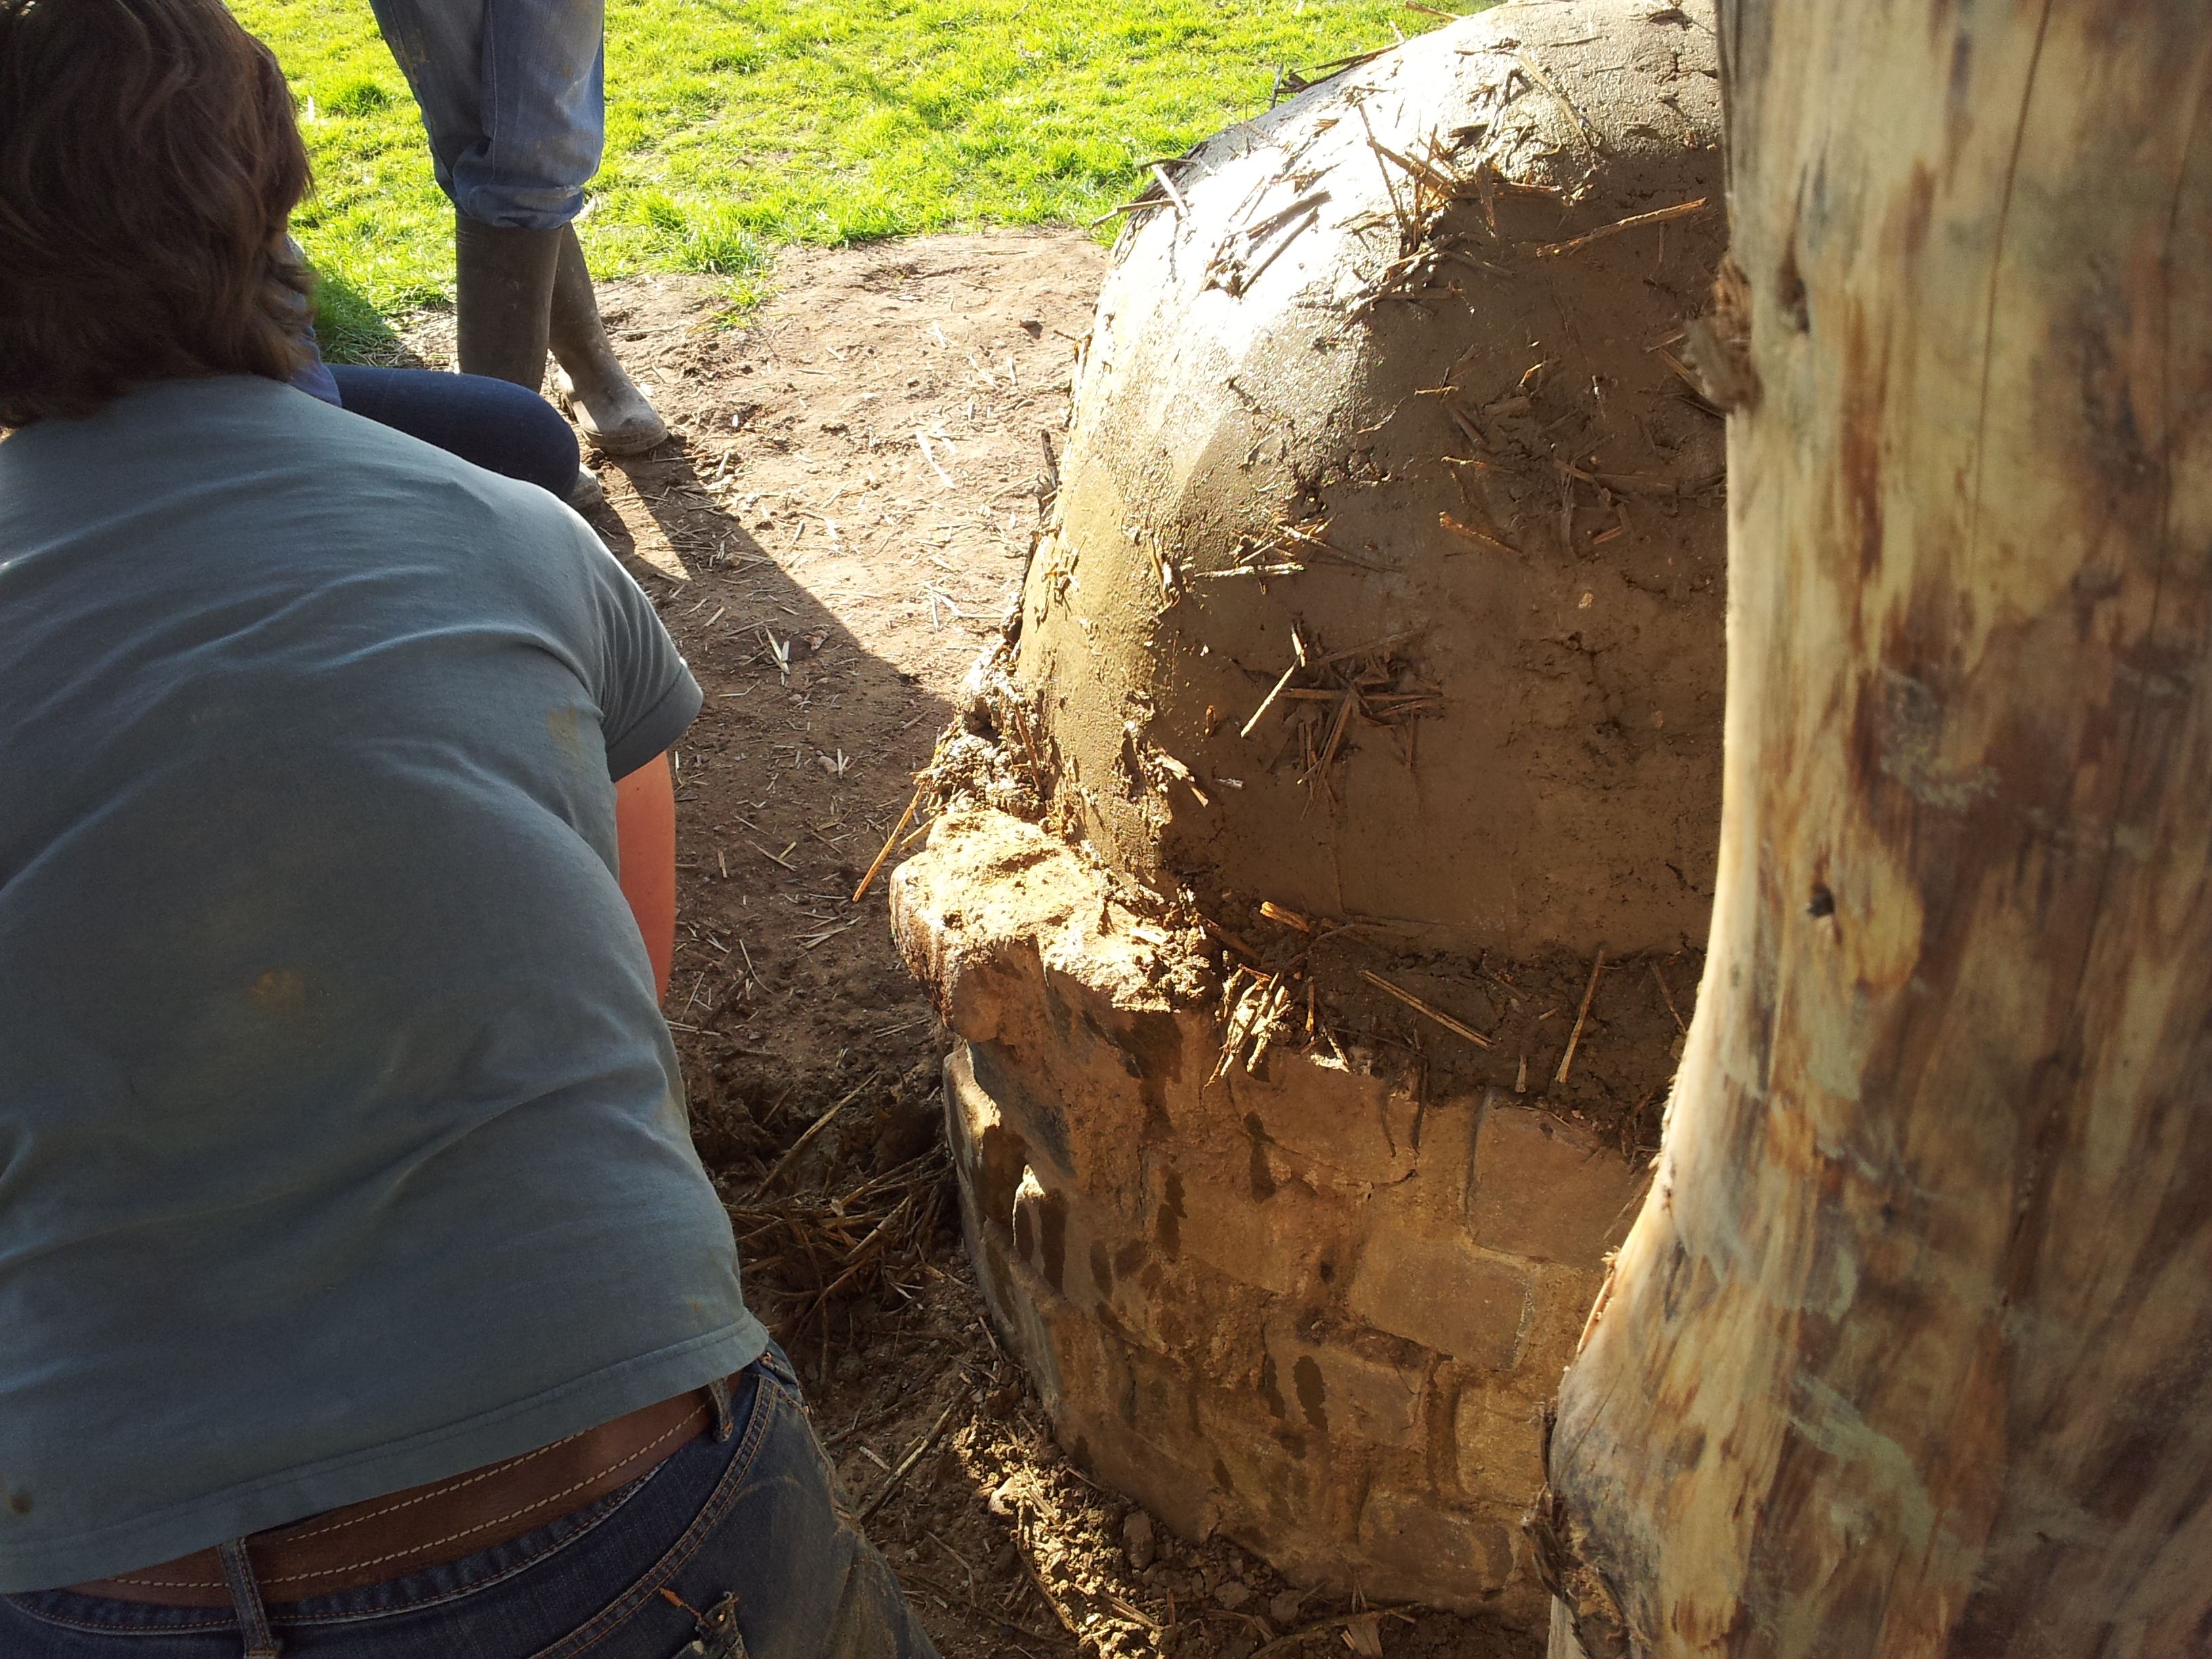
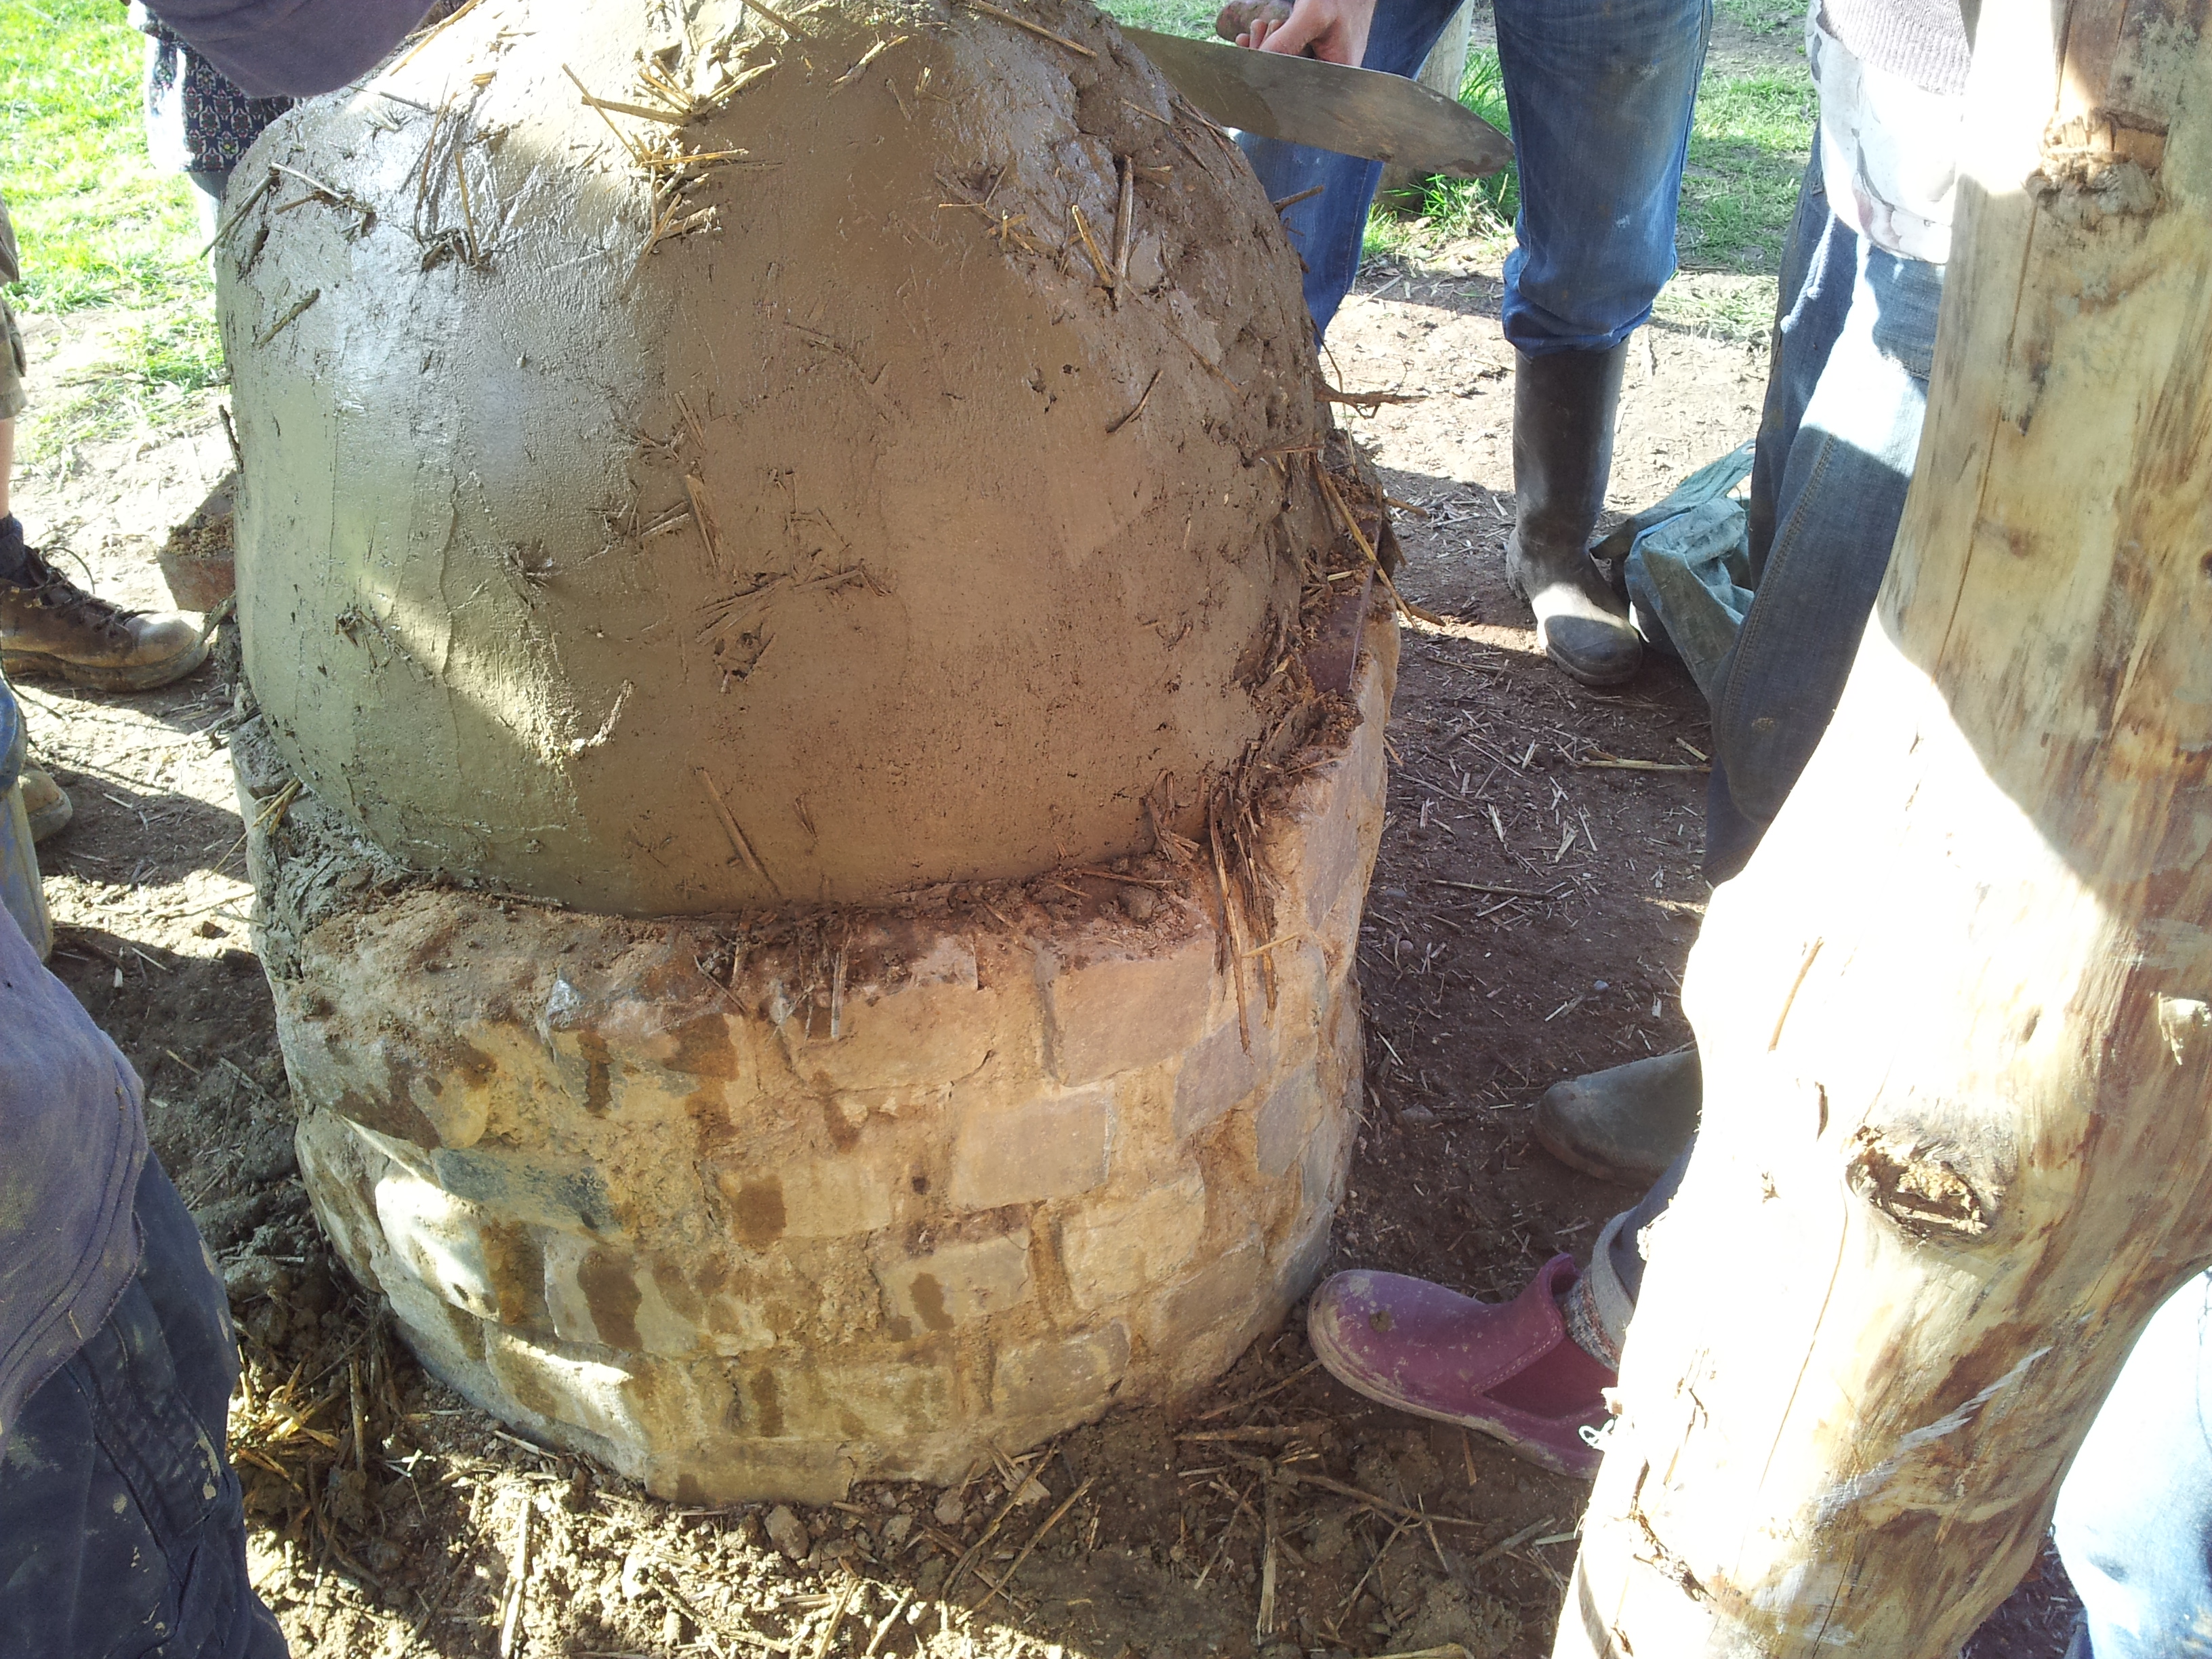
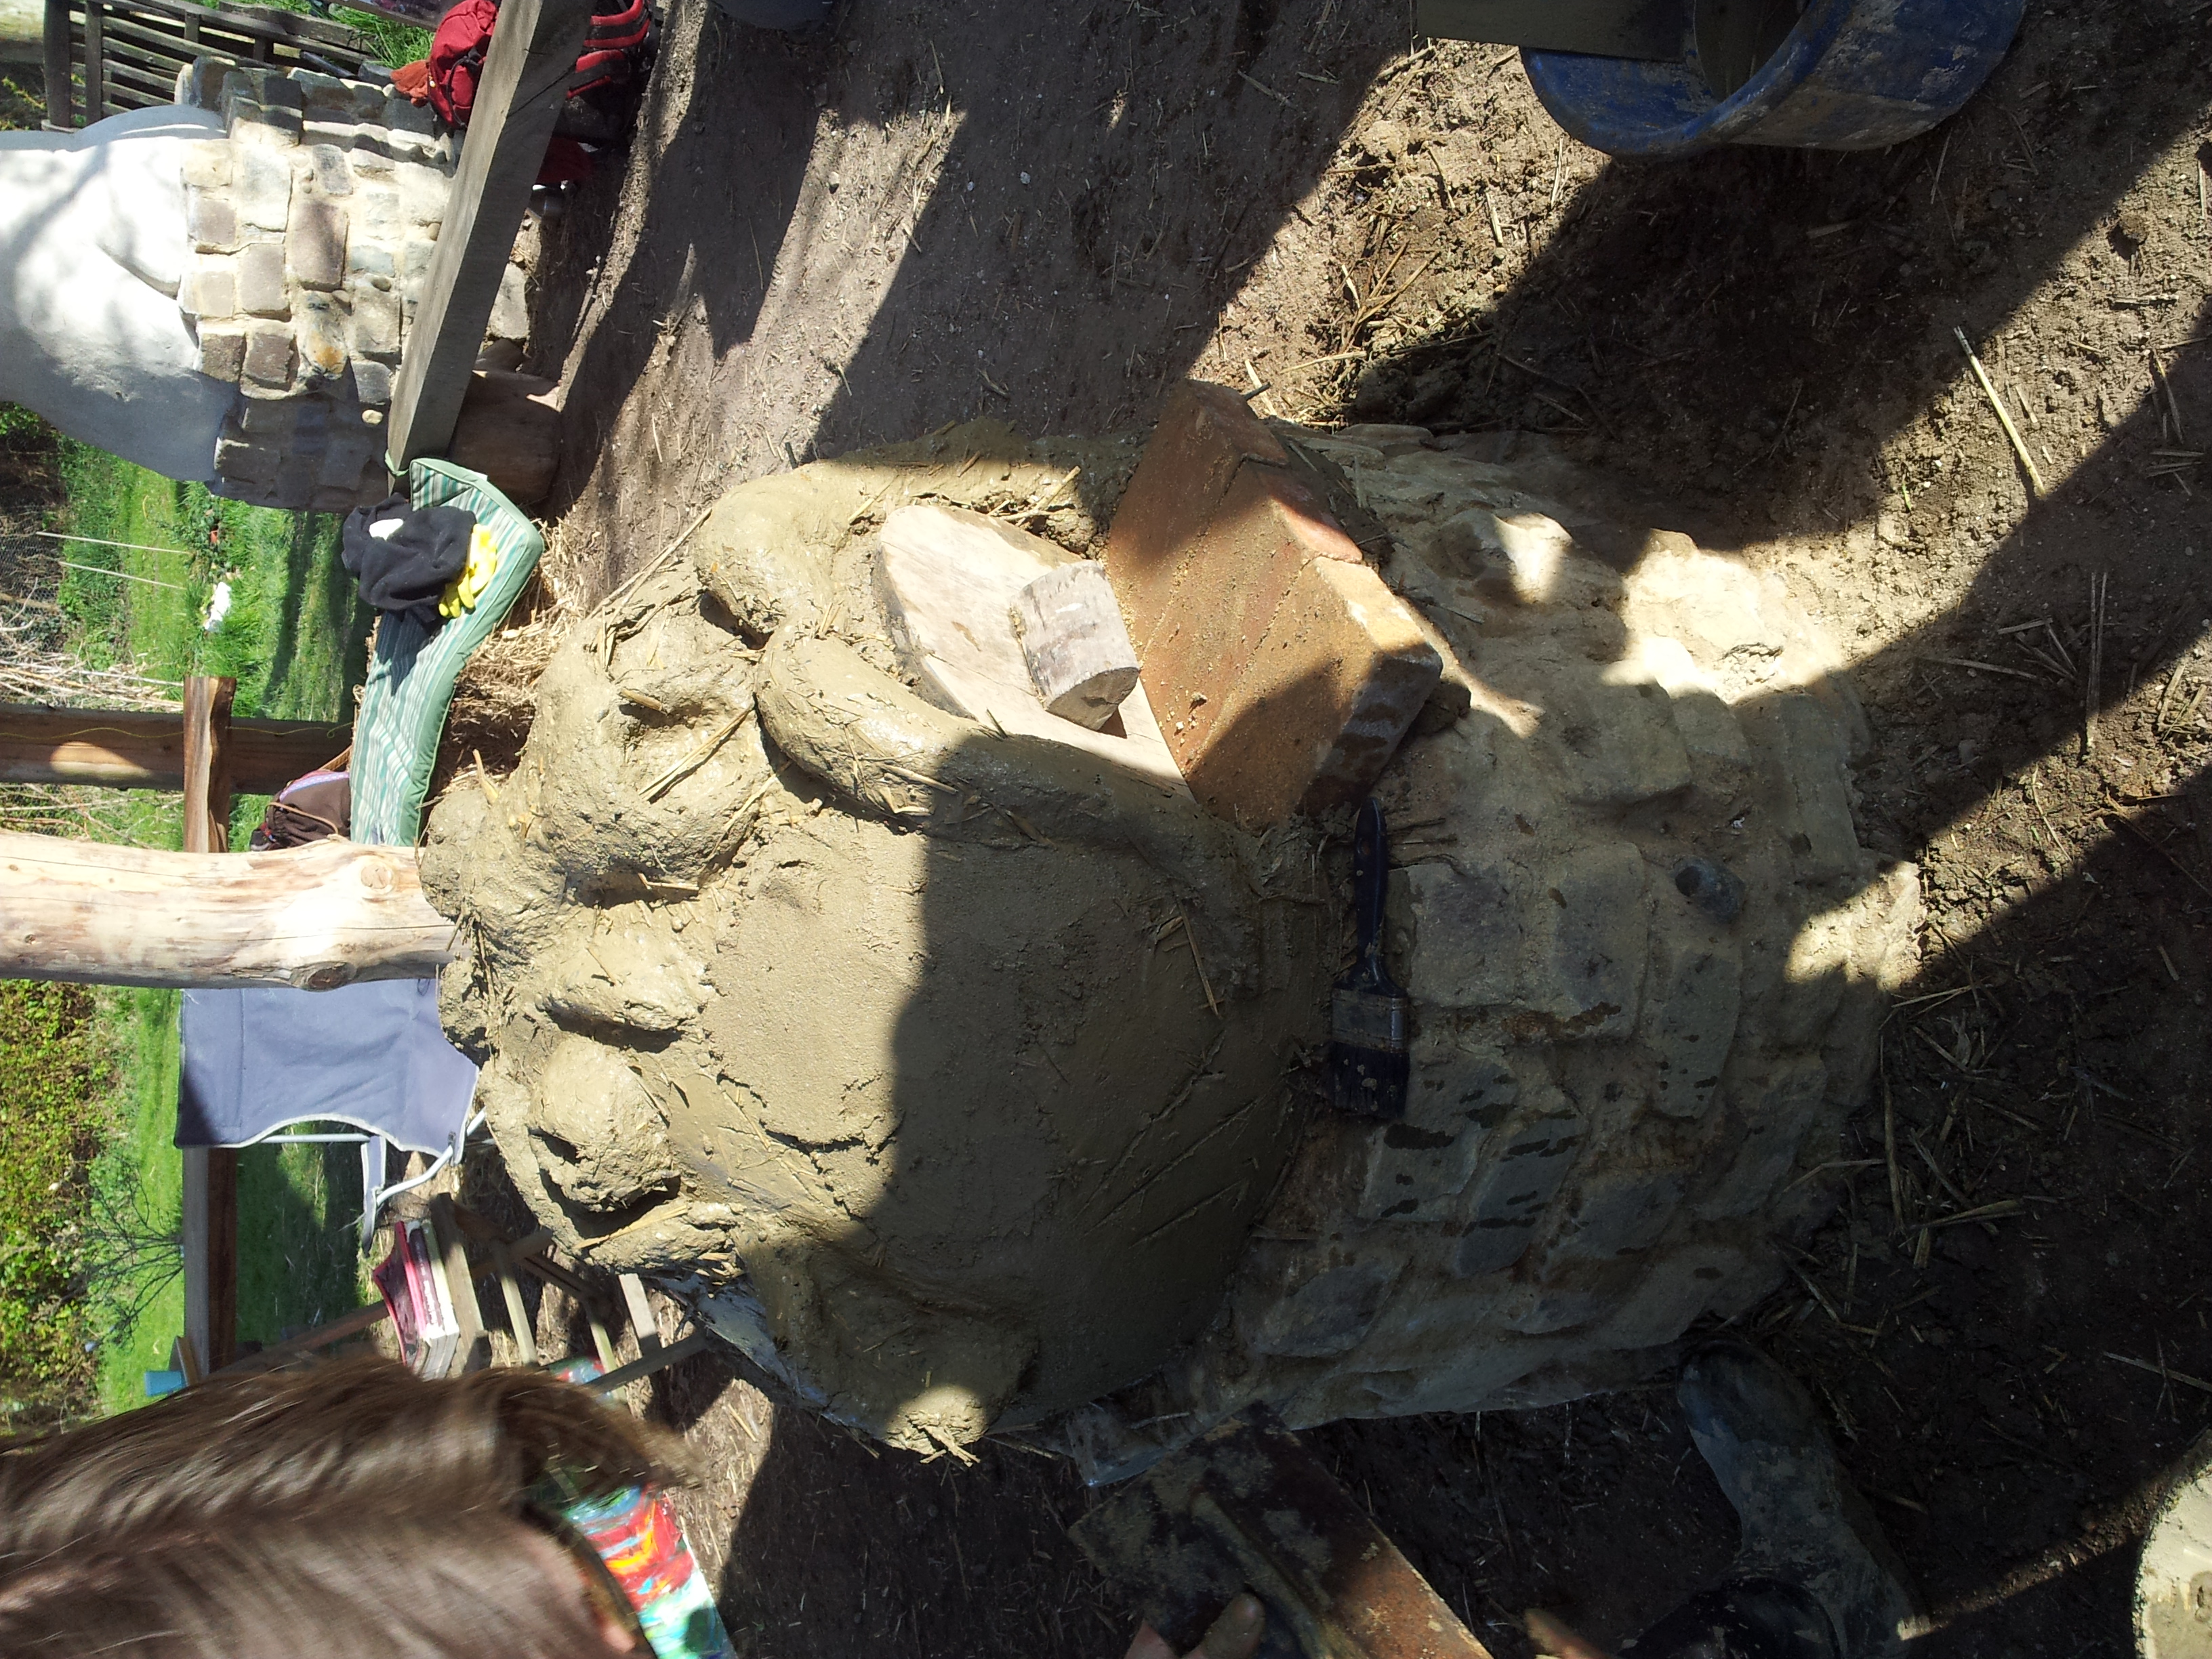
This is the outer layer that provides the thermal mass for the oven, and its where you use the proper cob. Once done, wet troweling smooths it off.
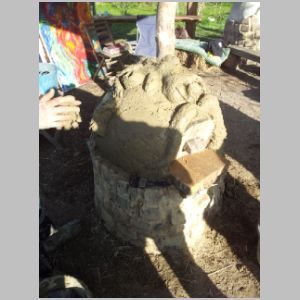
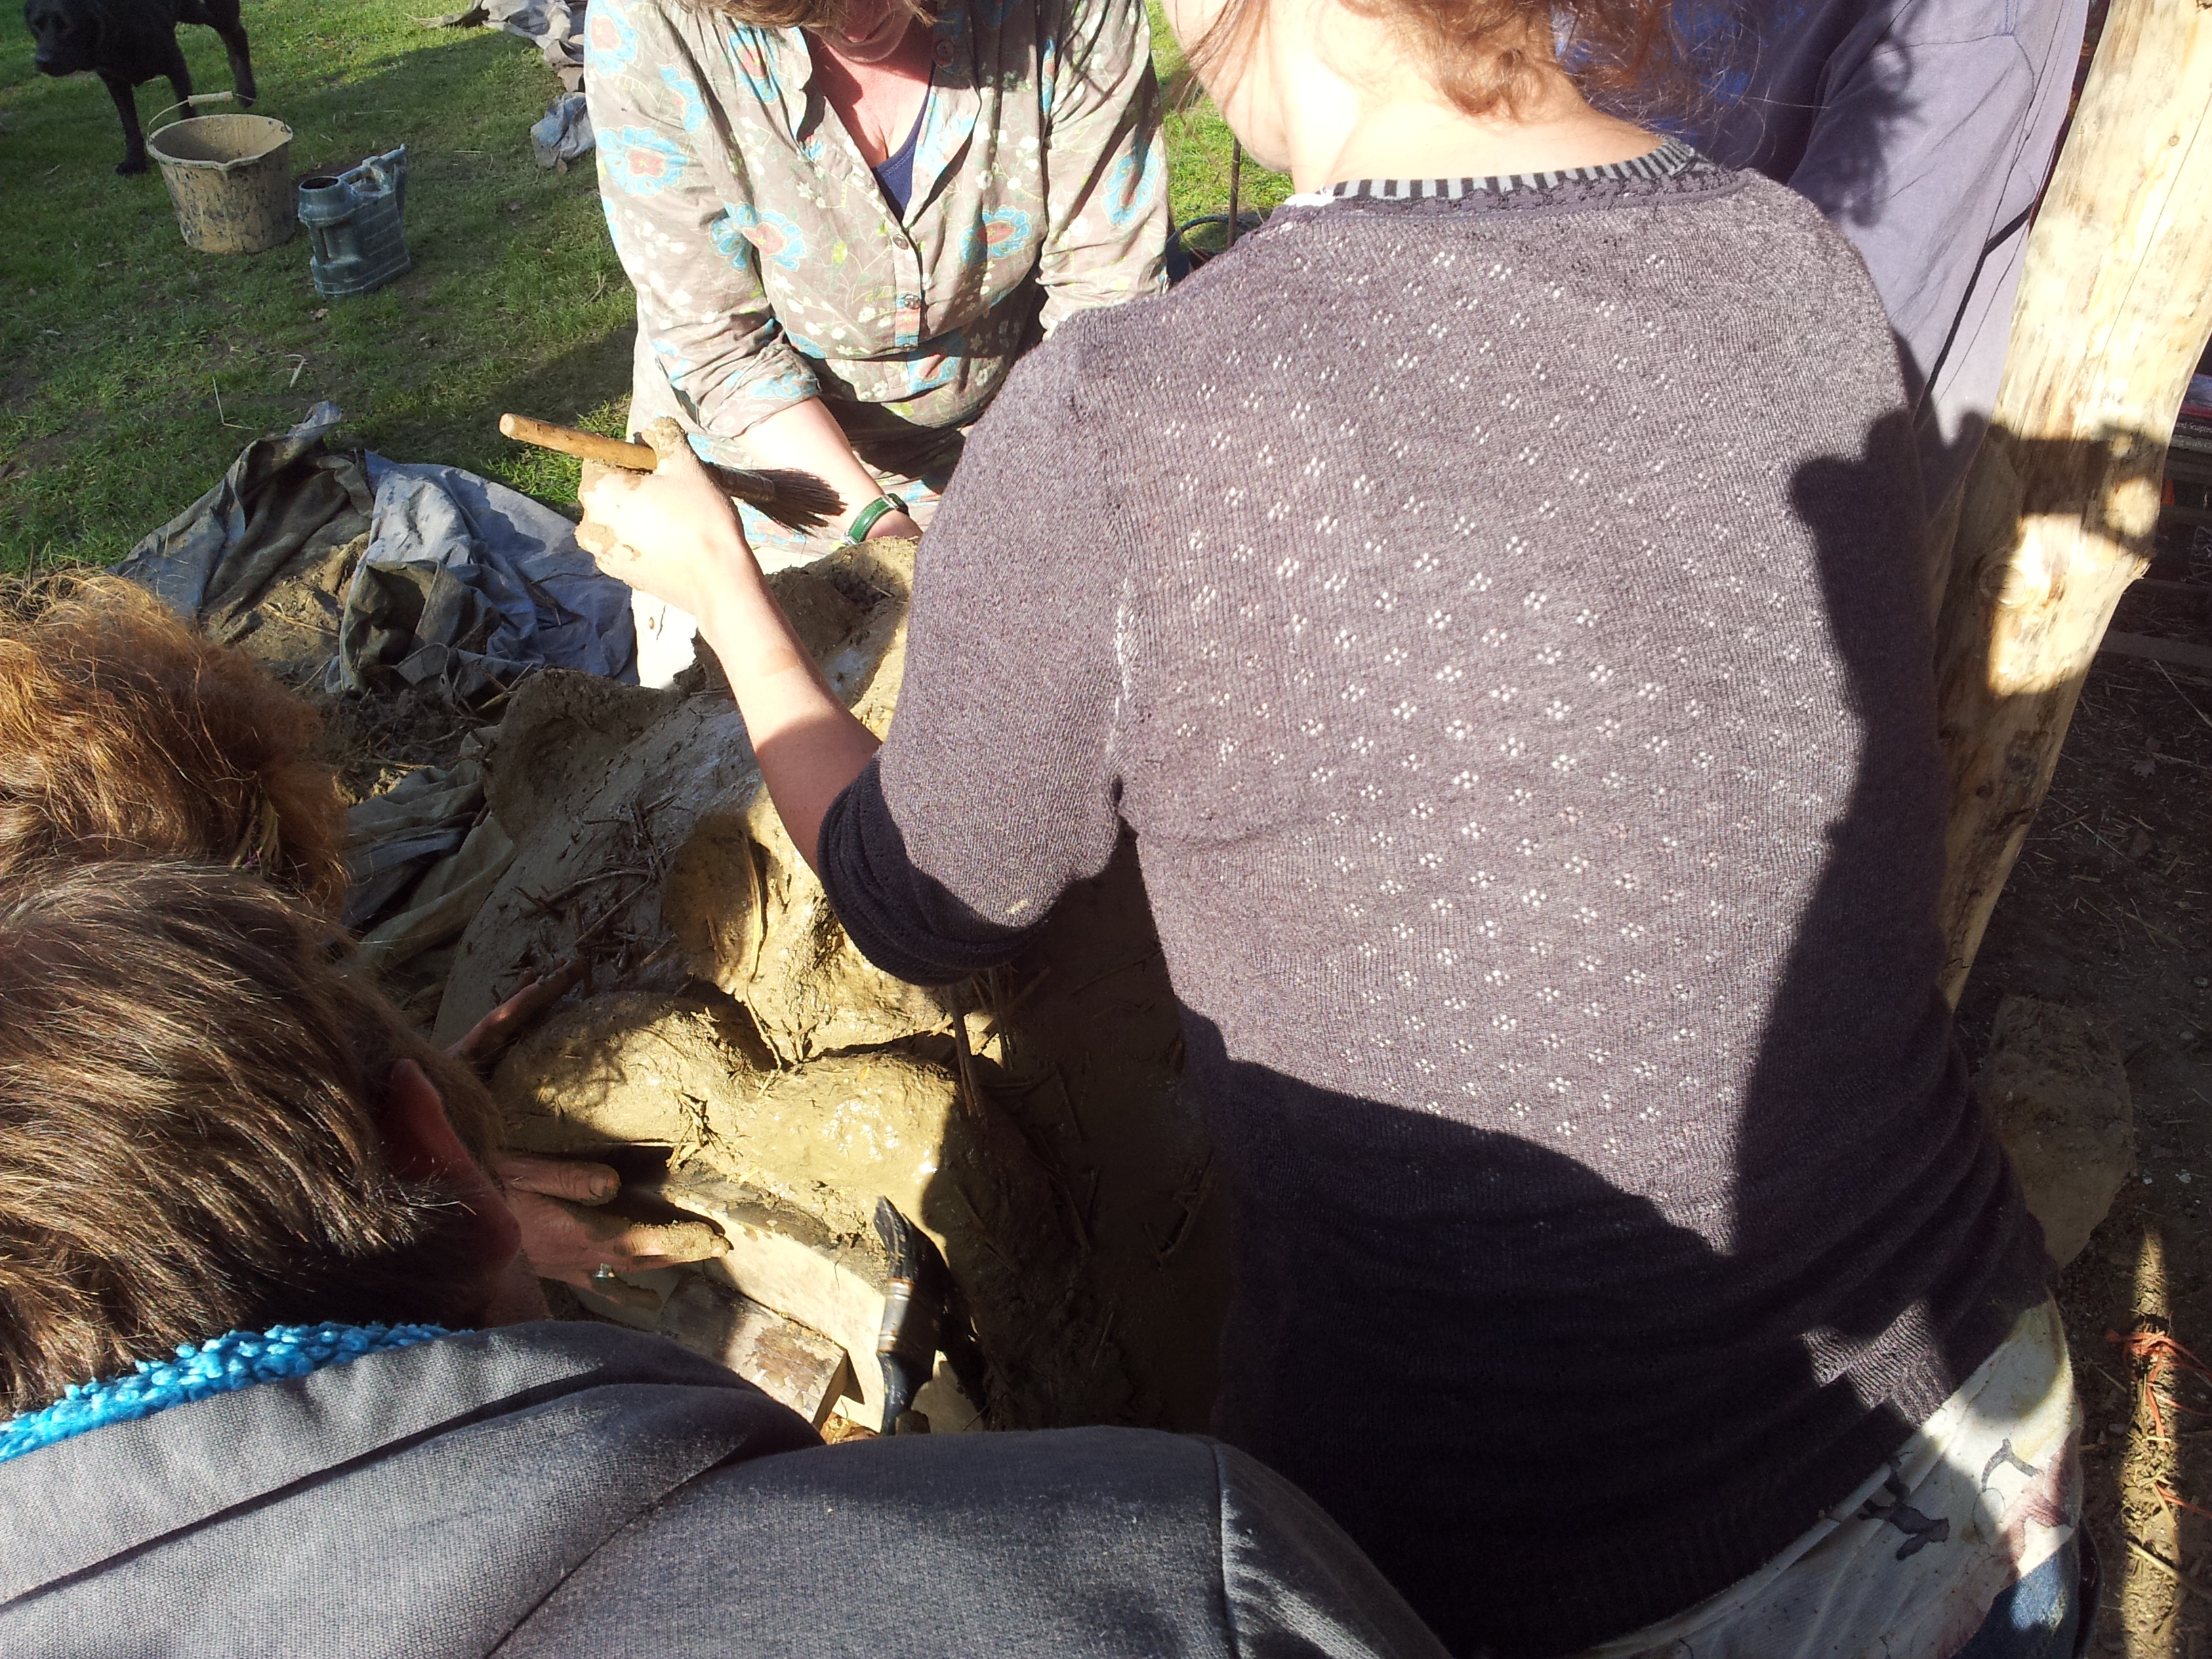
You can decorate it, and plaster it (clay, soft sand and goat hair) and then leave it to dry for a day or so.
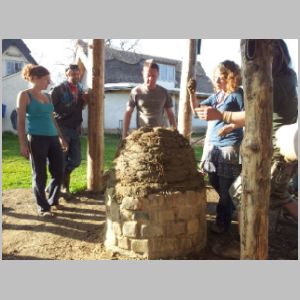
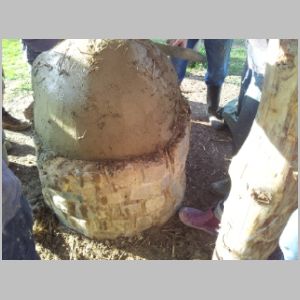
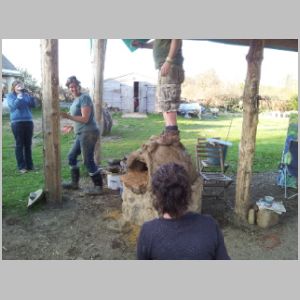
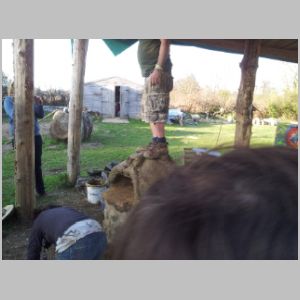
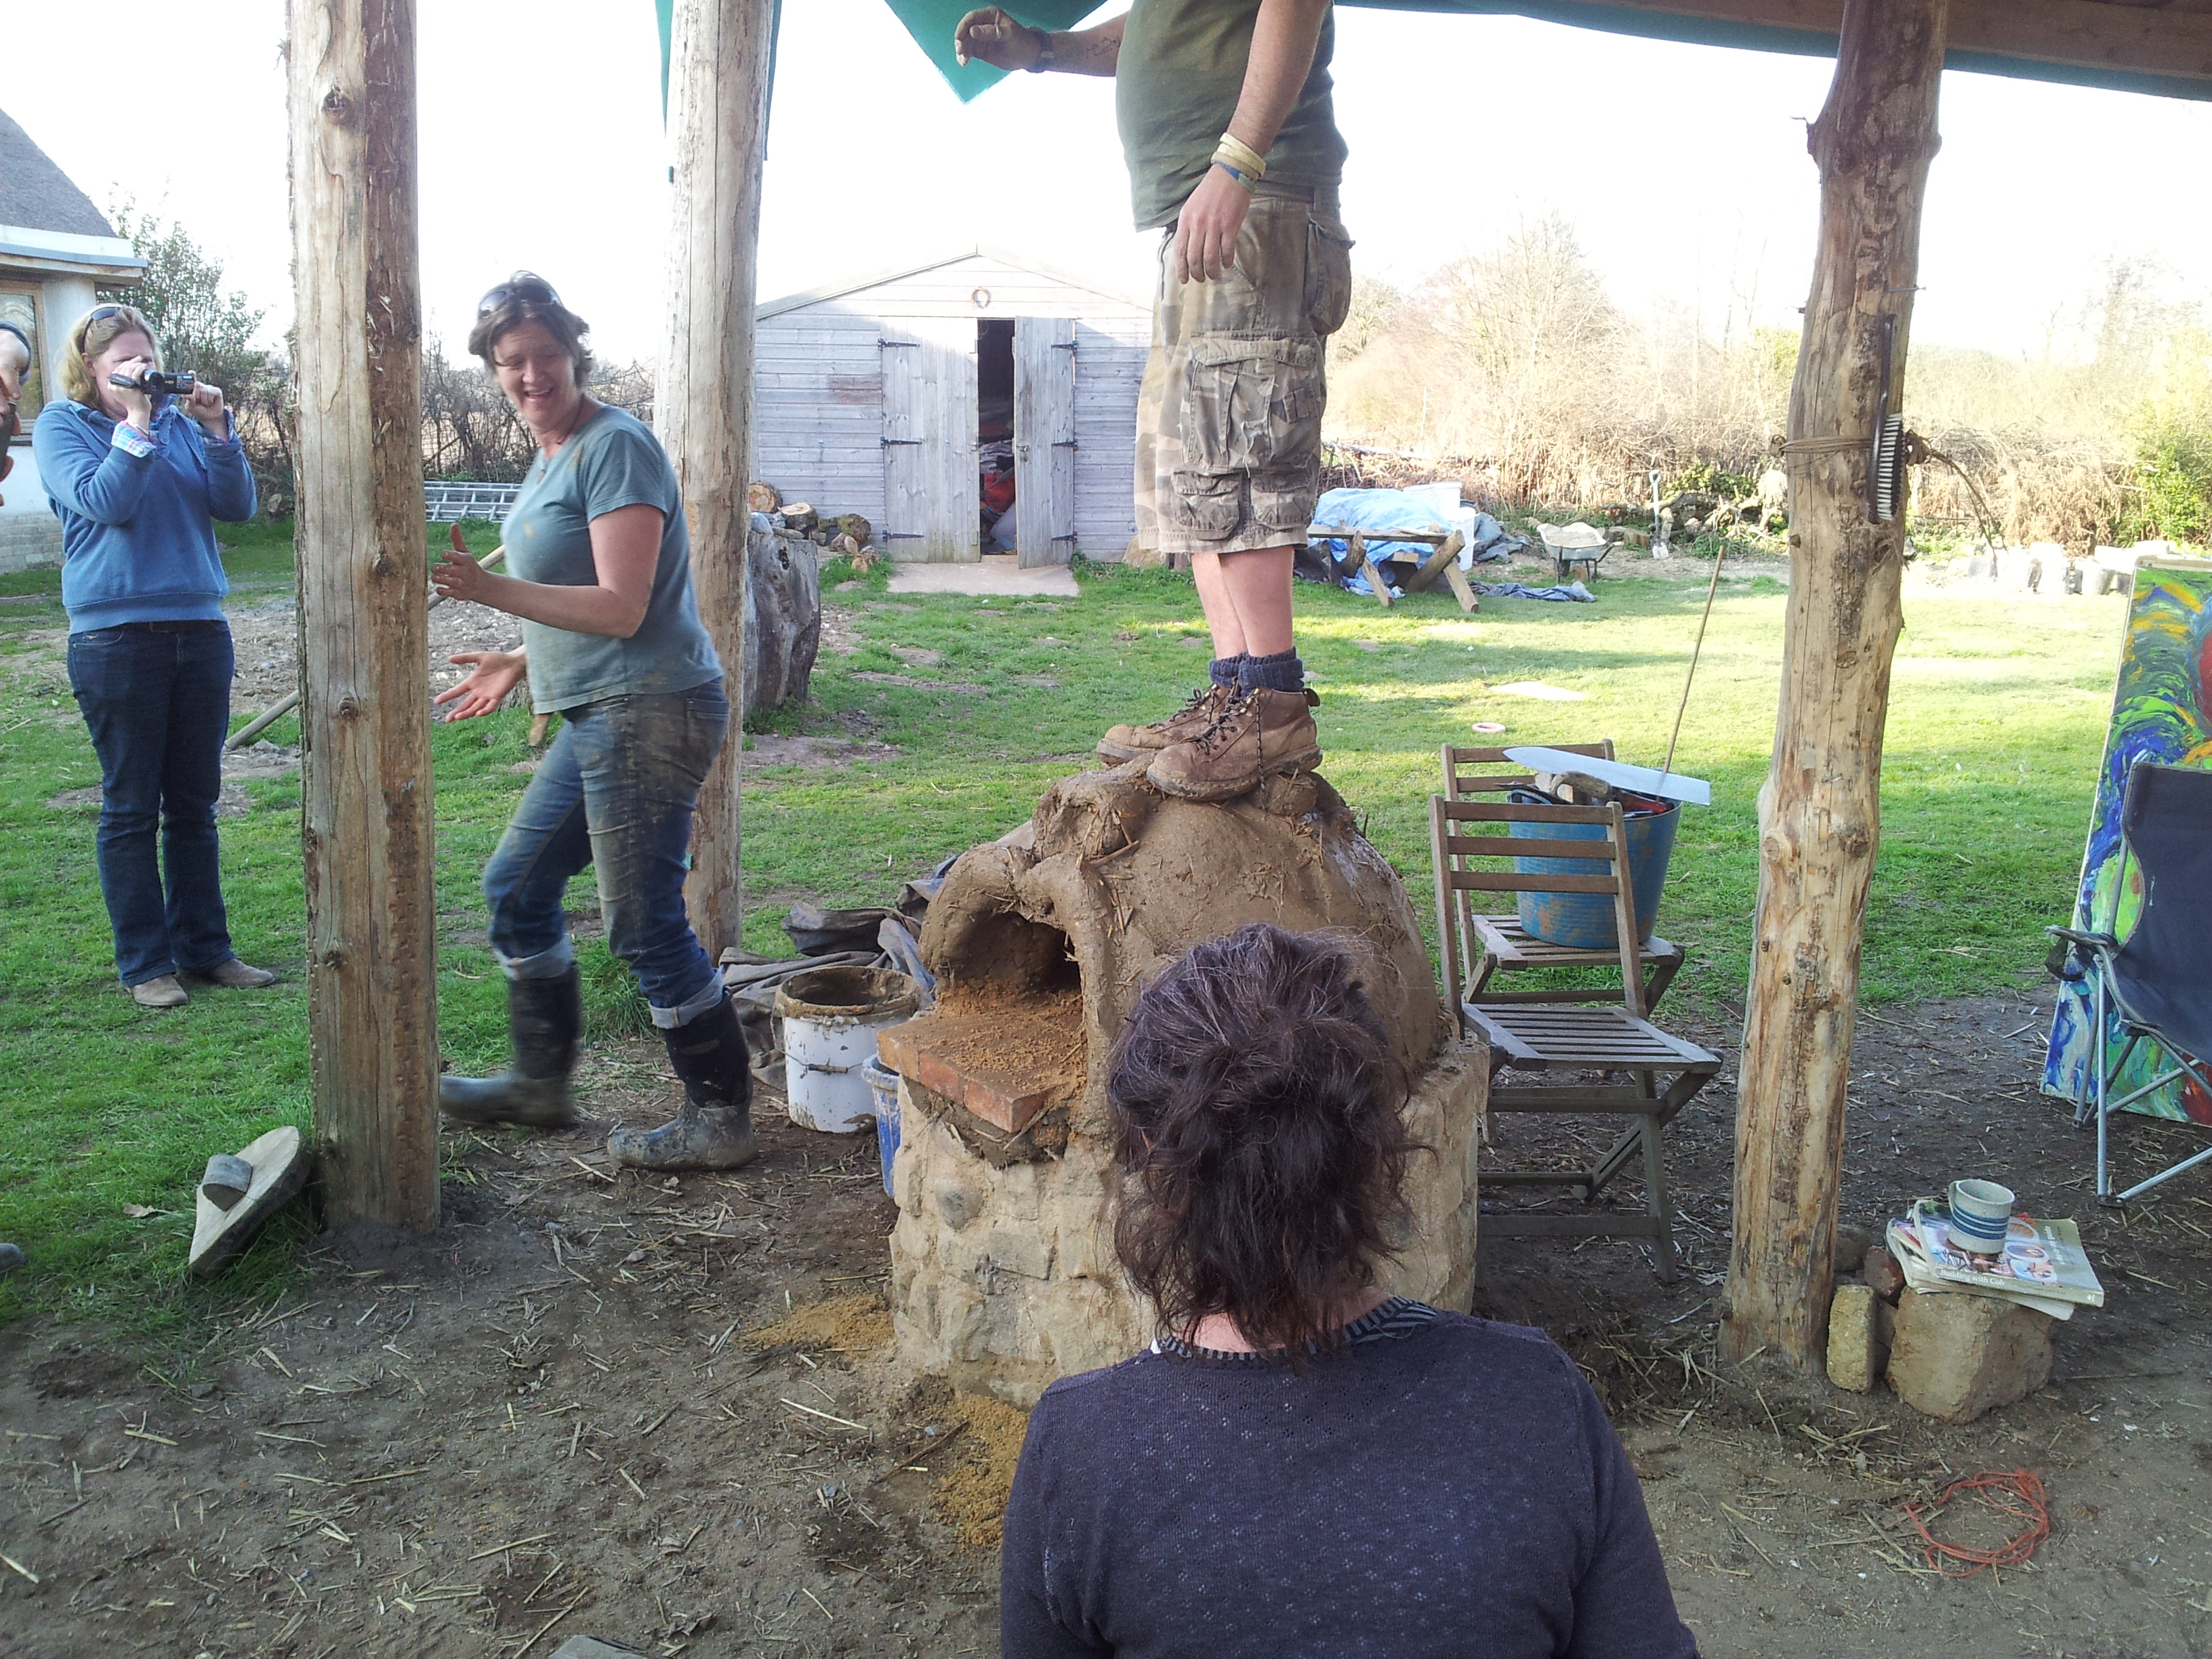
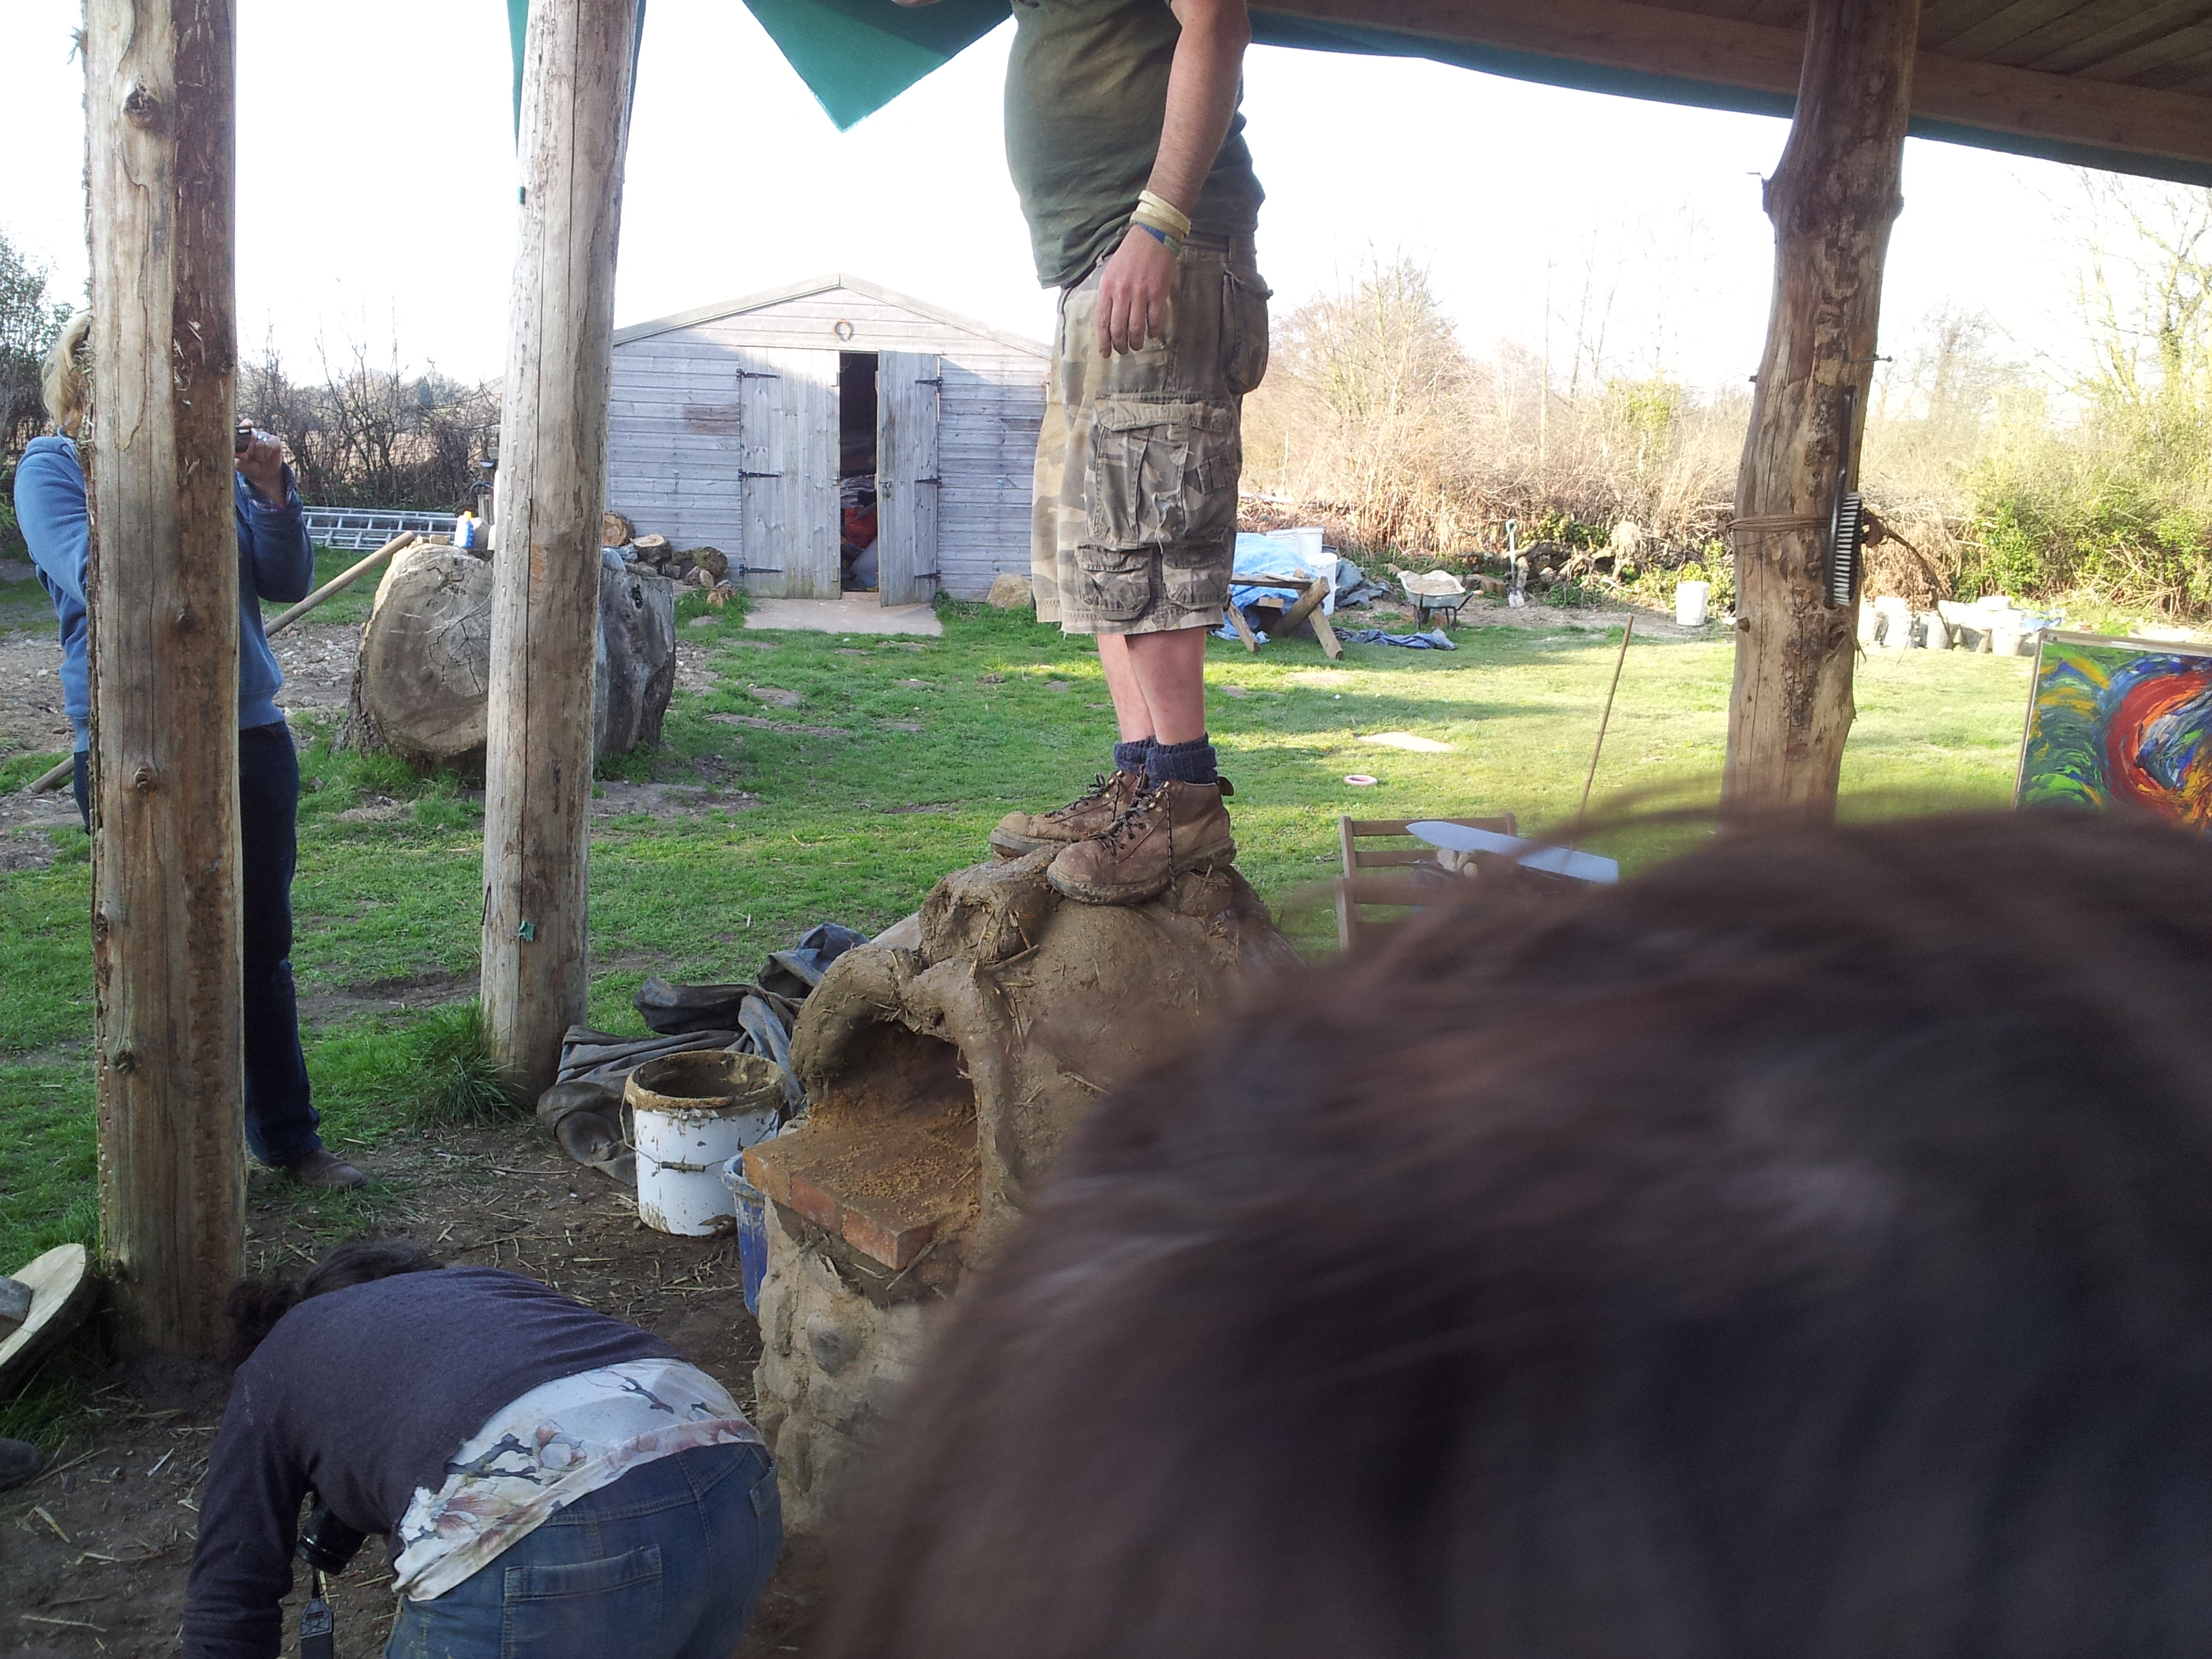
We didn’t have that so we removed the door, scraped out the sand, and then a guy called Rob stood on it to prove how sturdy it was.

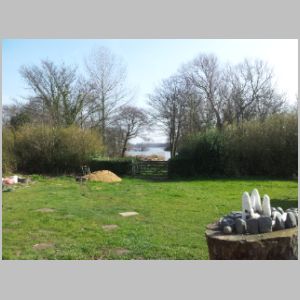
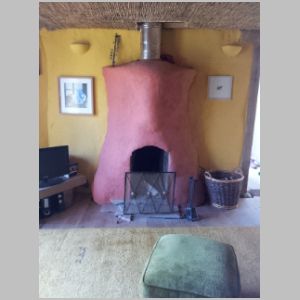
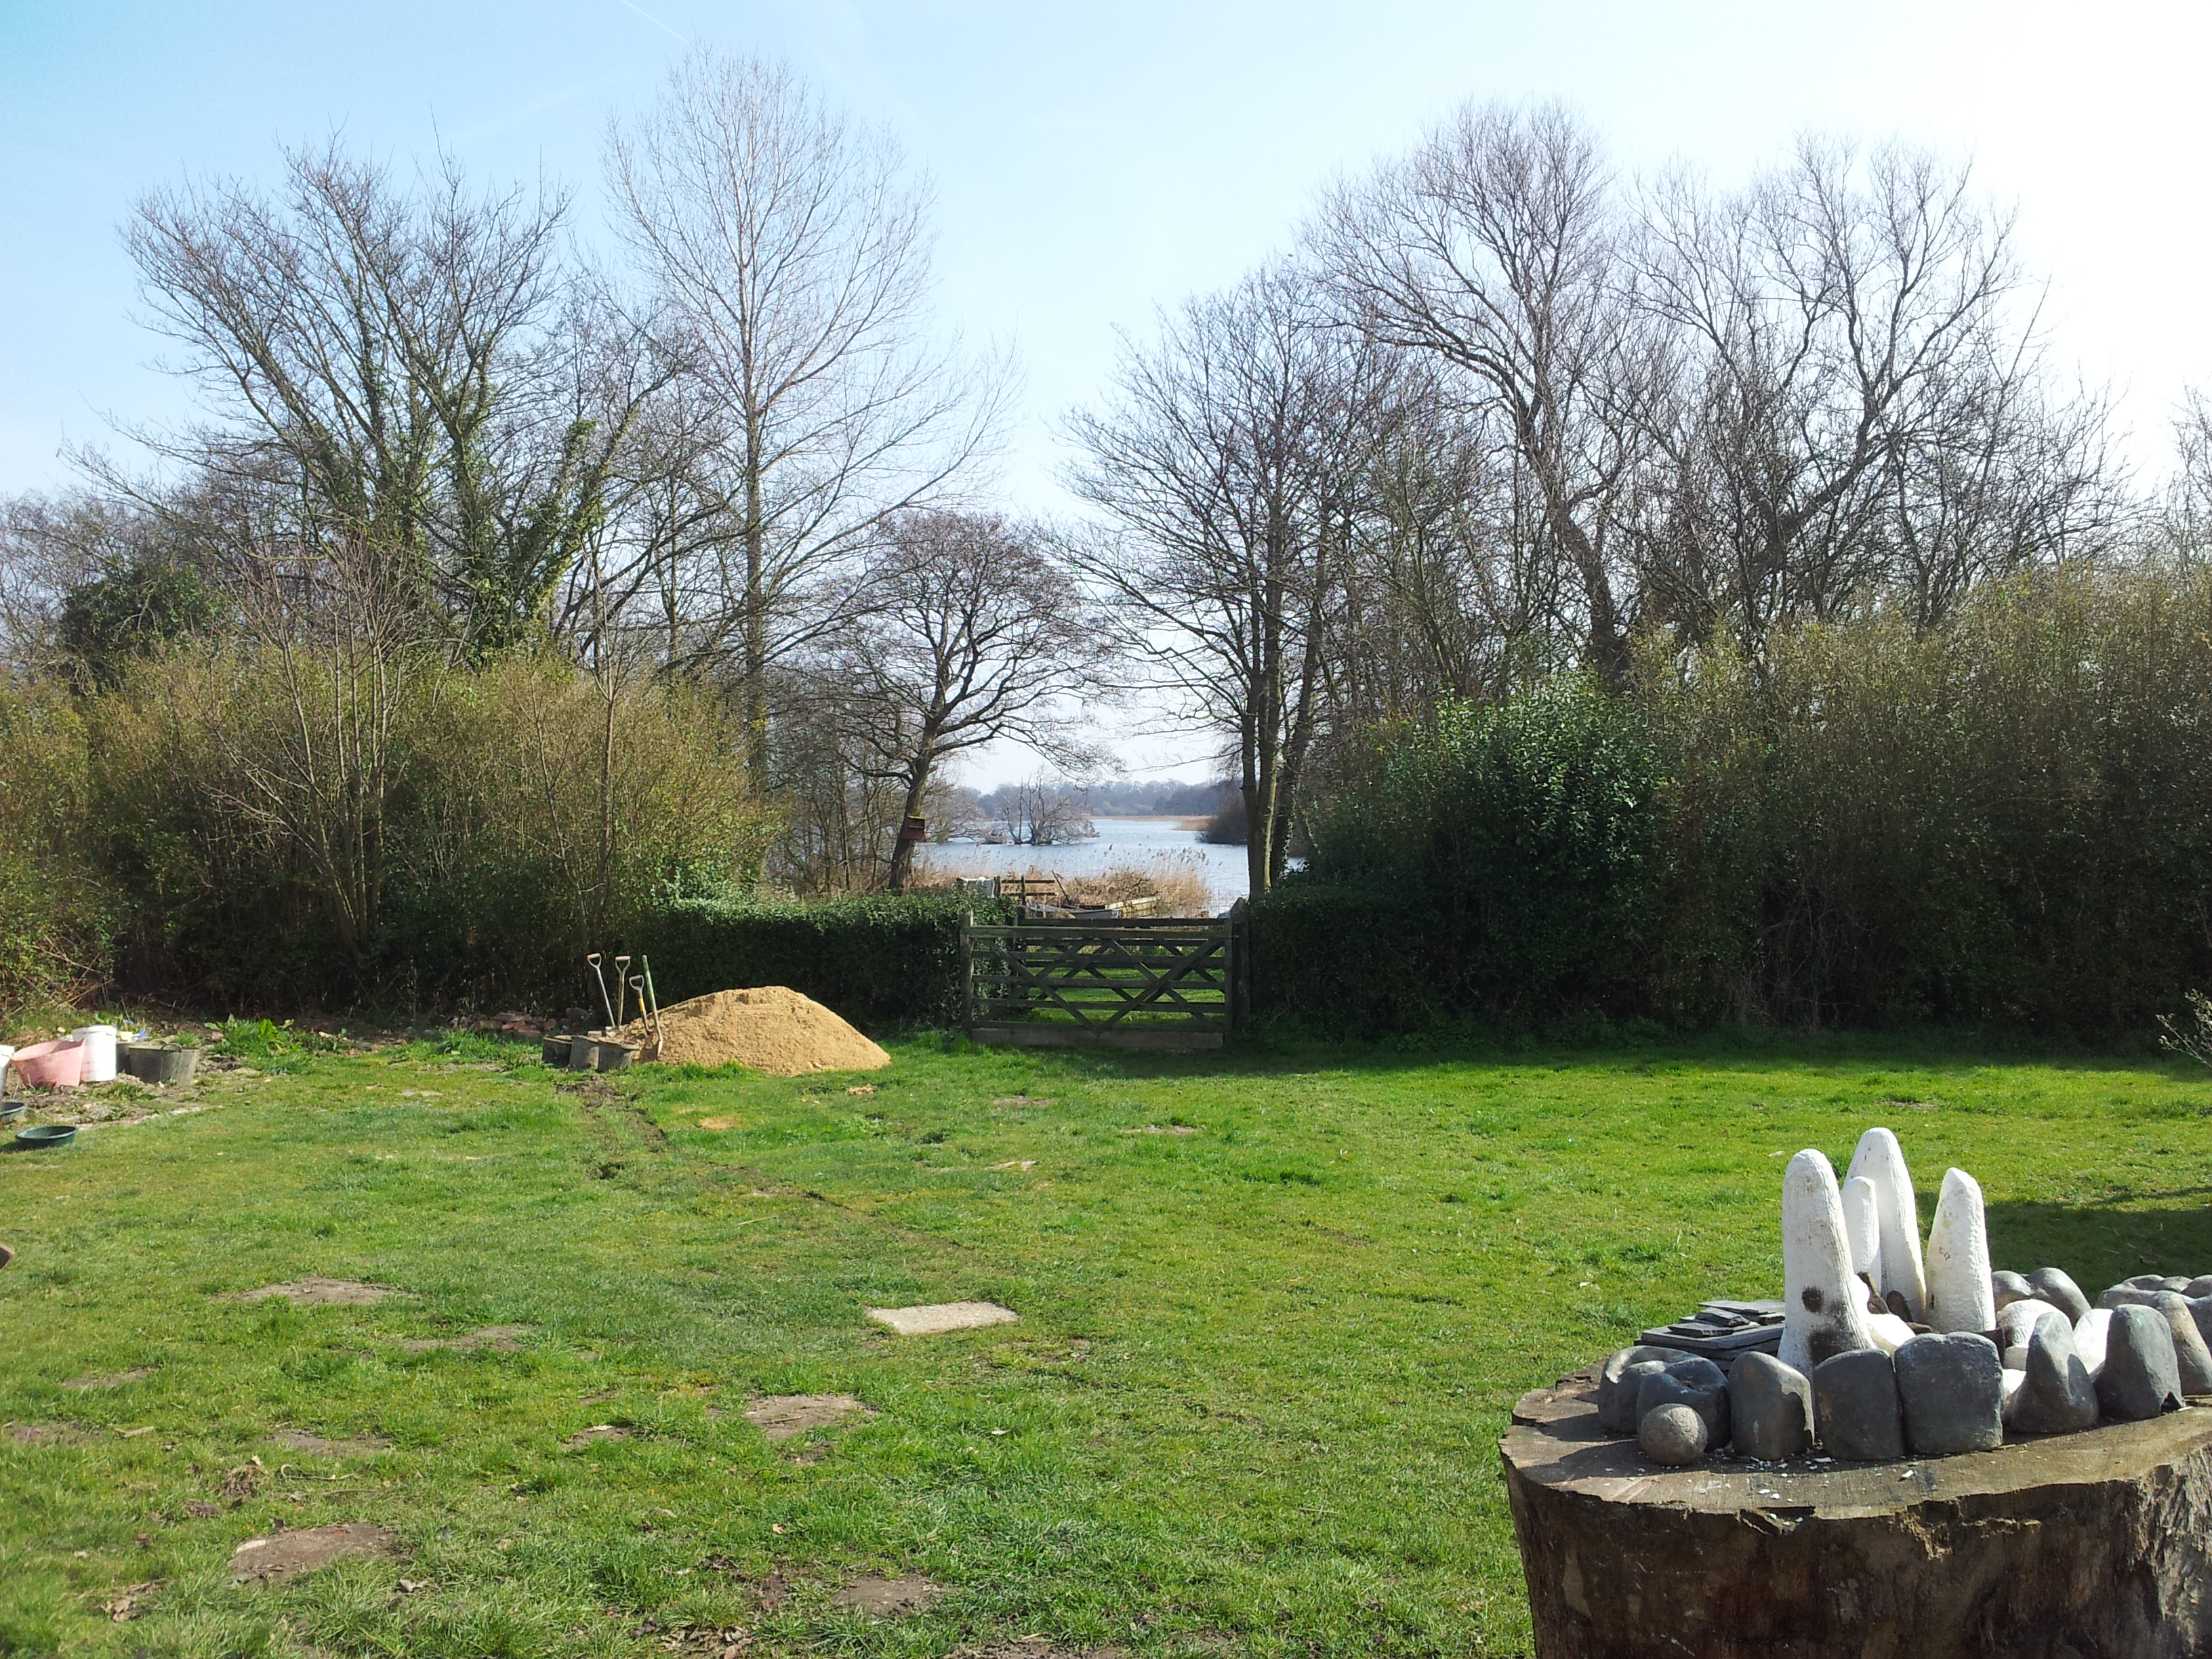
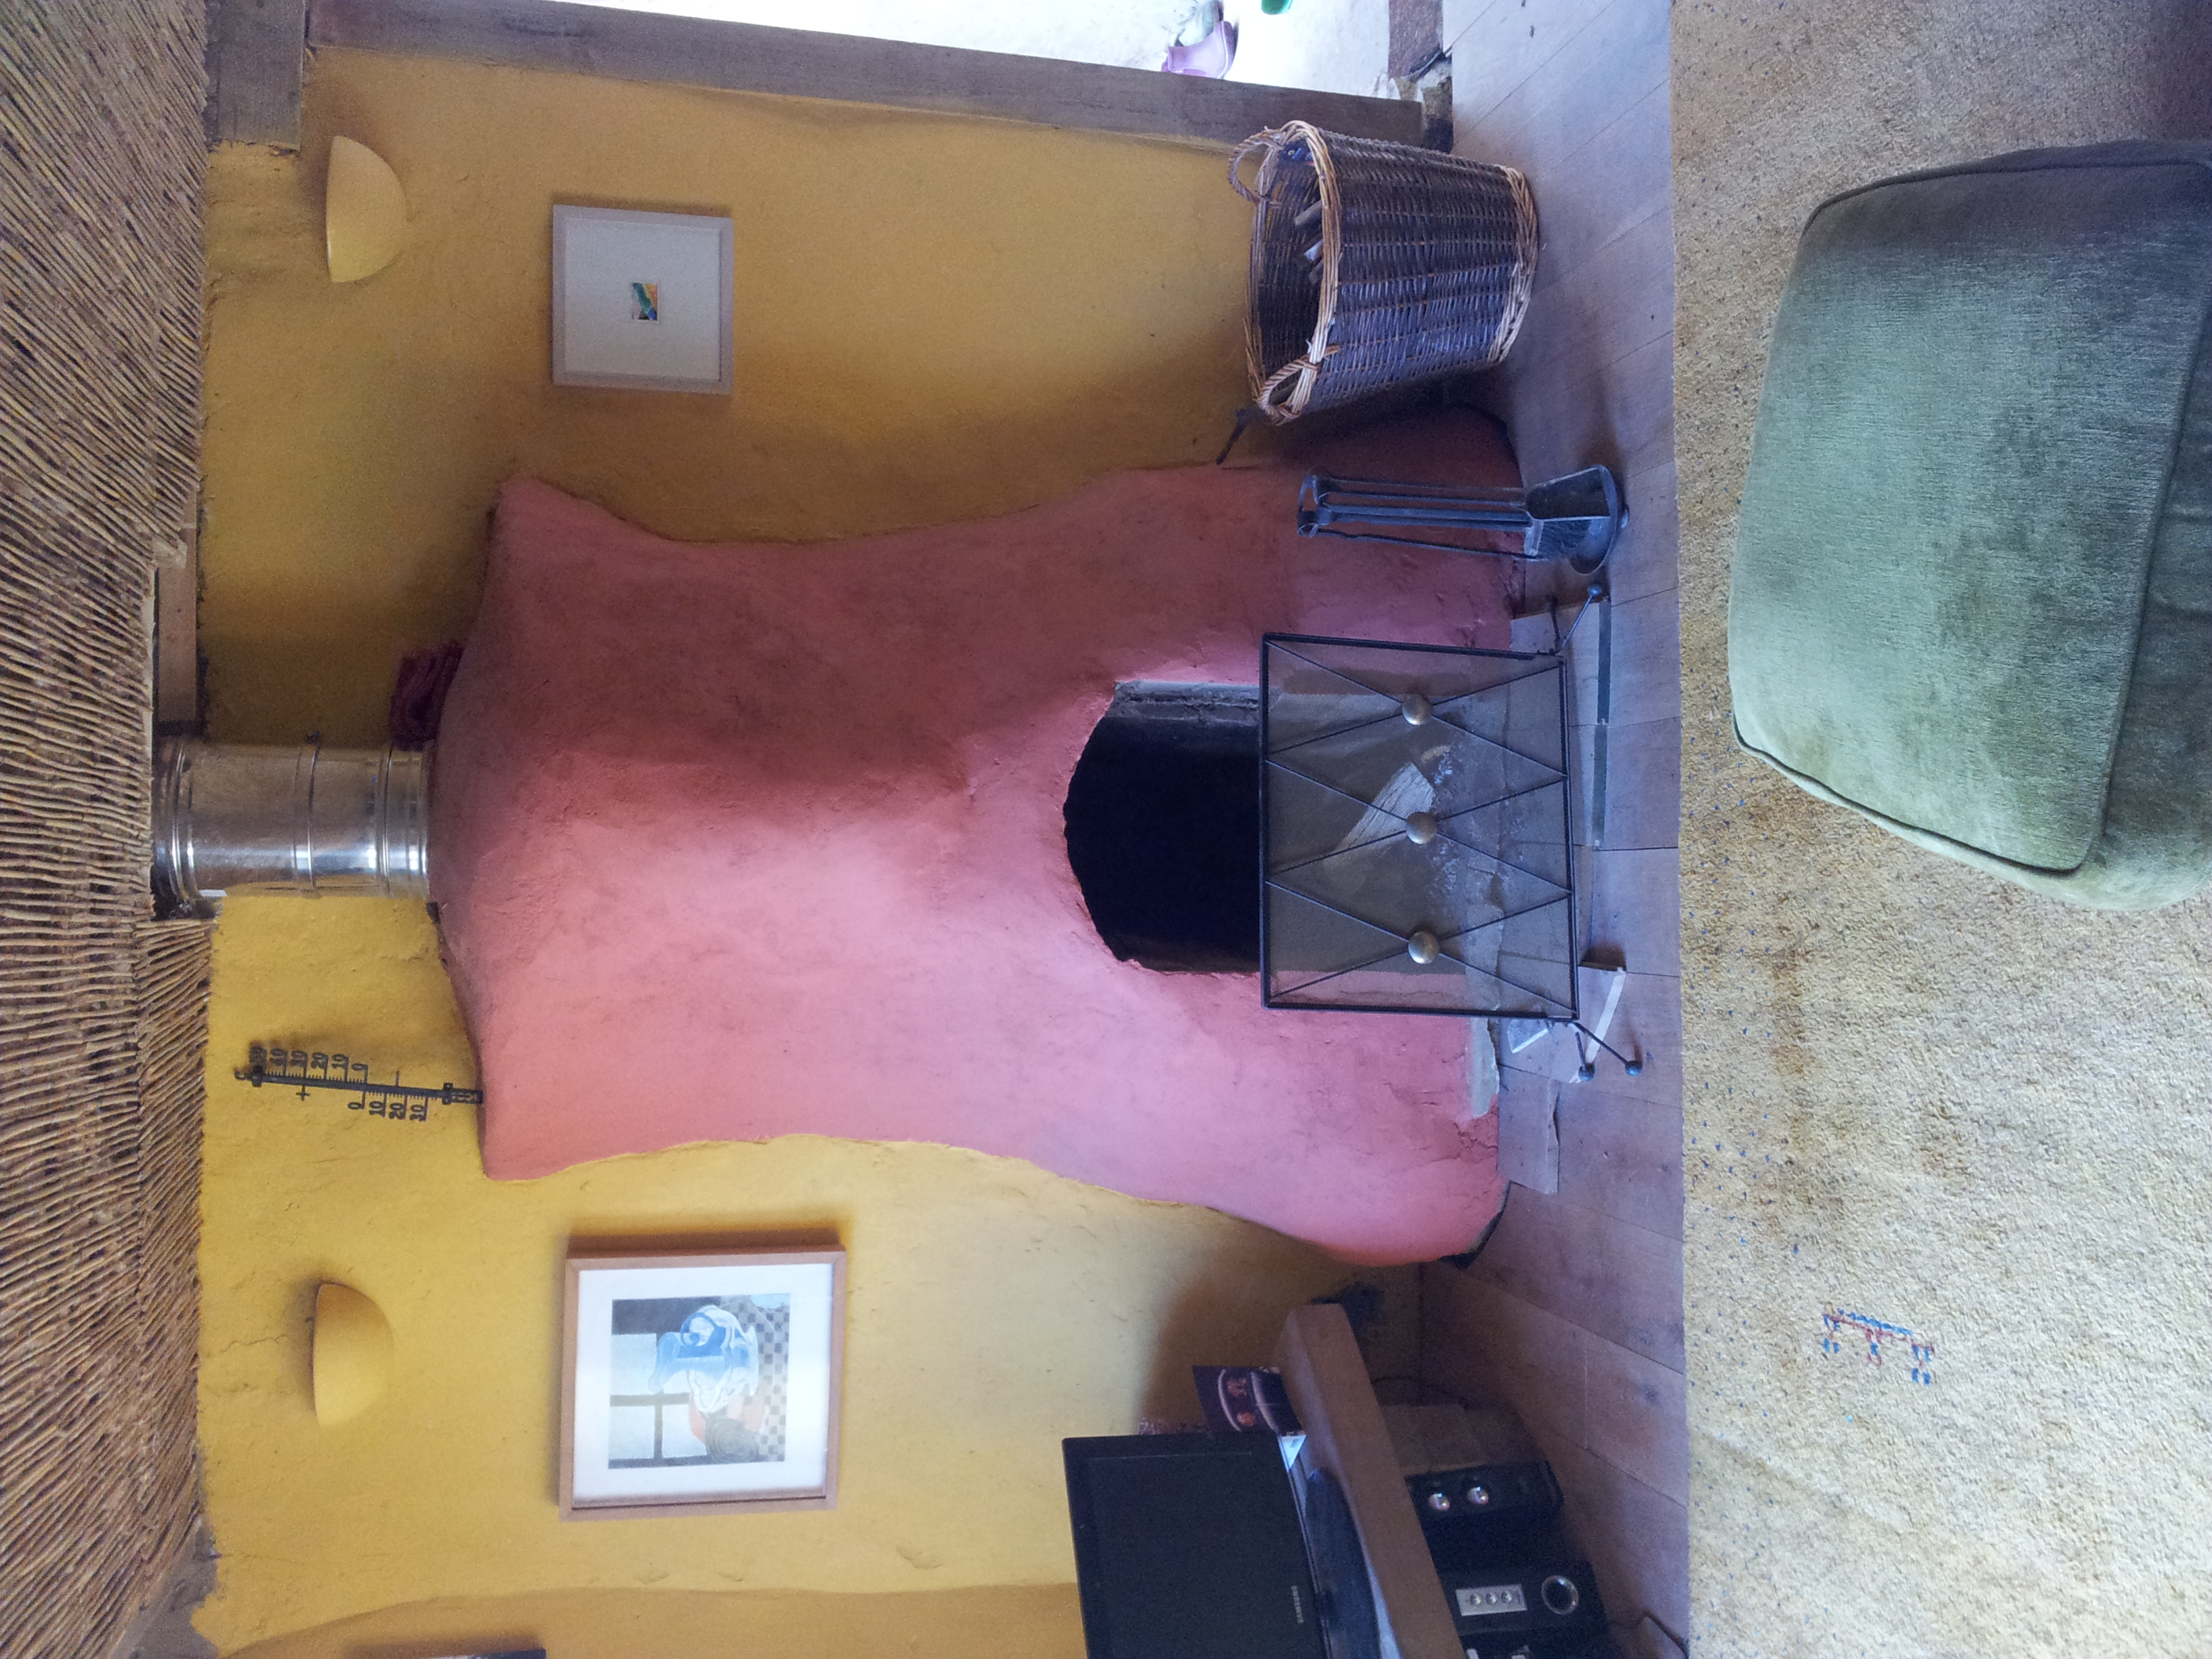
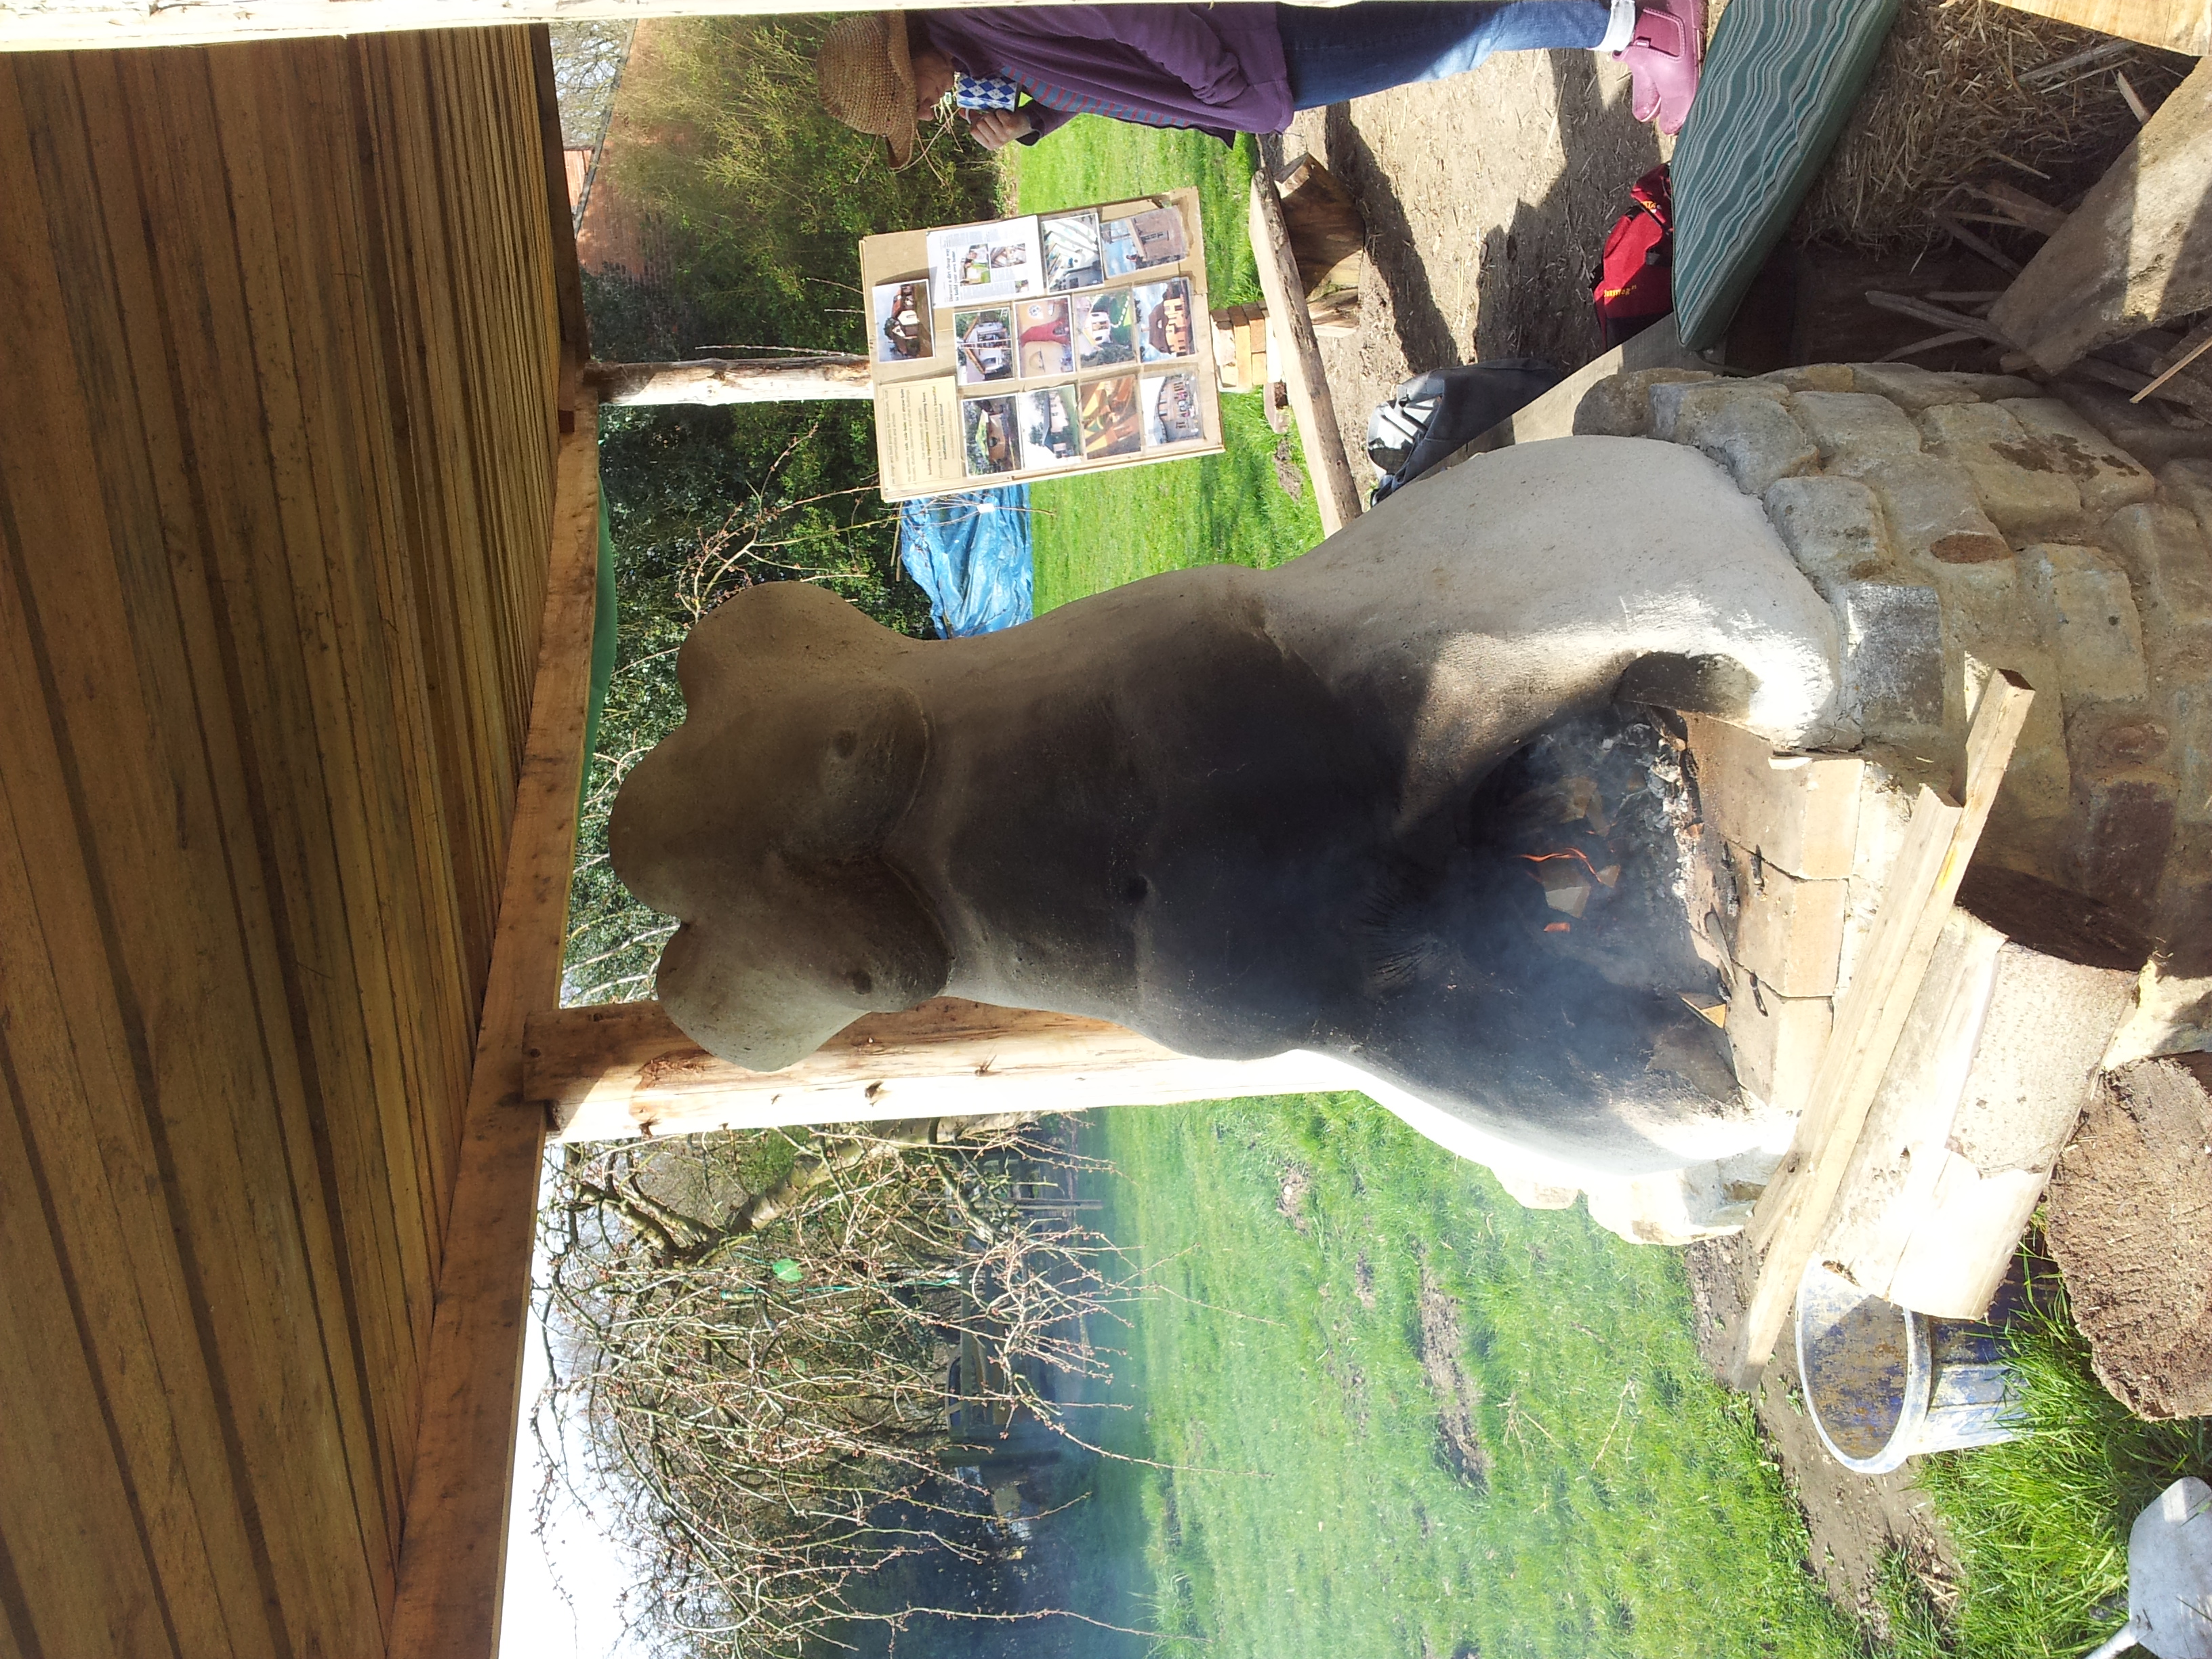
All this happened in the eye-wateringly picturesque surroundings of Kate and Charlotte’s cob-built home, complete with personal view of the broads.
Below is that view, a cob fireplace and a pre-existing pizza oven
What a great way to spend a day, and spark a new obsession: “You could do THAT with cob!”
